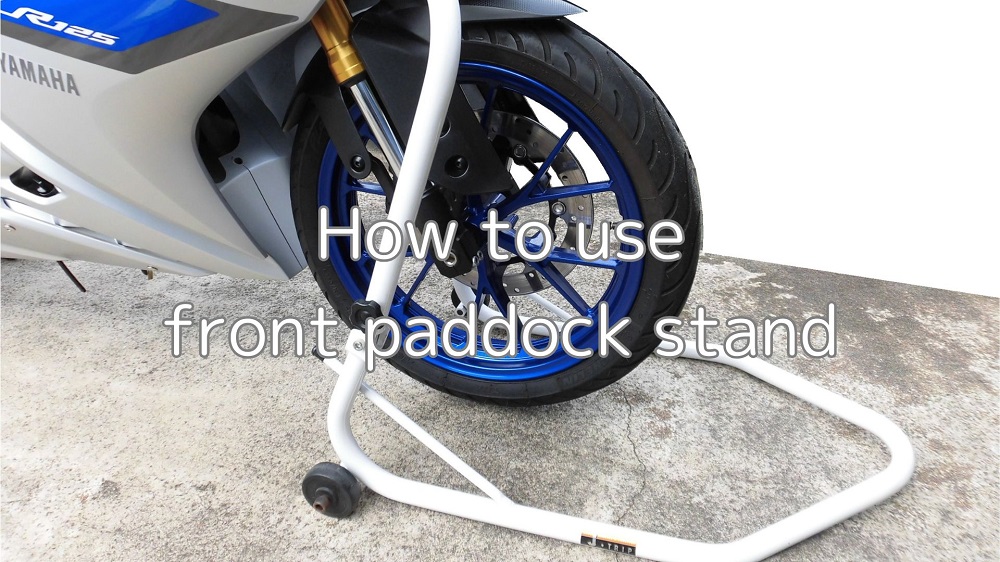
Along with the rear paddock stand, the front paddock stand (hereafter described as the front stand) has been used for many years.
It is not used as often as the rear one, but having it expands the range of work you can do yourself.
The one I use is the type that plugs into the hole in the steering stem and has the following uses
- Removing and installing front wheels (tire change, wheel cleaning, wheel bearing replacement)
- Checking front brake drag
- Removing and installing front forks (oil change, seal replacement)
Having recently summarized the use of the rear stand, the following is a summary of how to use the front stand on the YZF-R125, since it is a good opportunity to do so.
- Setting up the front stand
- How to use front stand
- Condition of moto on the front stand
I’ve also felled down the moto on the rear stand, but not on the front stand.
The risk of falling down the moto is lower than with the rear stand because you don’t have to balance the moto on both sides when lifting it up.
| Date | 10th April 2021 |
| Subjects | Maintenance, Failure, Repair |
| Shop or DIY | DIY |
| Difficulty | |
| Working hours | 0.5 |
| Costs [Yen] | 0 (Use what I have) |
1. Goods to use
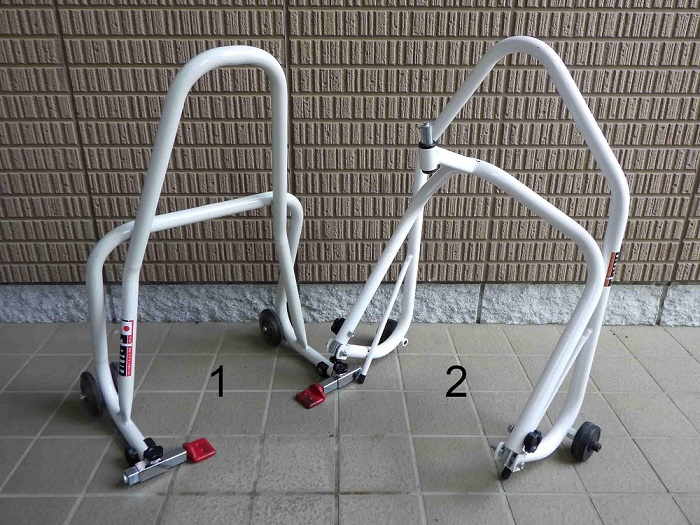
| No. | Name | Manufacturer | Parts number | Quantity | Amount[Yen] |
| 1 | Long roller stand (L-fixture type) | J-trip | JT-121LWT | 1 | 22,481 |
| 2 | Front stand | J-trip | JT-116WT | 1 | (28,468) |
| 50,949 |
2. How to use front stand (STEP 1-10)
Front stand
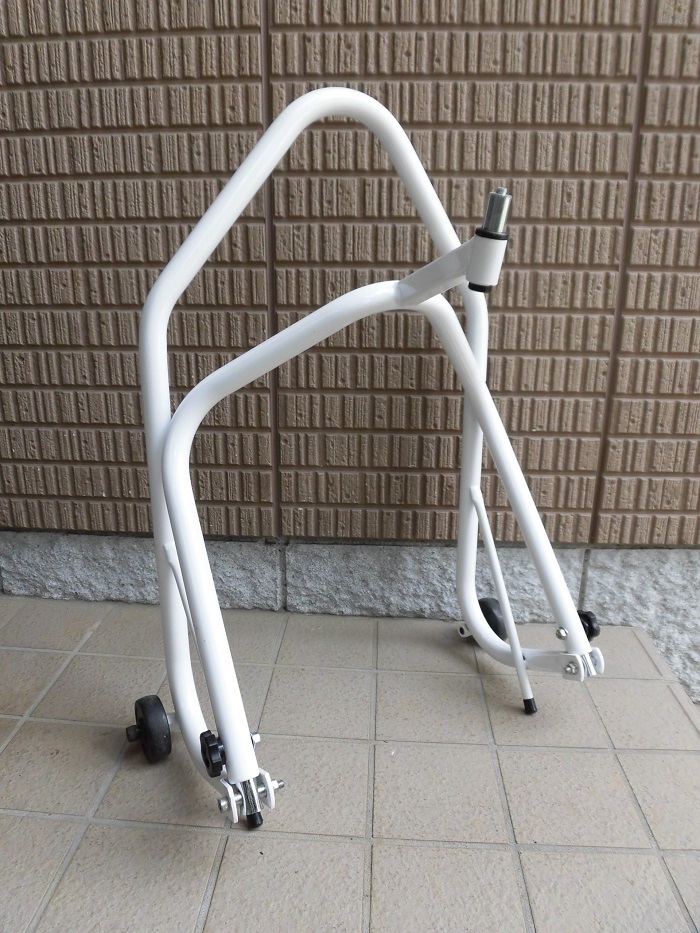
<Front stand>
The front stand used is a J-trip front stand / JT-116WT.
It is an older model, and the wheels are not skeletonized.
Front stand settings
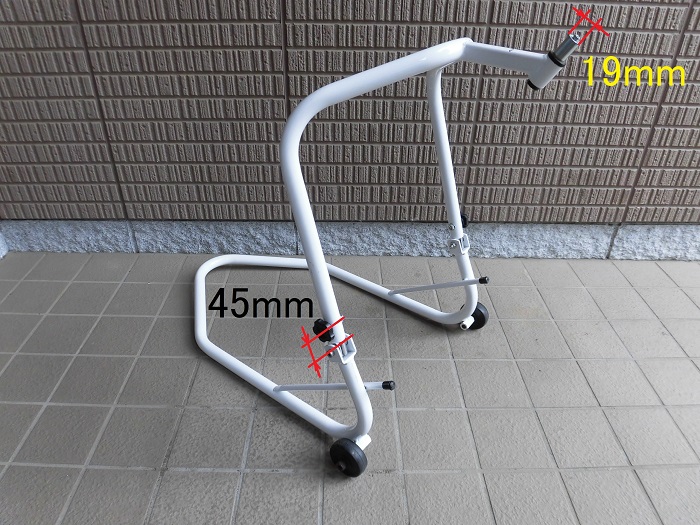
<Front stand settings>
First, align the front stand with the moto.
Stand tip collar diameter: 19 mm
Stand height: Lowest point
Remember to tighten the height-adjusting knob bolt securely.
If the knob bolt comes off, the bike may drop and be dangerous.
Set rear stand
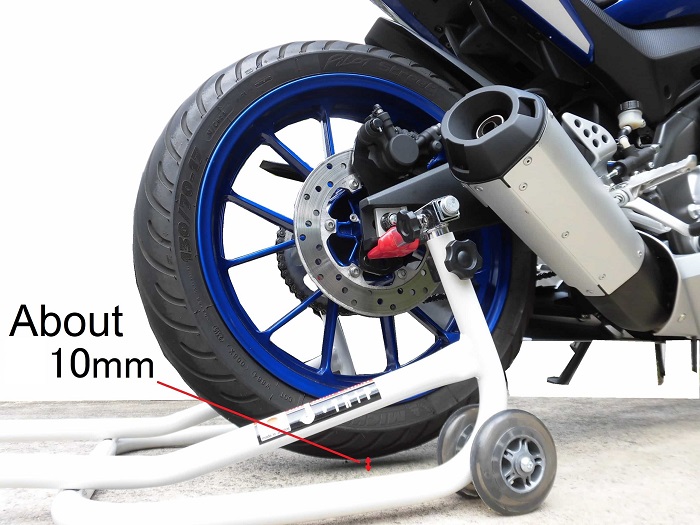
<Set rear stand>
First, set the rear stand.
(For more information, see maintenance record “How to use rear paddock stand”).
The front stand must be used together with the rear stand.
The body is supported by one point on the front stand (hole under the steering stem) and two points on the rear stand (under the swingarm).
Front fender protection
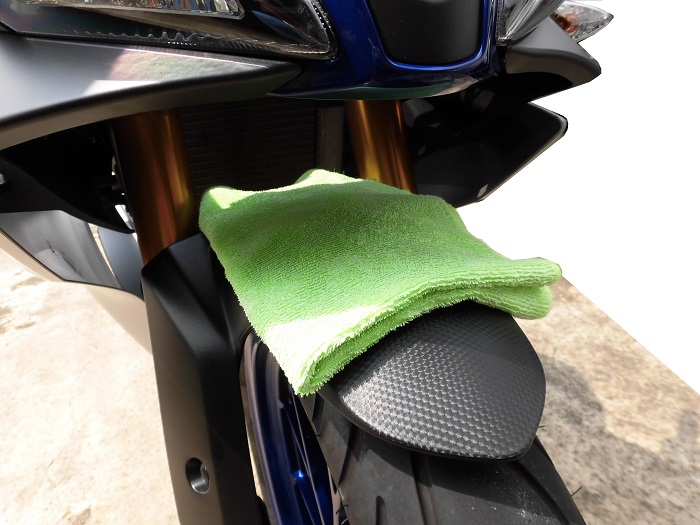
<Front fender protection>
Lay down a cloth so that the front stand support does not touch the front fender.
Lift up by front stand 1
Now, set the front stand.
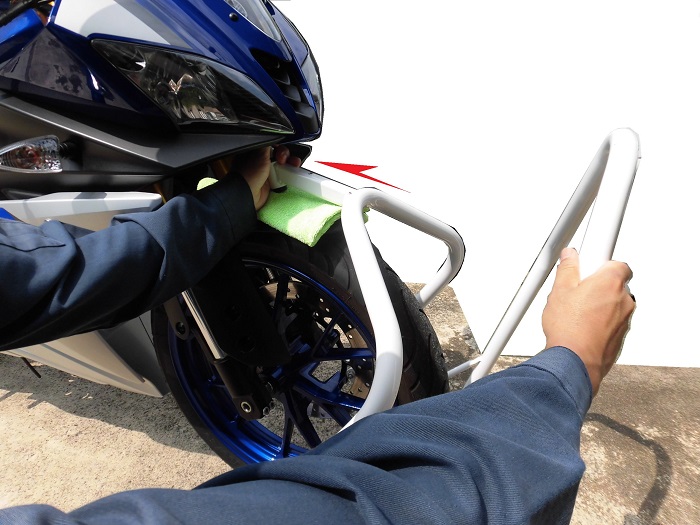
<Lift up by front stand 1>
Move the front stand to the bottom of the steering stem while covering the support with your hand to prevent it from hitting the front cowl.
Lift up by front stand 2
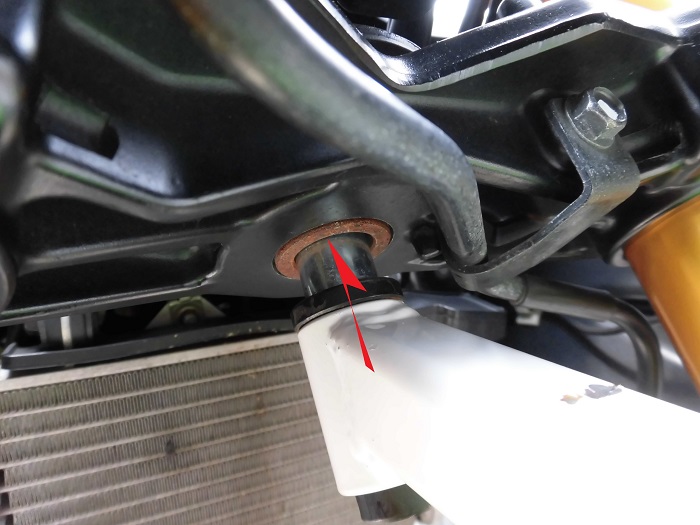
<Lift up by front stand 2>
Insert the front stand boss (collar part) all the way into the hole in the steering stem.
Note that on motos with horns or brake pipes around the steering stem hole, it is necessary to move them out of the way.
Lift up by front stand 3
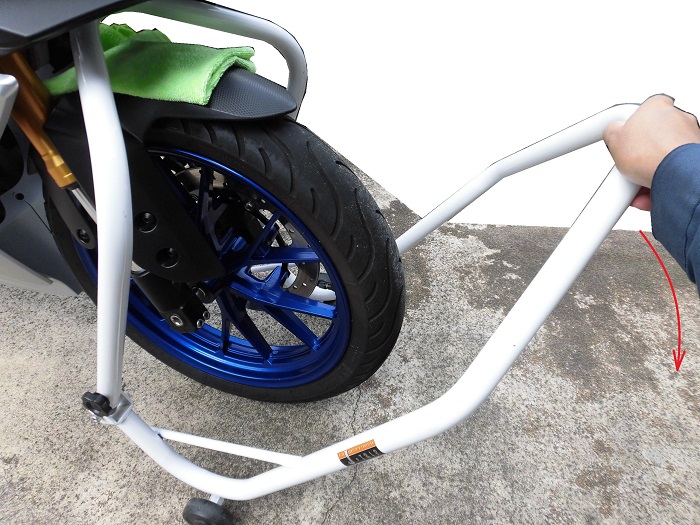
<Lift up by front stand 3>
Then just push the stand down and you’re done.
Compared to the rear, it’s very easy.
Condition of moto on the front stand
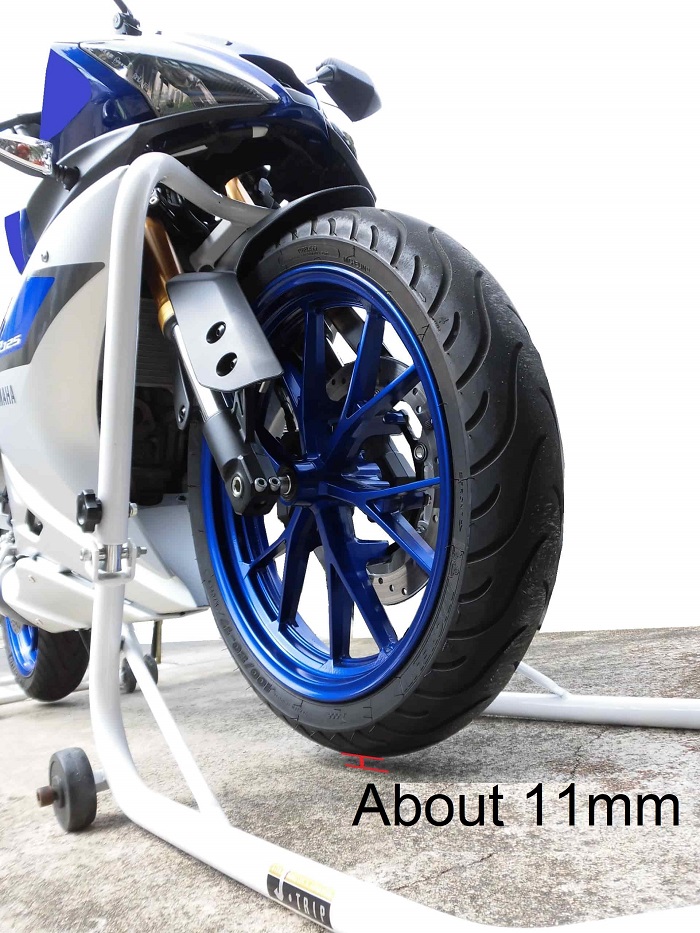
<Condition of moto on the front stand>
Hold the bike like this.
In this position, the tire will lift off the ground by approximately 11 mm.
Condition of moto on the front and rear stand
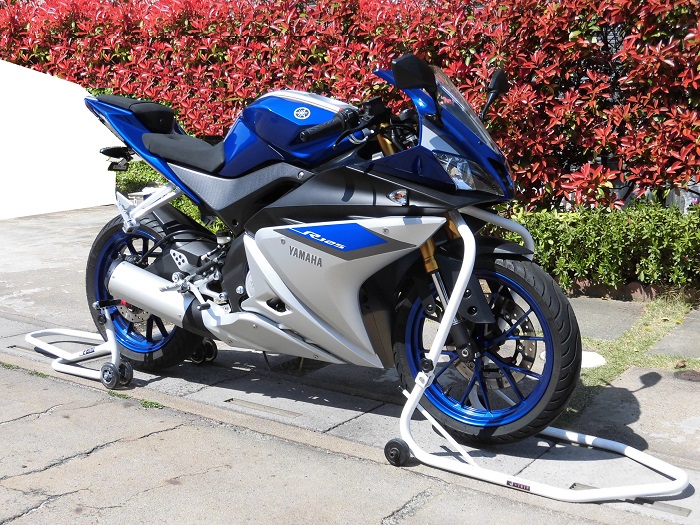
<Condition of moto on the front and rear stand>
With the front and rear wheels in the air, it looks a bit like a racing machine?
Lift down by front stand
Now remove the front stand.
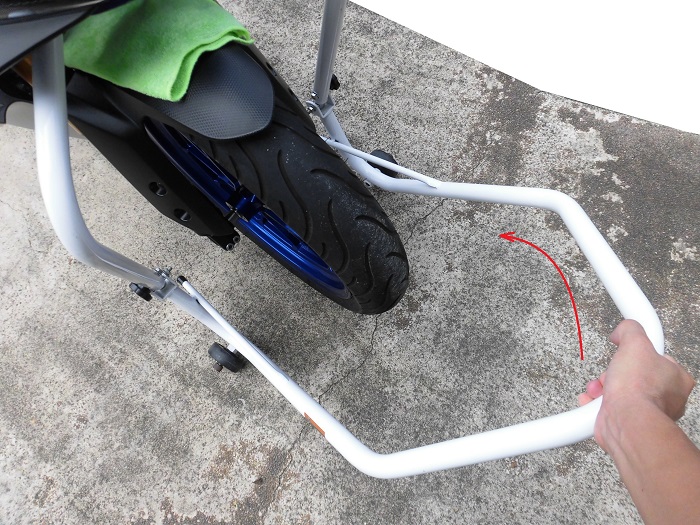
<Lift down by front stand>
Lift the stand and land the front wheel.
To prevent the front stand support from coming off and hitting the front cowl, remember to keep the following.
- Lay a cloth over the front fender
- Put your hand on the front stand support.
3. Summary
The important thing is to avoid hitting the support against the front fender or cowl.
If you cut corners or are not careful, moto has damage immediately.
It’s discouraging because even a light rub will leave marks…
The front stand is safer and easier than the rear stand.
So, let’s give it try.
- Use with rear stand.
- Lay down a cloth to protect the front fender
- Securely insert the boss at the top of the support into the hole in the steering stem
