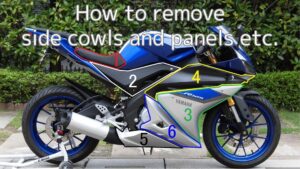
1. Coating with parts removed.
Ceramic coating is a great way to keep your car looking as good as possible for as long as possible.
Ceramic coating makes subsequent cleaning easier for the following reasons.
- Long-lasting gloss
- Easy to clean
This time, the parts were removed according to the maintenance record “How to remove side cowls and panels etc.”, so that the back side of the cowl and the deepest parts can be cleaned and coated.
This is another advantage of doing it yourself.
From this article you can see about below.
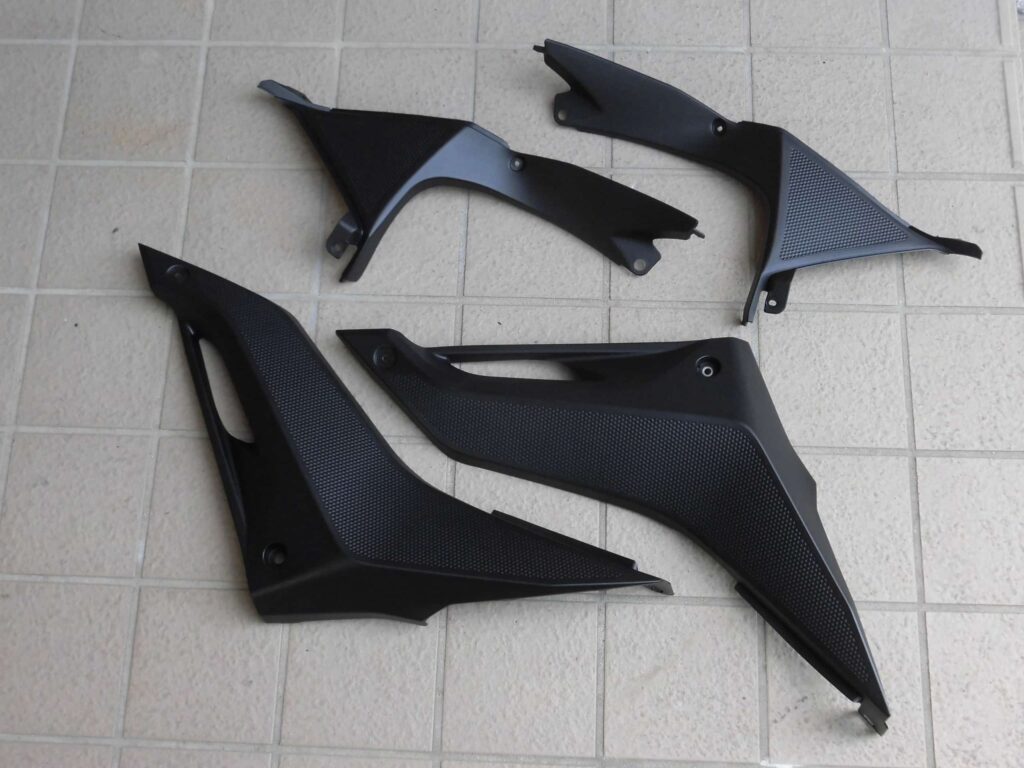
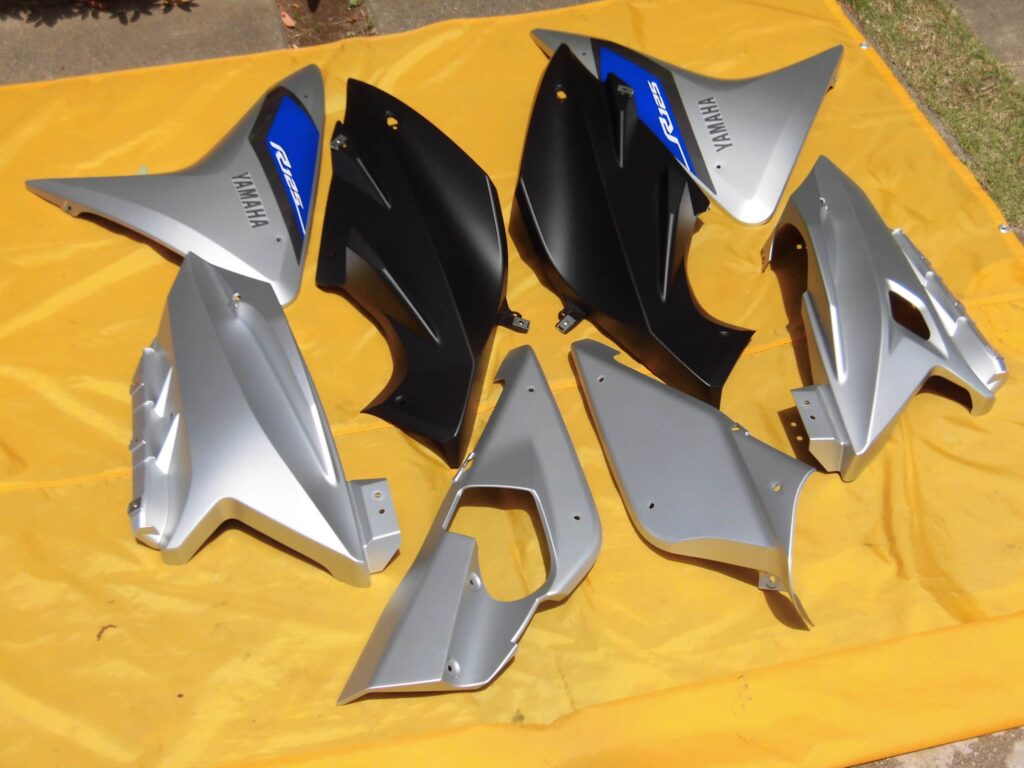
- Shape of removed cowl/panel
- Method of ceramic coating
When I coated my car before, I was surprised that everything around me reflected like a mirror.
I am looking forward to seeing how it will look on the cowl.
| Date | 4th May 2021 |
| Subjects | Maintenance, Failure, Repair |
| Shop or DIY | DIY |
| Difficulty | |
| Working hours | 12 |
| Costs | 10,340 Yen |
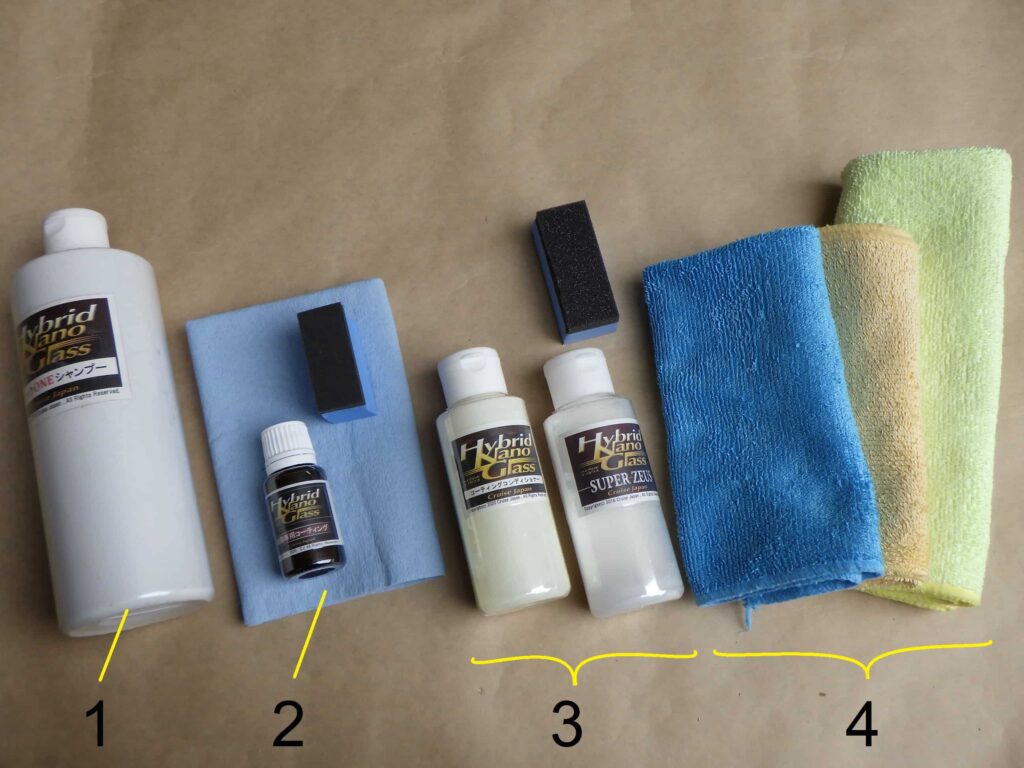
Goods to use:
| No. | Name | Manufacturer | Part number | Quantity | Amounts[Yen] | Purchasing this time |
| 1 | Quick one shampoo | Cruise Japan | carshampoo91919 | 1 | 3,800 | |
| 2 | Resin coating | Cruise Japan | Resin-coating201806 | 1 | 4,800 | |
| 3 | Coating conditioner + Super Zeus set | Cruise Japan | 2018memorial-set1 | 1 | 10,340 | ○ |
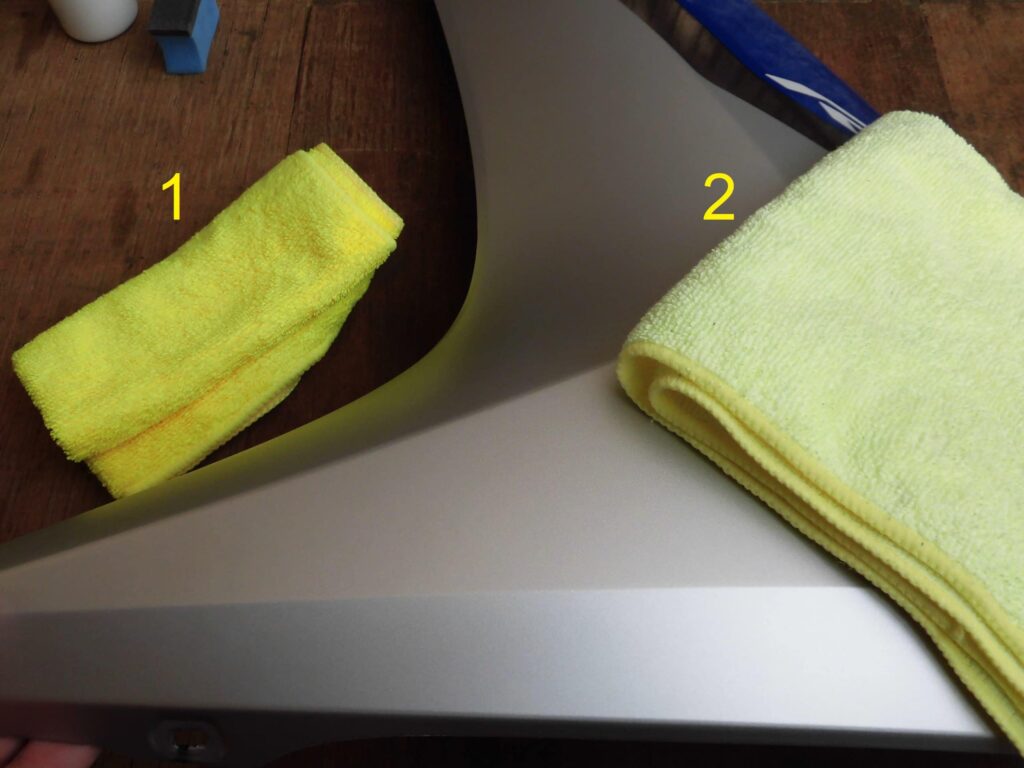
| 4 | Microfiber cloth | – | – | 3 | (1,650) | |
| 20,590 | 10,340 |
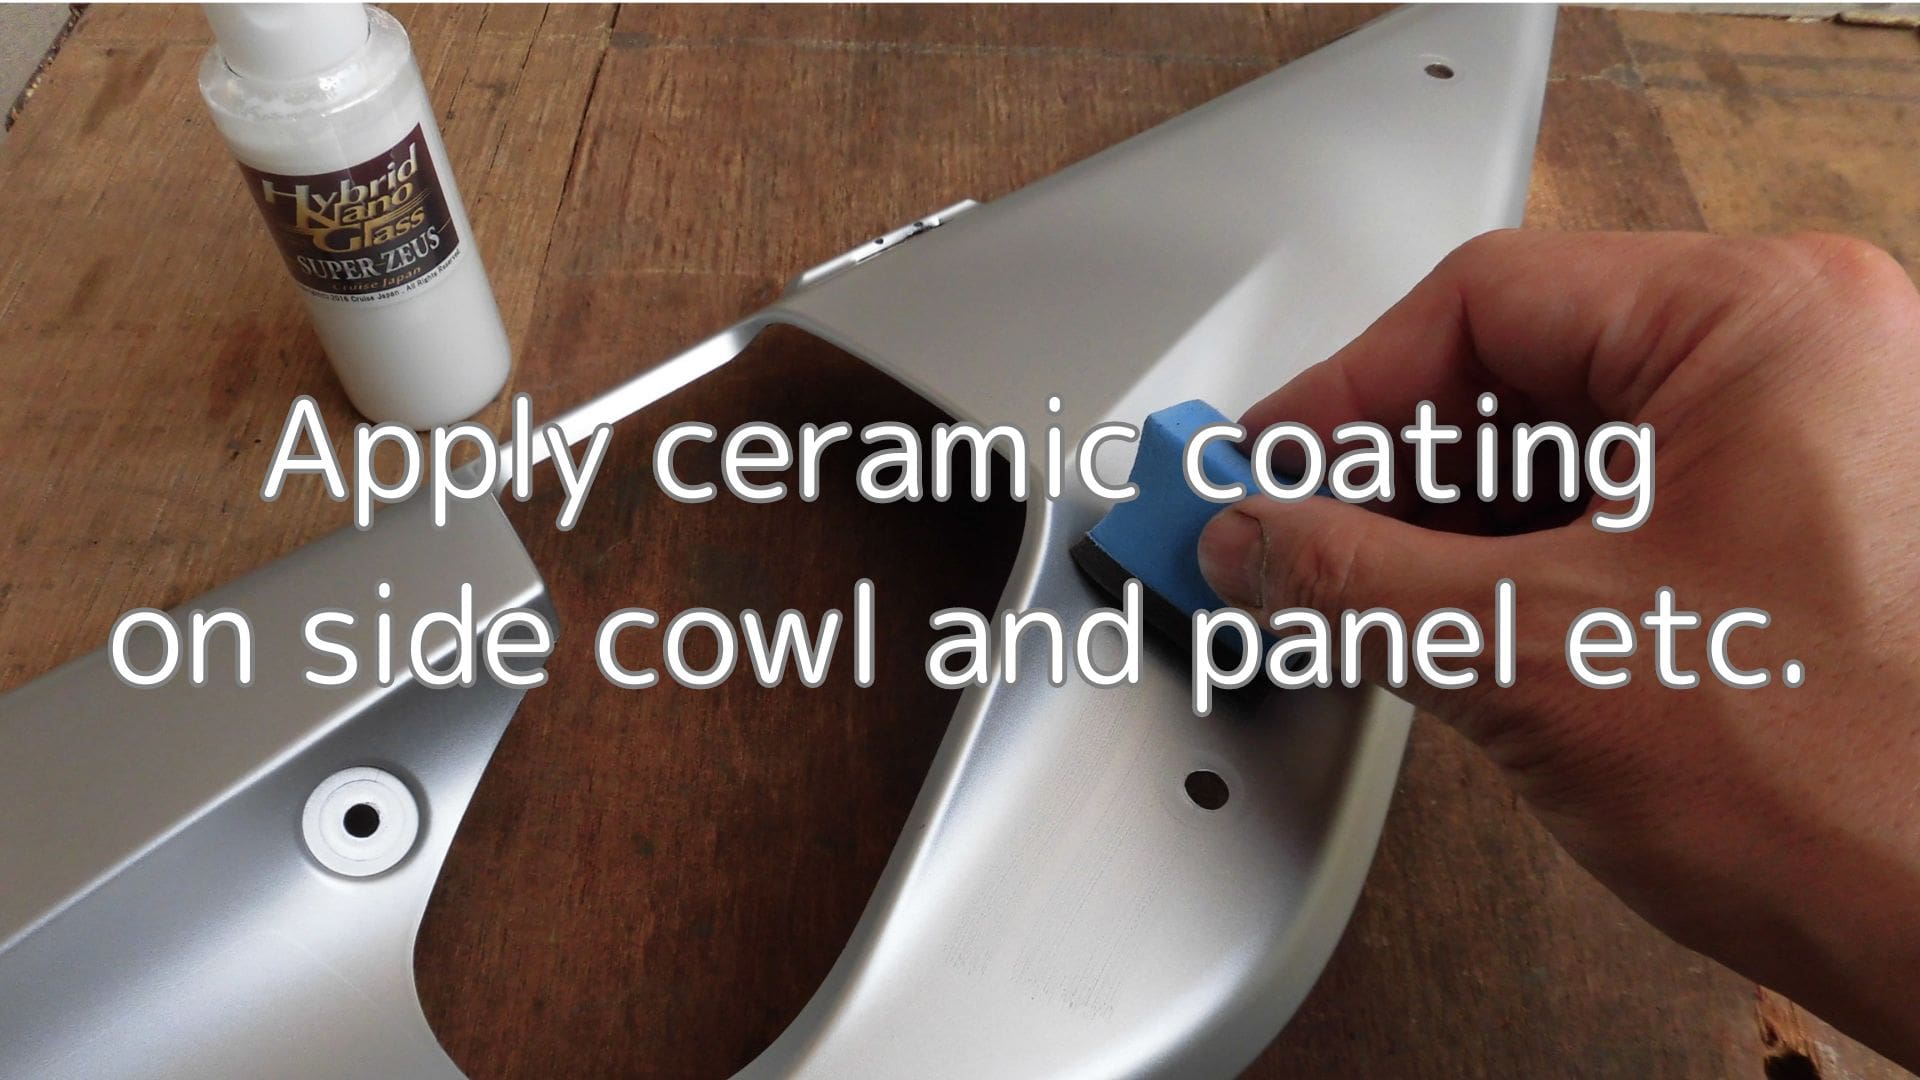
2. Apply ceramic coating on side cowl and panel etc.(STEP 1-14)
Wash with water 1
Start with the panels (polypropylene components).

<Wash with water 1>
Spray the entire panel with water.
(How to remove the front panel will be summarized in the maintenance record “Removing front cowl and panels etc.”).
Wash with car shampoo 1
<Wash with car shampoo 1>
Car shampoo is applied, and dirt is washed away.
The deepest parts were carefully washed using a toothbrush.
Drying 1
<Drying 1>
Rinse off the car shampoo, wipe off the water with a microfiber cloth and leave to dry naturally.
There will be a total of four panels.
Resin coating 1
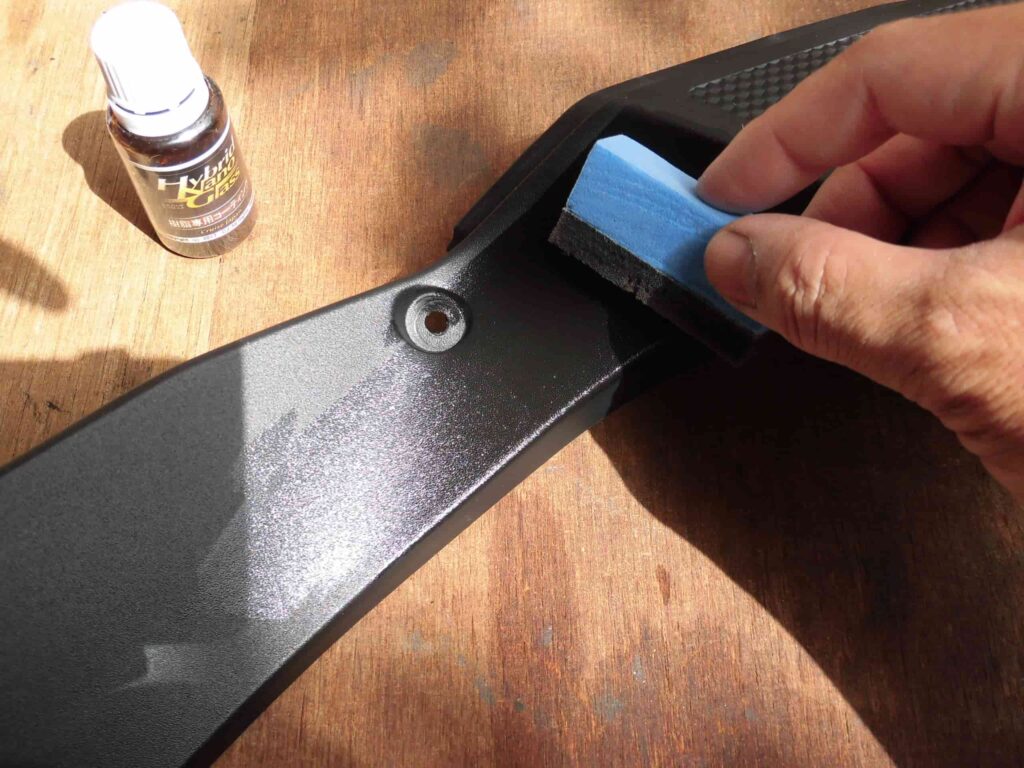
<Resin coating 1>
Apply a resin-specific coating.
Apply the coating to a sponge and spread.
Resin coating 2
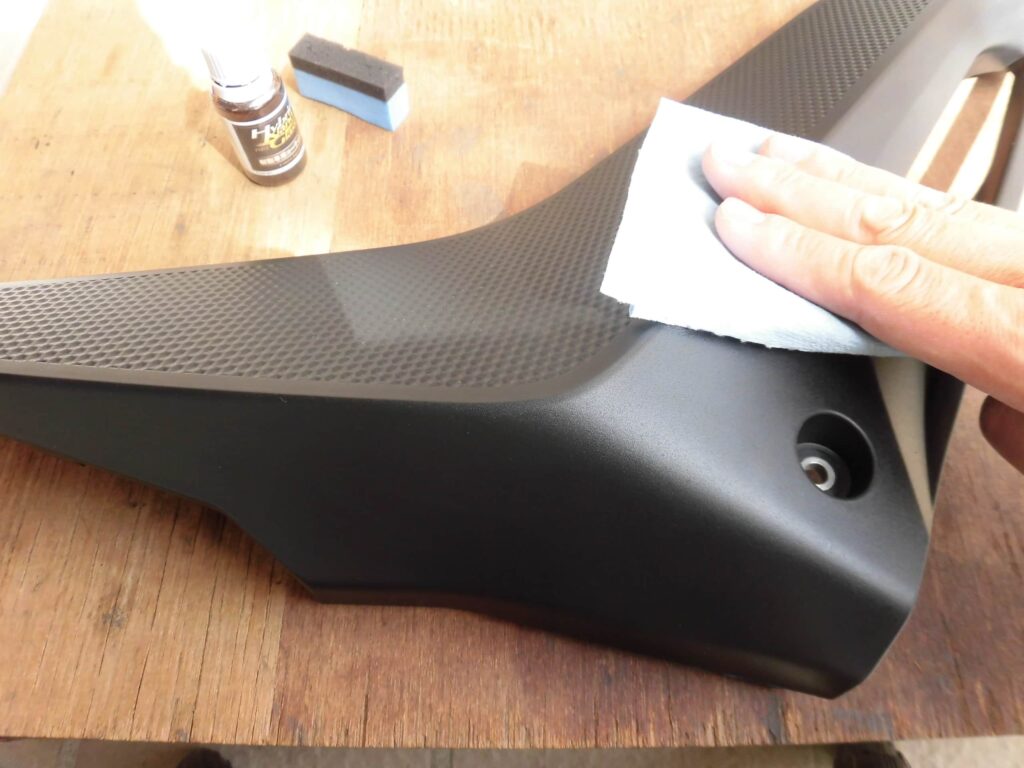
<Resin coating 2>
Wipe off any over-applied areas with a paper cloth to even out the coating.
Wiping off too much will result in a loss of gloss, so it is difficult to adjust the amount.
After this, allow to dry for about 6 hours.
Oil stain removal
Next, wash the cowl (ABS plastic parts).
<Oil stain removal>
The lower side cowl and bottom cowl were covered in oil due to engine oil leaking from the drain bolt area.
(For details, see maintenance record “Inspection of delivered moto” STEP 3-8).
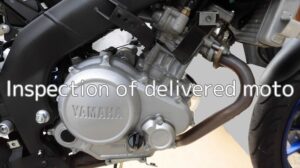
So I first used parts cleaner to remove oil stains.
Also laid down an old tire due to below.
- Make the cowl easier to grip
- Prevent scratches on the cowl surface
Wash with water 2
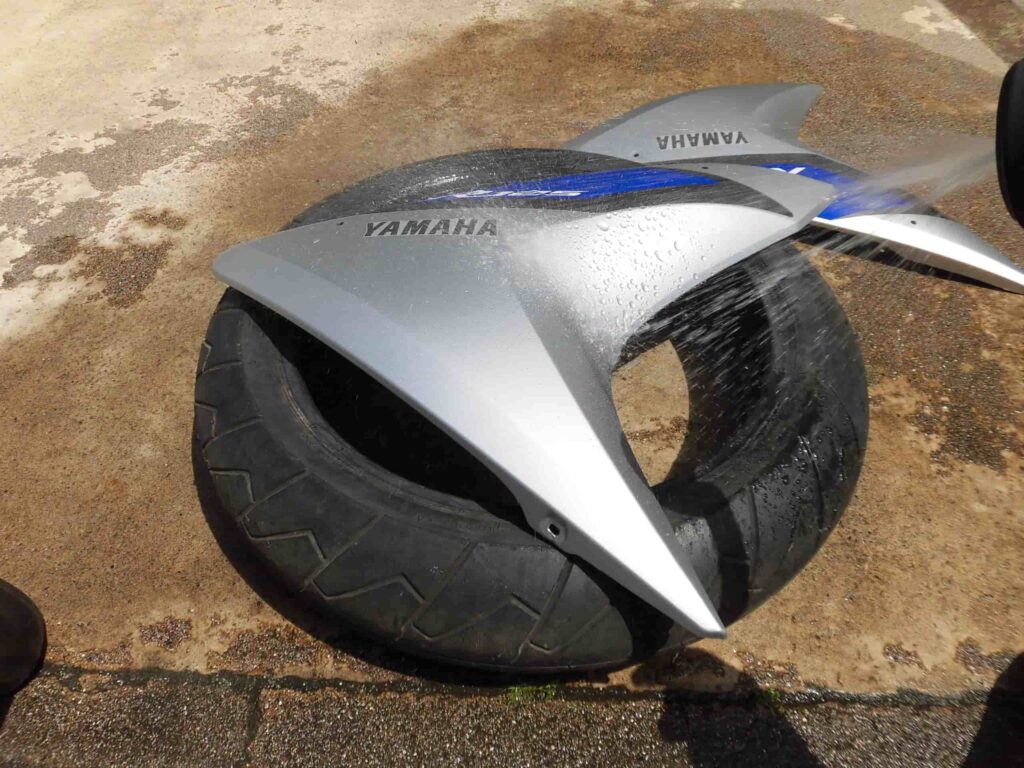
<Wash with water 2>
Pour water over the entire cowl.
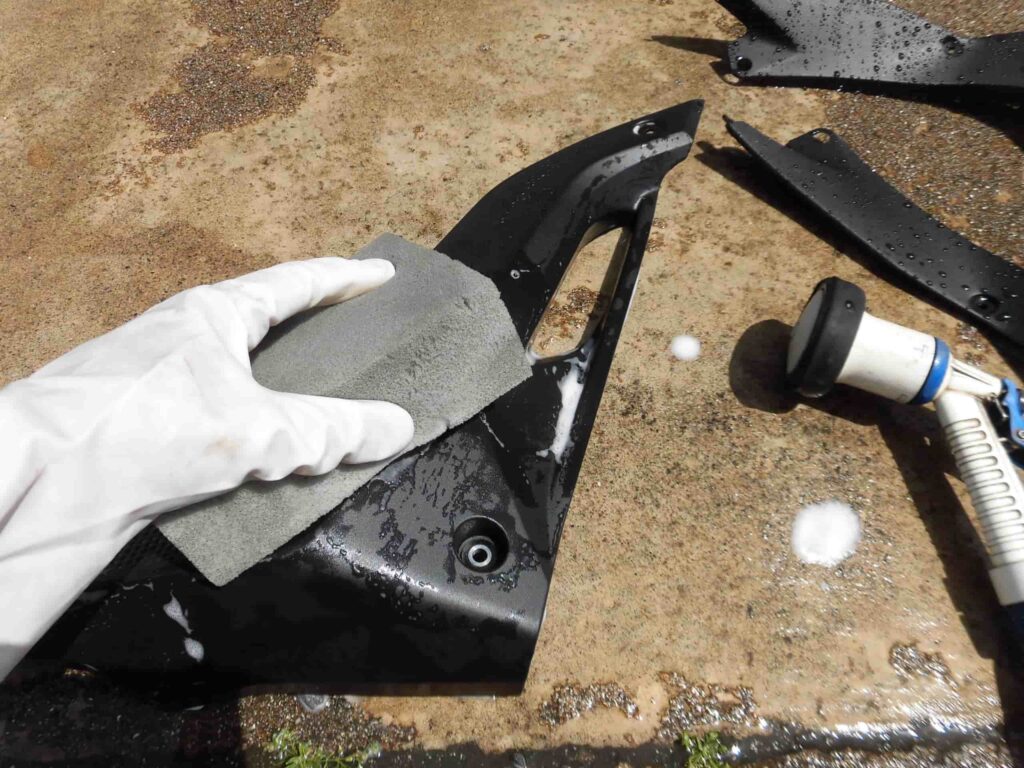
Wash with car shampoo 2
<Wash with car shampoo 2>
Put on car shampoo and rinse off the dirt.
Here, too, the deepest parts were carefully washed using a toothbrush.
Drying 2
<Drying 2>
Rinse off the car shampoo, wipe off the water with a microfiber cloth and leave to dry naturally.
There are a total of 8 cowls.
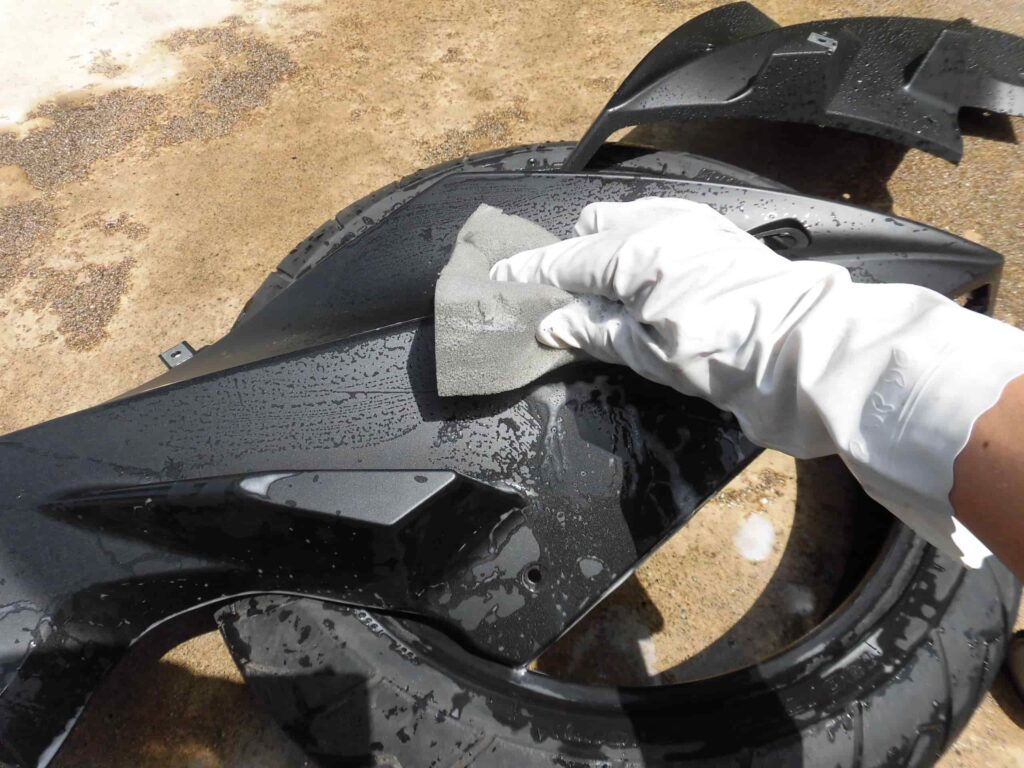
Water spot removal
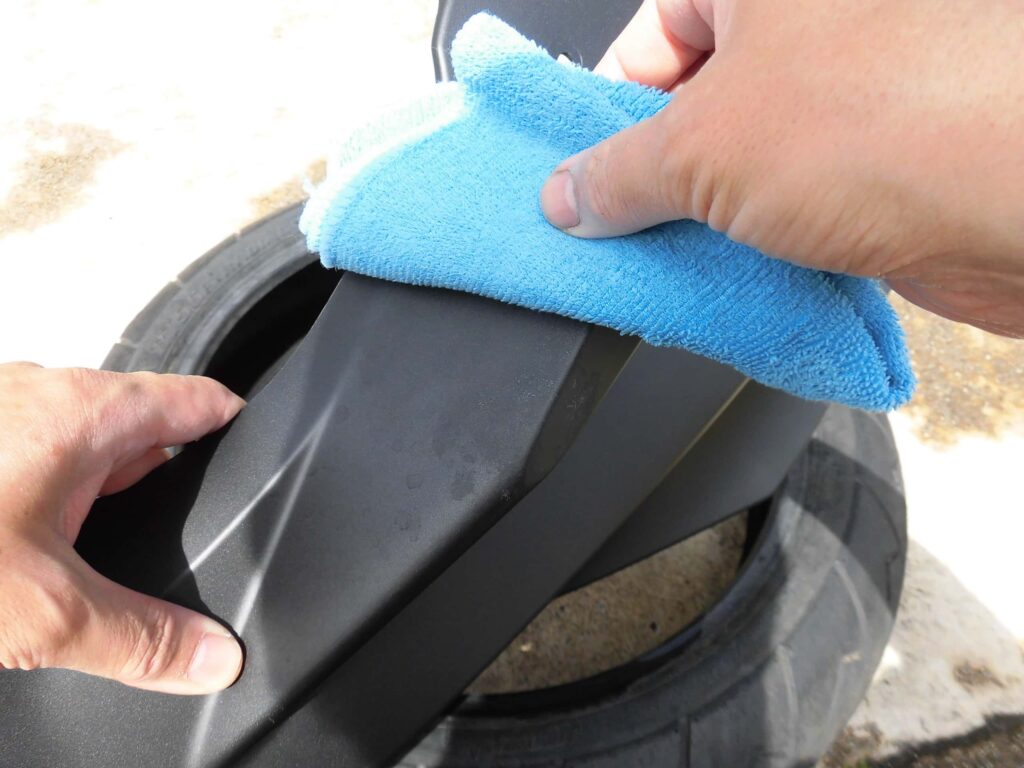
<Water spot removal>
I found water spots (ion deposits) on the surface of the upper side cowl.
So, I put some coating conditioner on it and lightly wiped it down a few times.
Comparison before and after using conditioner
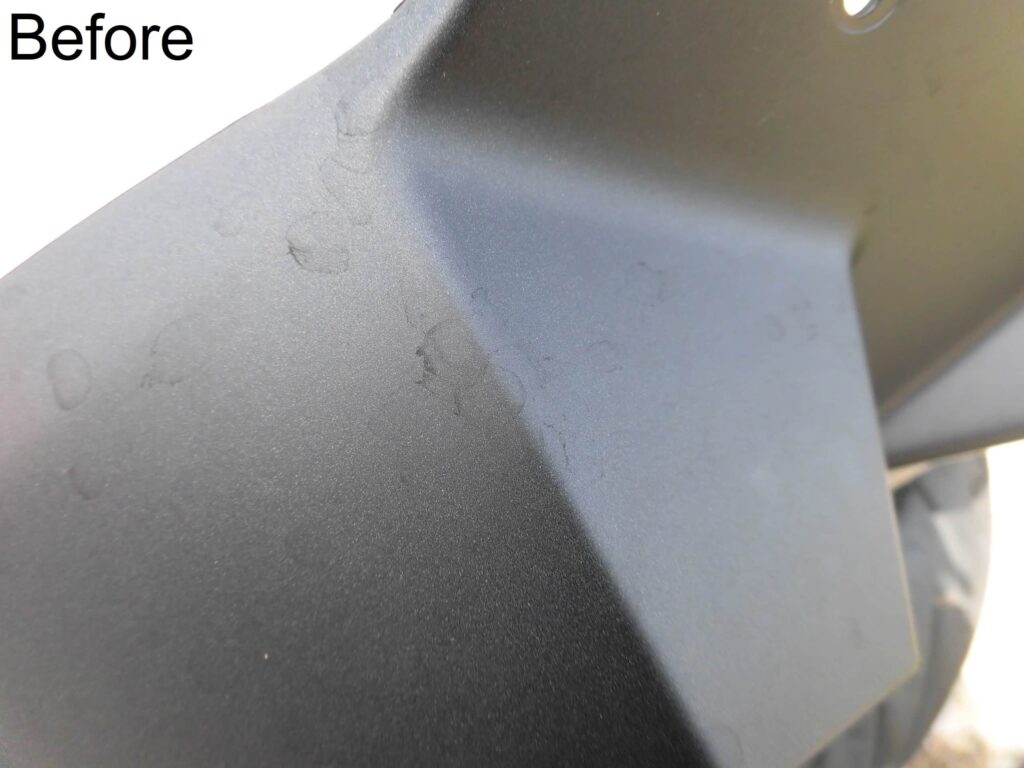
<Before>
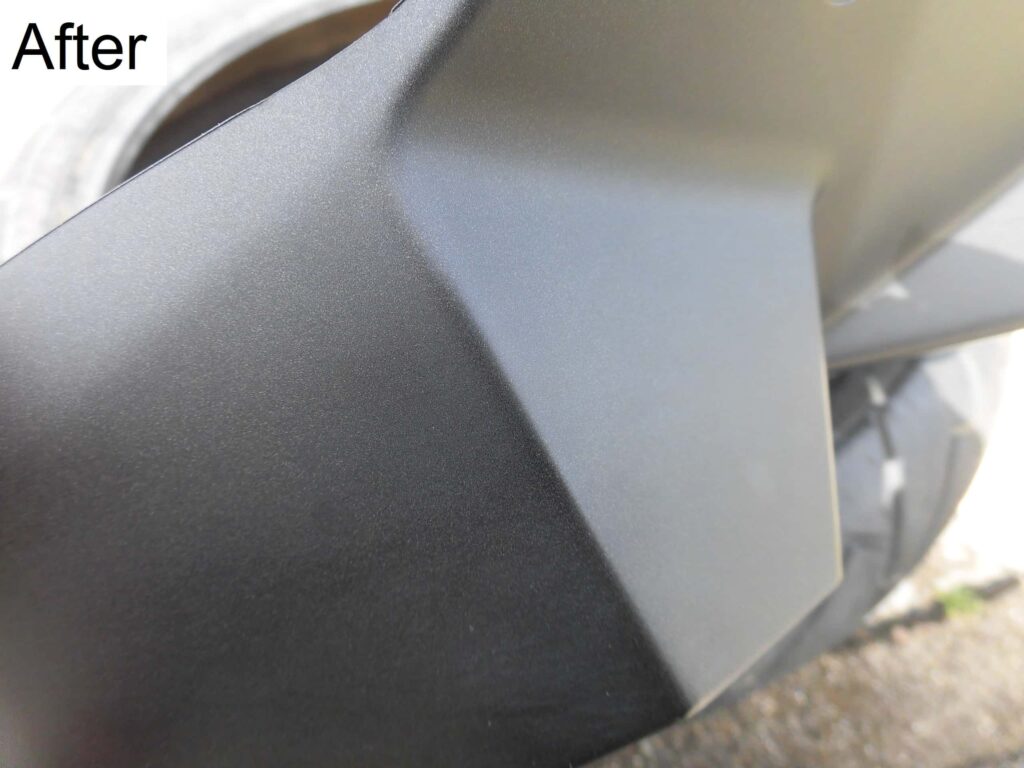
<After>
It removed the water spots quite nicely.
As the conditioner cannot be used on unpainted plastic parts, the upper side cowl appears to be painted black.
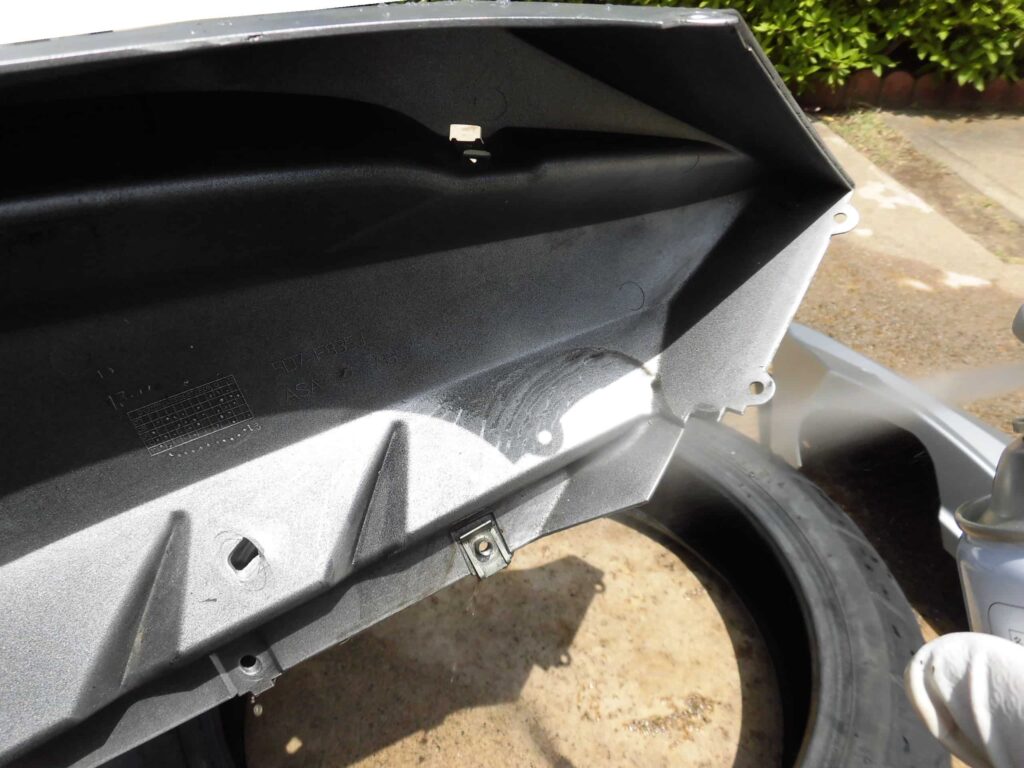
Apply ceramic coating 1
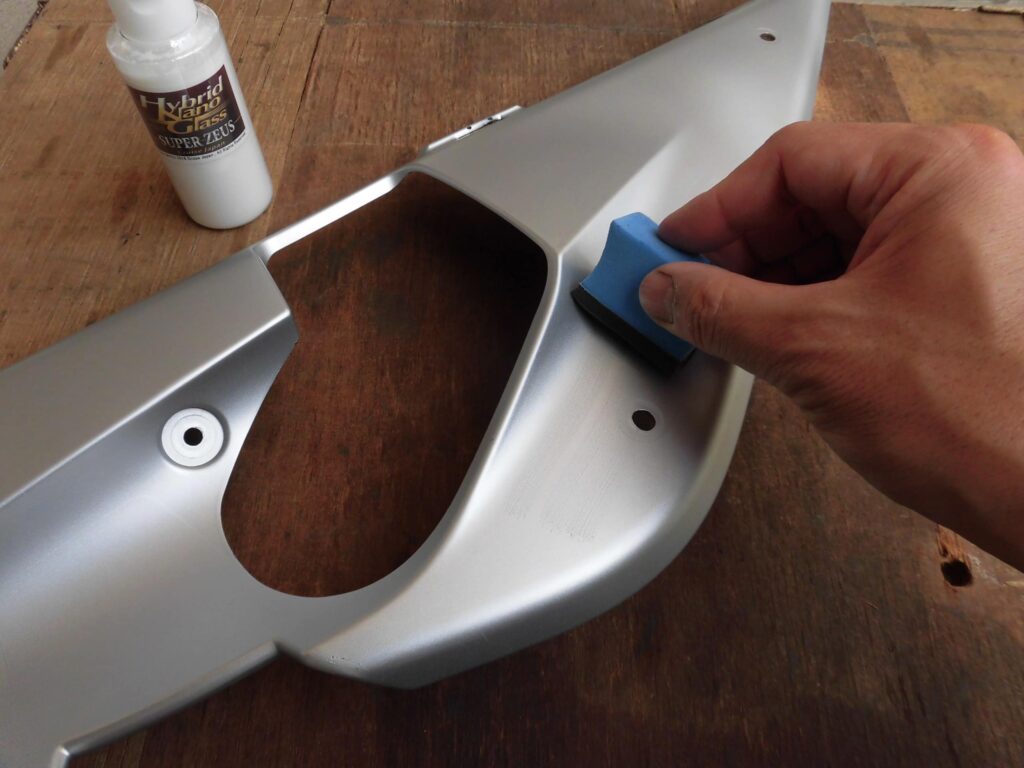
<Apply ceramic coating 1>
Put a few drops of the ceramic coating on a sponge and spread it over the entire cowl.
Apply vertically and horizontally without worrying about unevenness and making sure there is no residue.
Is it easier than waxing as you don’t have to worry about unevenness?
Apply ceramic coating 2
<Apply ceramic coating 2>
Leave for 30 minutes and then wipe off with a microfiber cloth.
For side covers, etc. where the surface is not shiny,
- Wiped with a tightly wrung microfiber cloth.
- Afterwards, wiped dry to finish.
Layers of coatings
This is divided into three days,
Front side: 3 times
Back side: 2 times
and then the heads of the bolts and screws were also coated…
I got tired of working on the stones.
3. Summary
Unfortunately, the cowls and panels in this case is pear-shaped, so it did not have a translucent sheen.
Nevertheless, it is very easy to remove dirt when it gets on it and can be easily removed simply by washing with water.
- Removing the panels and cowls allows the coating to be applied in depth.
- Use plastic coating for panels and ceramic coating for cowls.
- Washing with water is easier if the tire is used as a platform.


