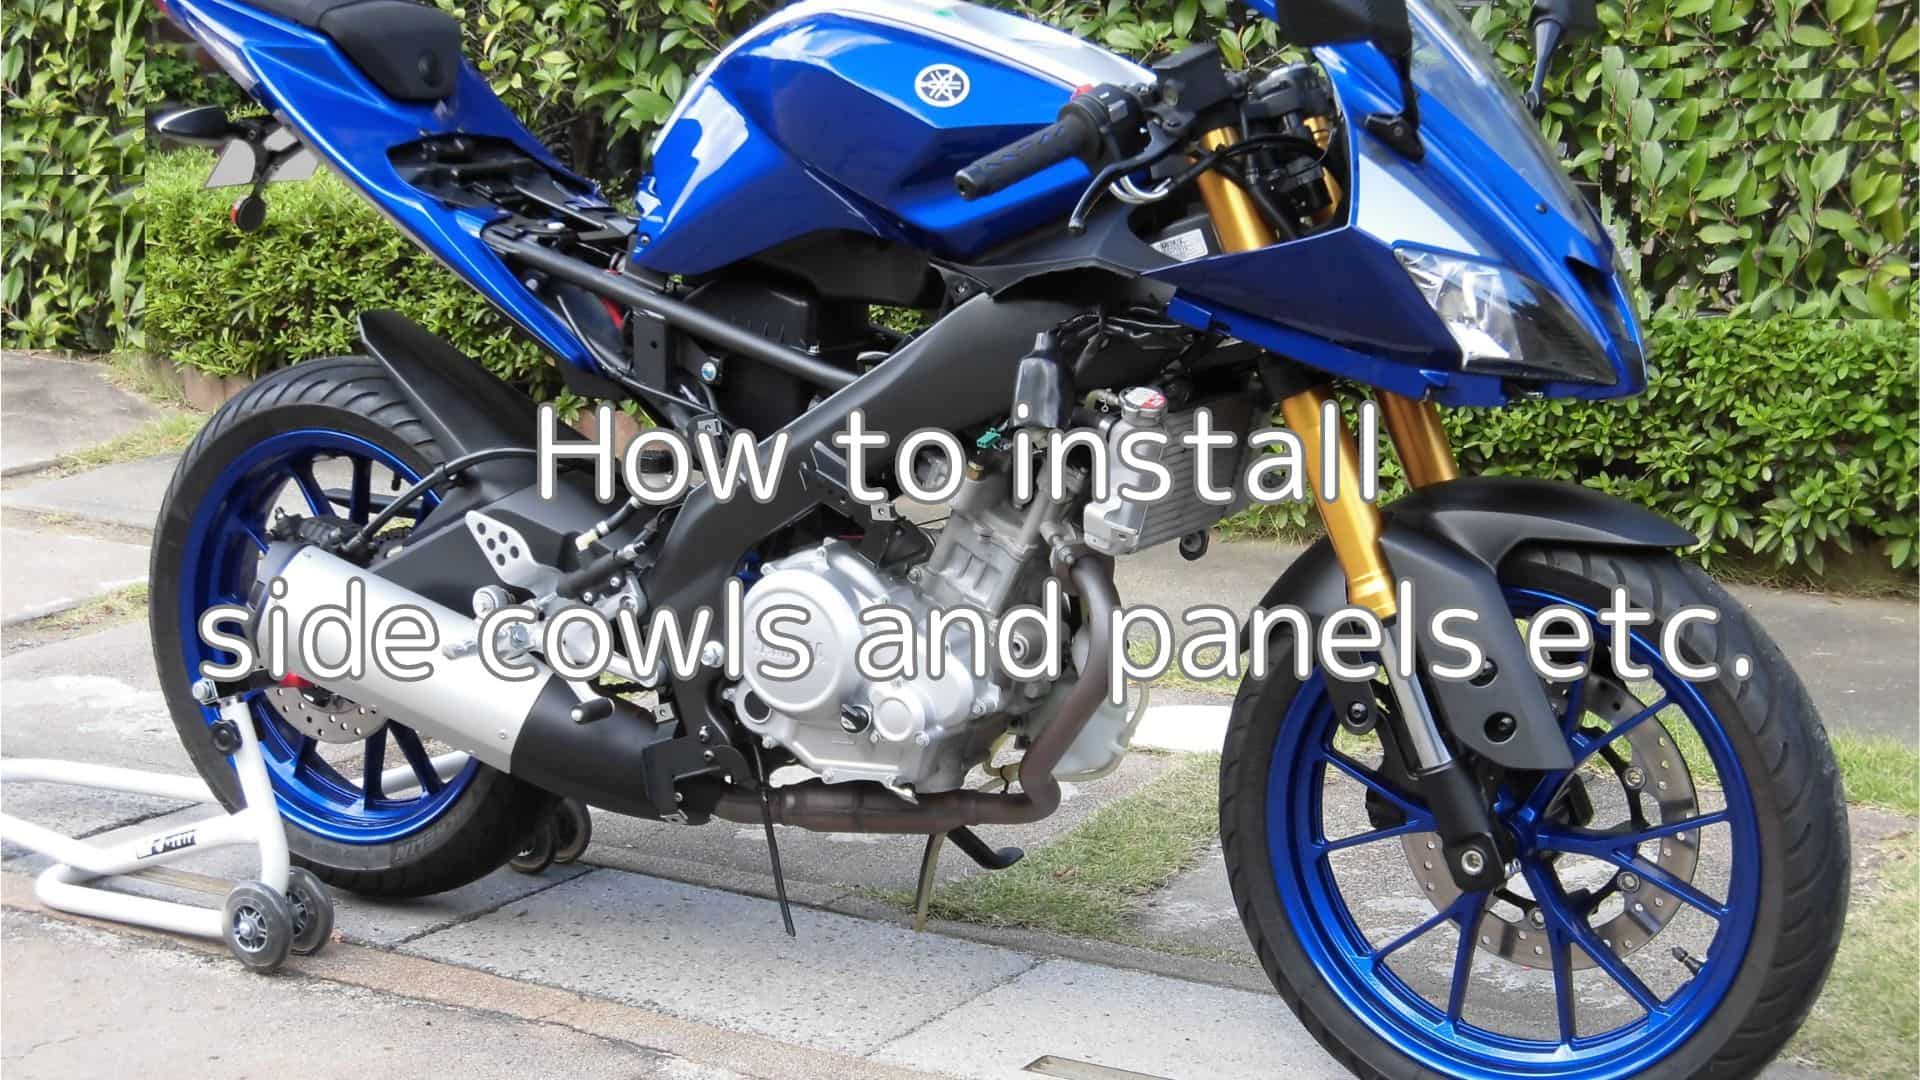
1. Some small precautions for installation
Here is a list of things to look out for when installing that I may not have noticed when removing.
Have you experienced any of the following when fitting?
Though I tried to fit side cowls/panels etc.,
- The hole positions do not match.
I have installed the side cowl/panel etc., but,
- I feel like I’m putting too much strain on them…
- I have too many bolts and tapping screws…
If you have, you may be able to solve these problems with a little more awareness and ingenuity.
From this article you will know the following.
- How to install side cowls, panels, etc. without strain
- Points when tightening tapping screws
- How to attach side cowls, panels, etc.
(For information on how to remove cowls and panels etc., see maintenance record “How to remove side cowls and panels etc.”).
| Date | 15th May 2021 |
| Subjects | Maintenance, Failure, Repair |
| Shop or DIY | DIY |
| Difficulty | |
| Working hours | 0.5 |
| Costs | 0 Yen (Use what I have) |
Goods to use:
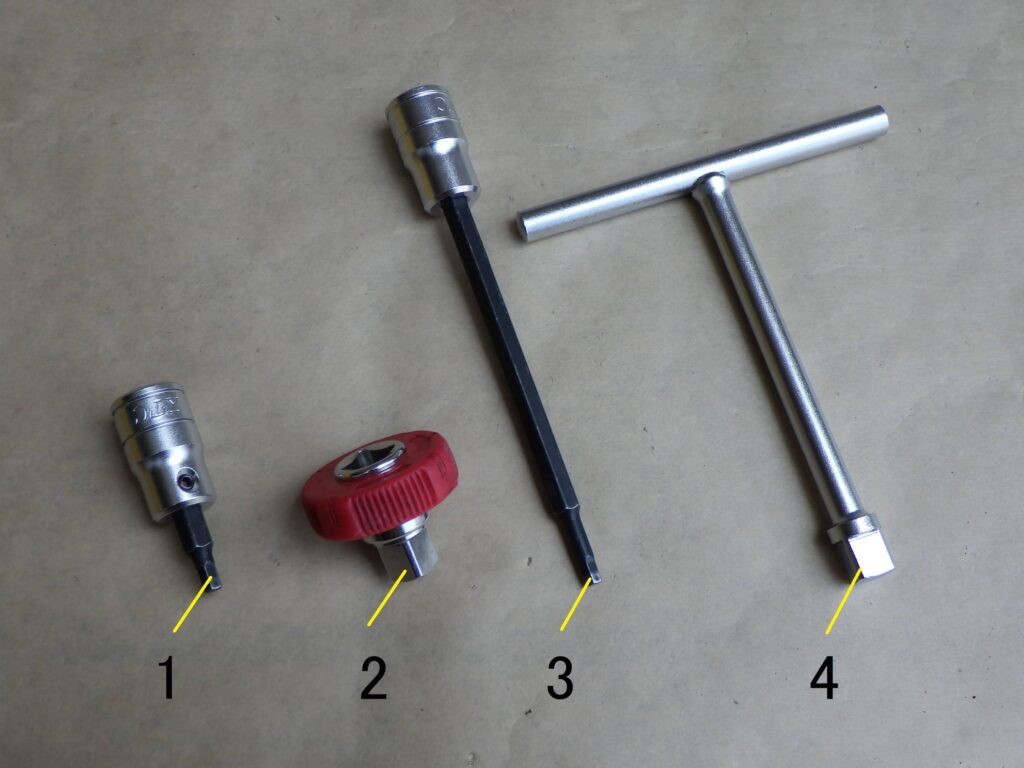
| No. | Name | Manufacturer | Parts number | Quantity | Amounts [Yen] |
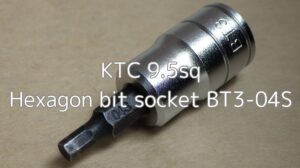
| 1 | Hexagon bit socket (4mm) | KTC | BT3-04S | 1 | 1,012 |
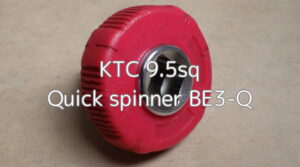
| 2 | Quick spinner | KTC | BE3-Q | 1 | 2,046 |
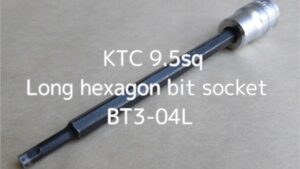
| 3 | Long hexagon bit socket (4mm) | KTC | BT3-04L | 1 | 1,485 |
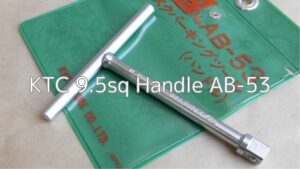
| 4 | Handle | KTC | AB-53 | 1 | 2,365 |
| 6,908 |
*A hexagonal wrench from an on-board tool is sufficient to carry out this work.
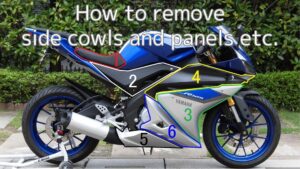
2. How to install side cowls and panels etc. (STEP 1-18)
Sequence in which cowls and panels etc. are installed.
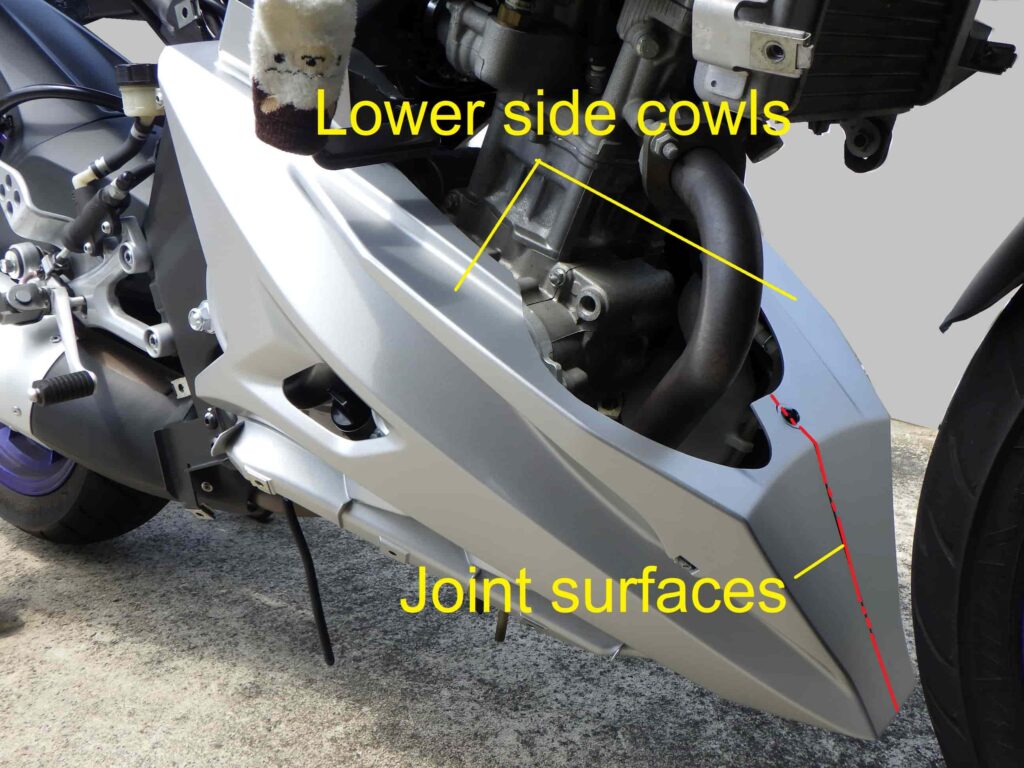
<Lower side cowls>
If you have removed the left and right cowl and panels etc., start with the lower side cowl and install it.
The only place where the left and right sides touch each other is here, so tighten the joint surfaces before tightening them to the vehicle body.
Other cowls and panels etc. can be installed separately on the left and right side without any problems.
Tightening bolts and screws
<Bolts and tapping screws>
From the 5D7 service manual, the tightening torques are as follows.
- Bolts … some specified at 7 Nm
- Tapping screws: not specified
The actual tightening of the cowl and panels etc. is done alternately with bolts and tapping screws.
So, I do not use a torque spanner for the following reasons.
- It takes time to change torque spanners.
- Tapping screws are tightened by increasing or decreasing the amount of torque.
Notes on tapping screws
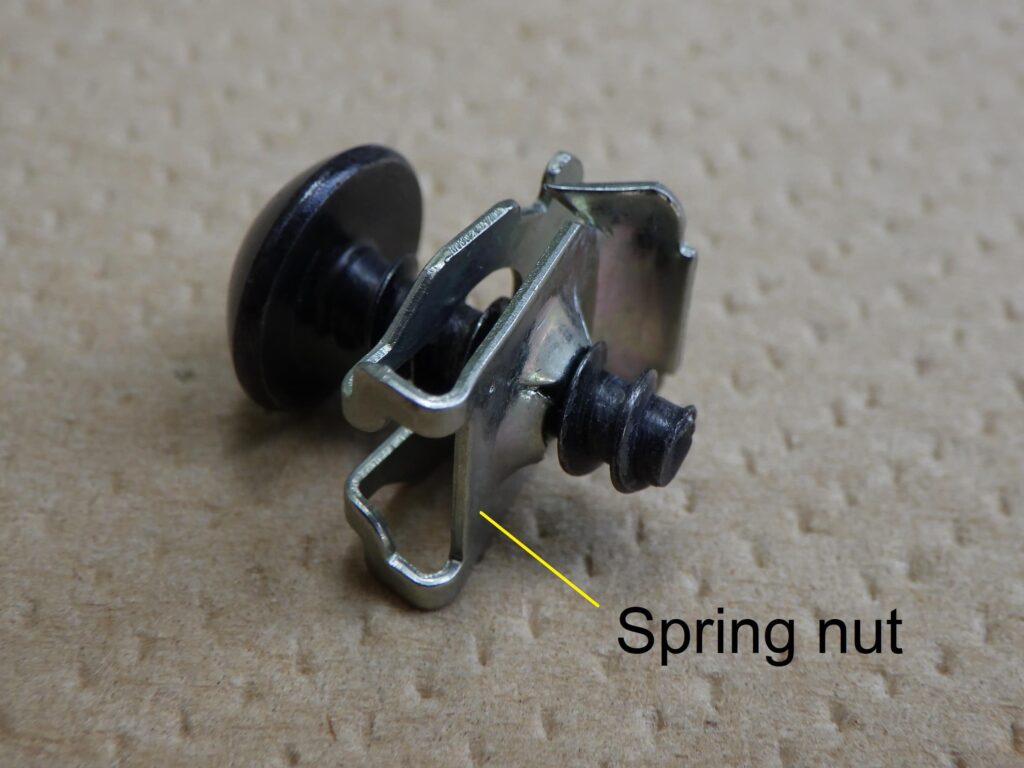
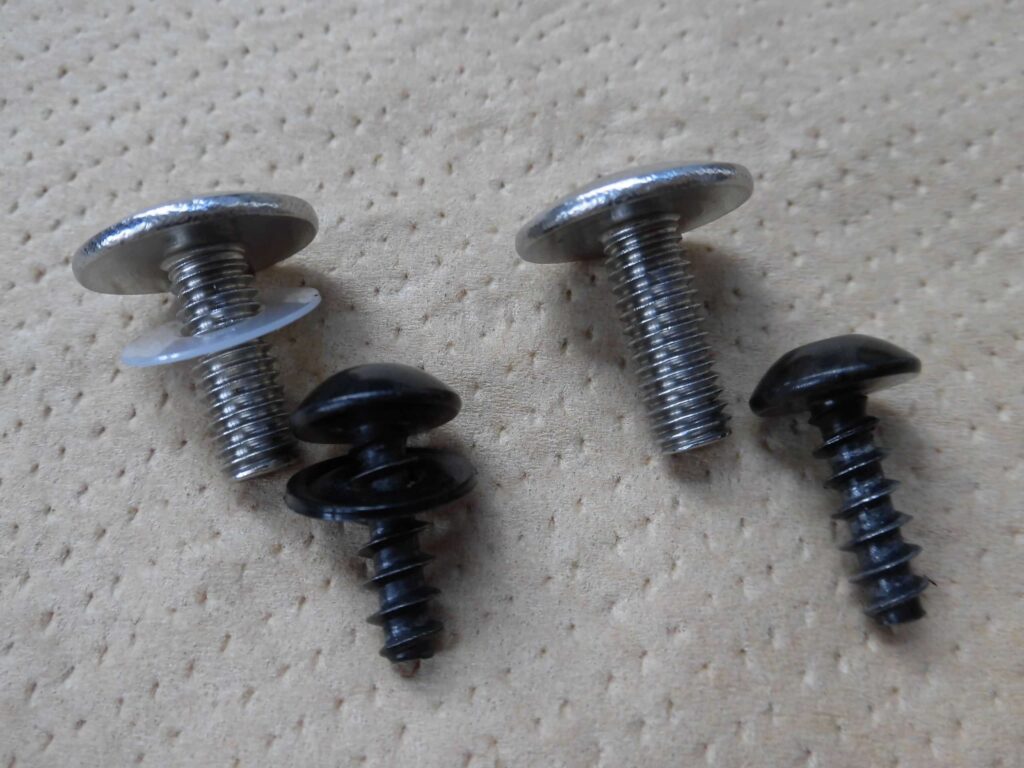
<Tapping screw and spring nut>
The tapping screw is held in place by a plate spring nut.
The click on this spring nut can easily break off if it is over-tightened.
So, care must be taken not to overtighten it.
Bolts and screws, others for mounting
<Bolts and screws, others for mounting>
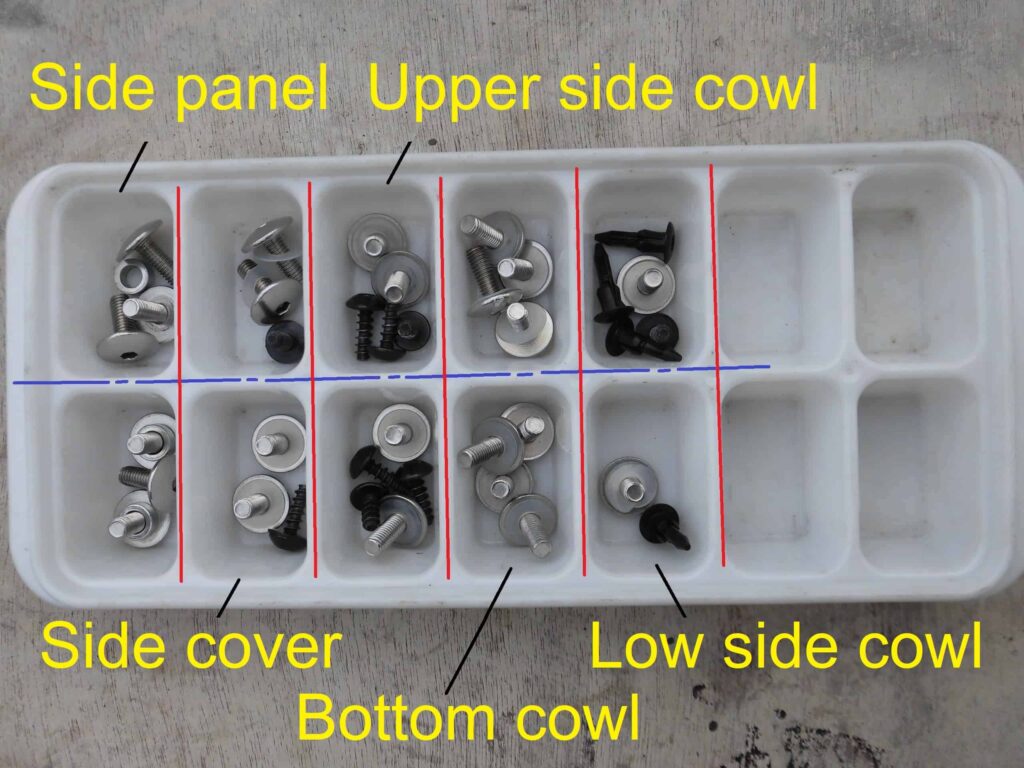
When I removed the parts, I put the bolts and screws, etc. in the parts tray for each part.
So, as each part is emptied during installation, I will immediately notice that I forgot to tighten them if there are any left over.
Install lower side cowl 1
Now I will install the cowl and panels, etc.
From here on, if not stated otherwise, the picture will be on the left.

<Install lower side cowl 1>
Insert the upper push rivet.
At this point, insert them into the holes on the right side, not the holes on the left side in the picture.
The holes on the left side are for tightening the bolts when fixing the upper side cowl.
Right-hand bracket
Push-rivet the right-hand lower side cowl in the same way.
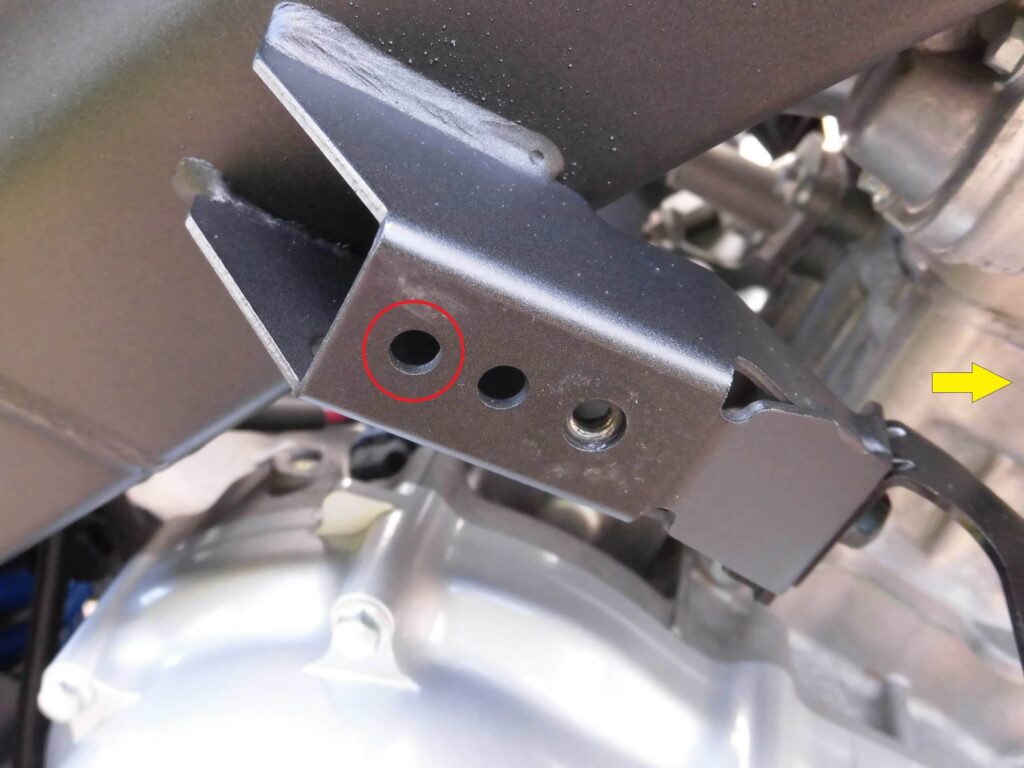
<Right-hand bracket>
○ is the hole for the push rivet, but the right side has three holes in the bracket, so it is even easier to mistake it.
Be careful. Even now, I sometimes make mistakes.
Install lower side cowl 2

<Install lower side cowl 2>
Fix the left and right lower side cowls,
○: Insert the push rivets (2 places)
○: Tighten the tapping screws using a quick spinner with a 4 mm hexagon socket.
Take care to ensure that there is no gap between the left and right side.
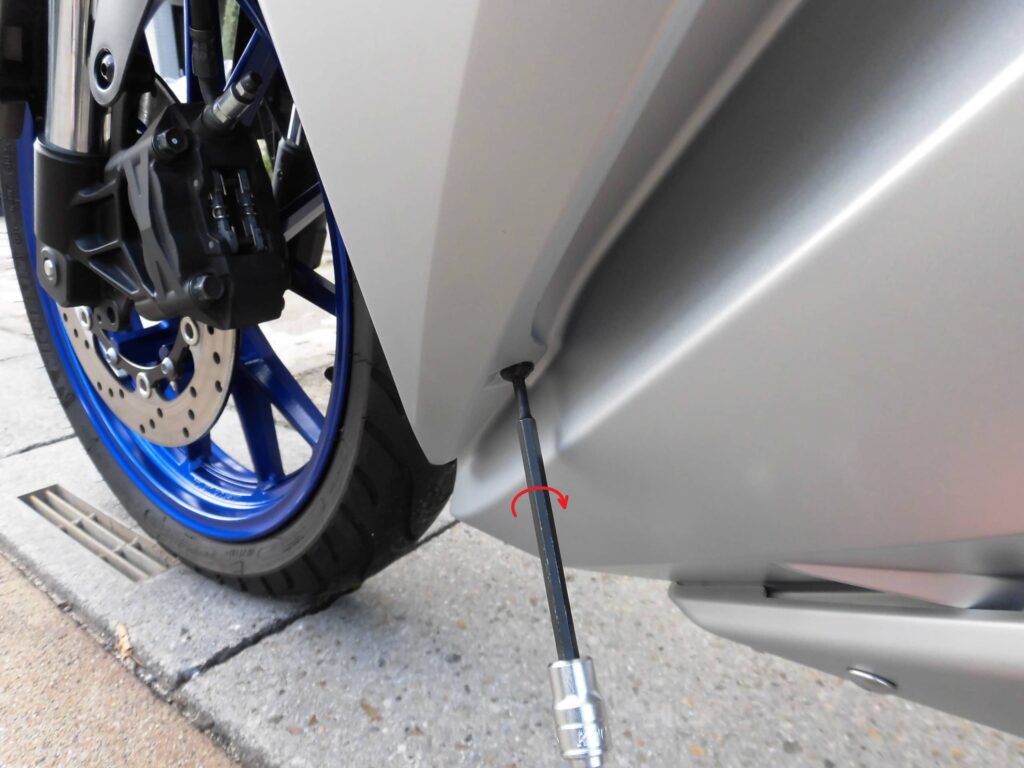
Install lower side cowl 3
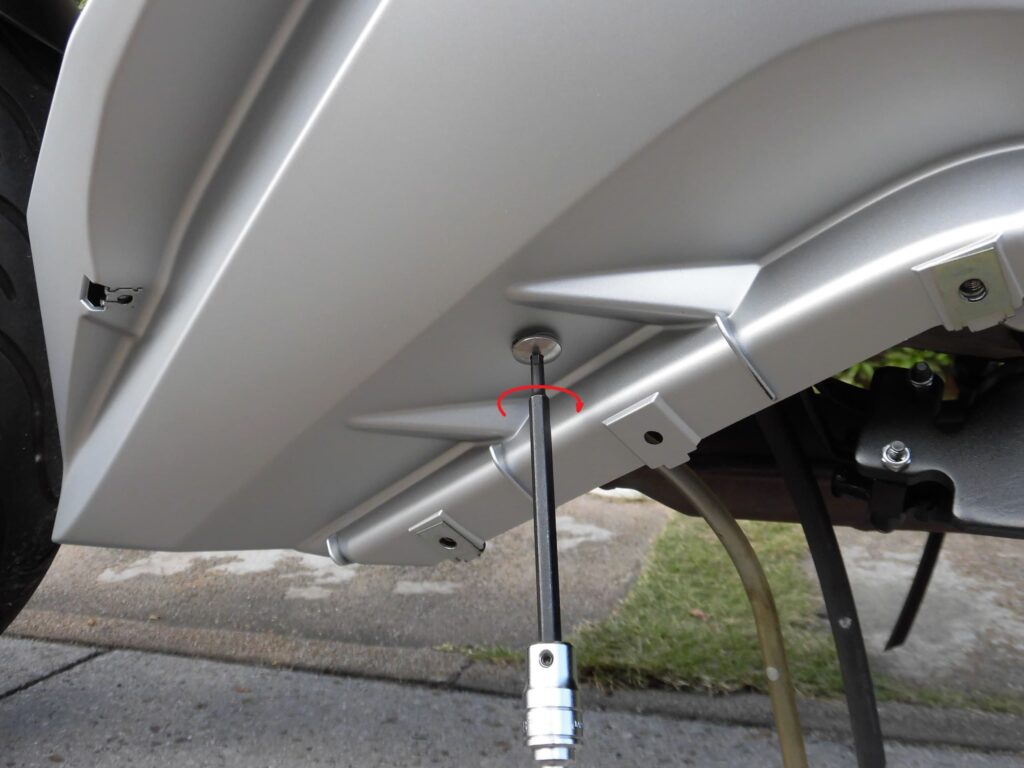
<Install lower side cowl 3>
Temporarily tighten the bolts with a T-bar handle fitted with a hexagon socket (4 mm).
Tighten in a position where there is no stress on either side.
Install bottom cowl 1
Next, install the bottom cowl.
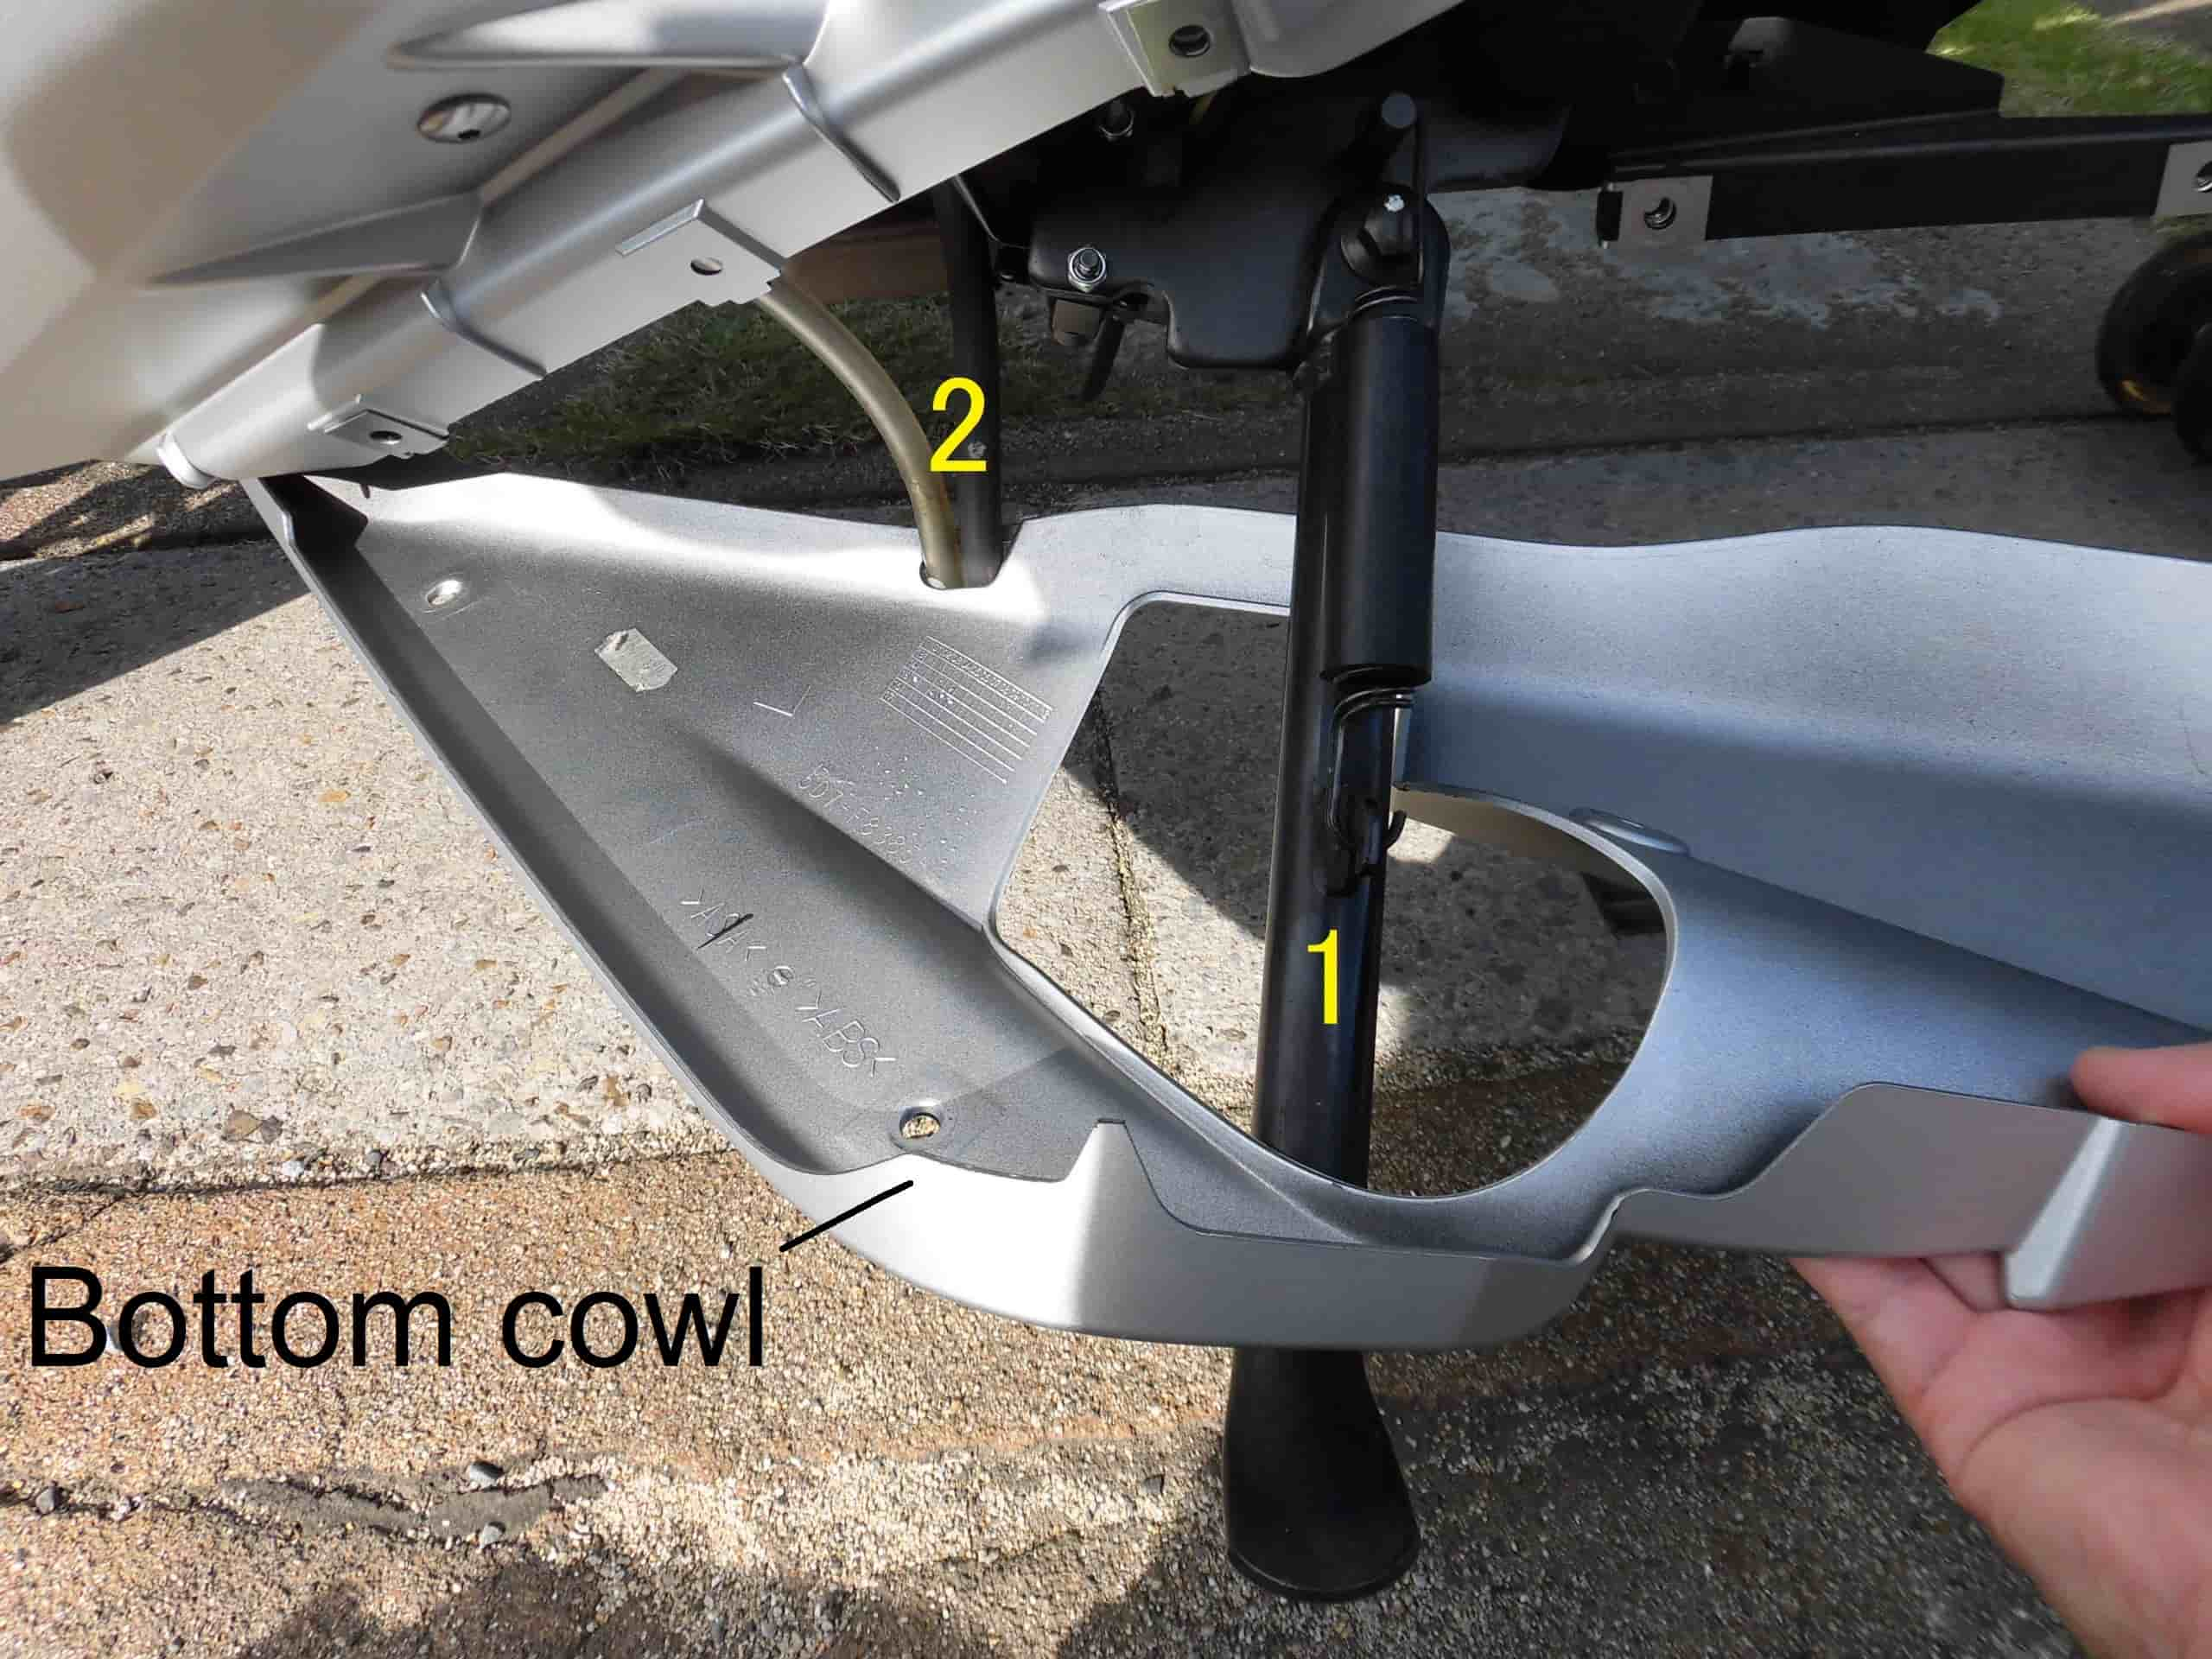
<Install bottom cowl 1>
Pass the bottom cowl through the following, taking care not to hit the ground.
- Side stand
- Breather hoses (2 pieces)
At this point, leave the side stand down.
Install bottom cowl 2

<Install bottom cowl 2>
Hook (place) the protrusion at the end of the bottom cowl onto the lower side cowl, as shown in the photo.
Install bottom cowl 3
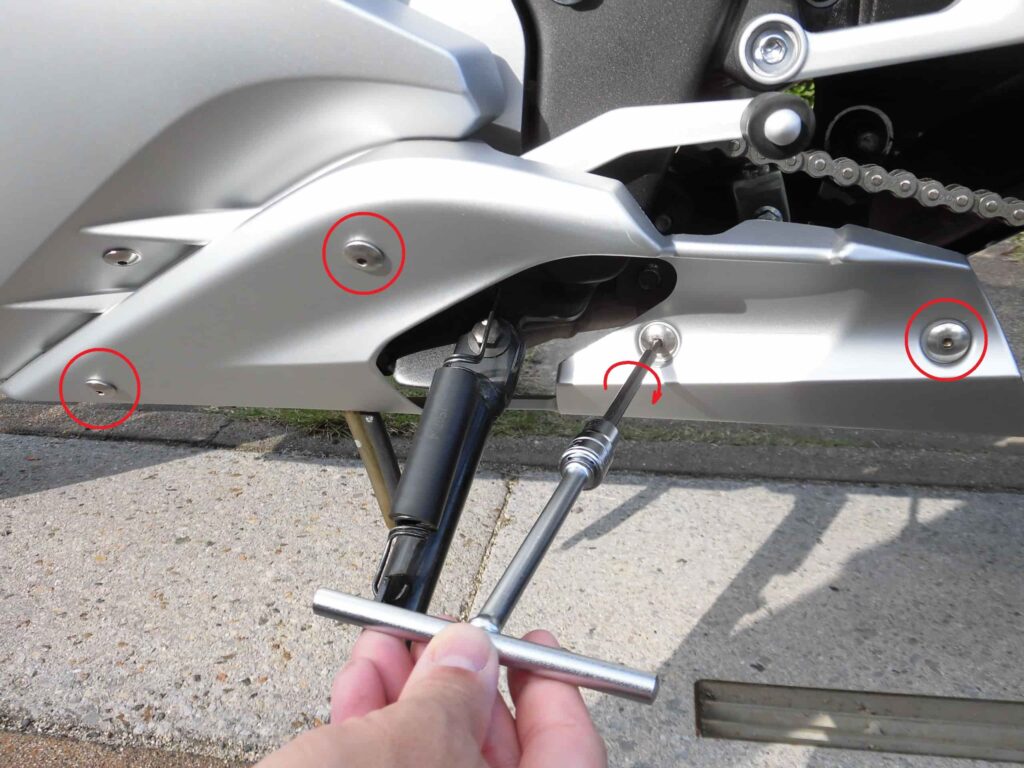
<Install bottom cowl 3>
Temporarily tighten the bolts (4 places) with a T-bar handle with a hexagon socket (4 mm).
Then tighten the bolts (4 places).
Wiring connections for turn signals
Next, fit the upper side cowl.
Hang the covers on the brackets securing the side covers in the same way as when removing them.
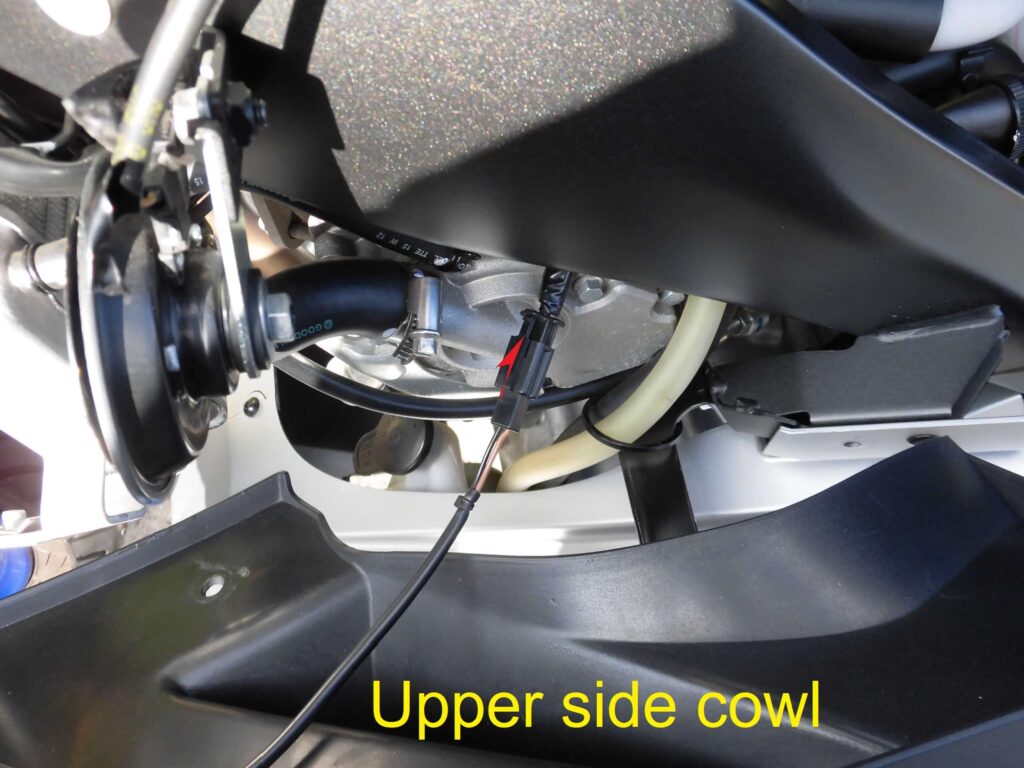
<Wiring connections for turn signals>
First, connect the turn signal wire.
Just plug them in all the way to the back.
Sometimes I forget to attach them and am disappointed at the end.
Install upper side cowl 1
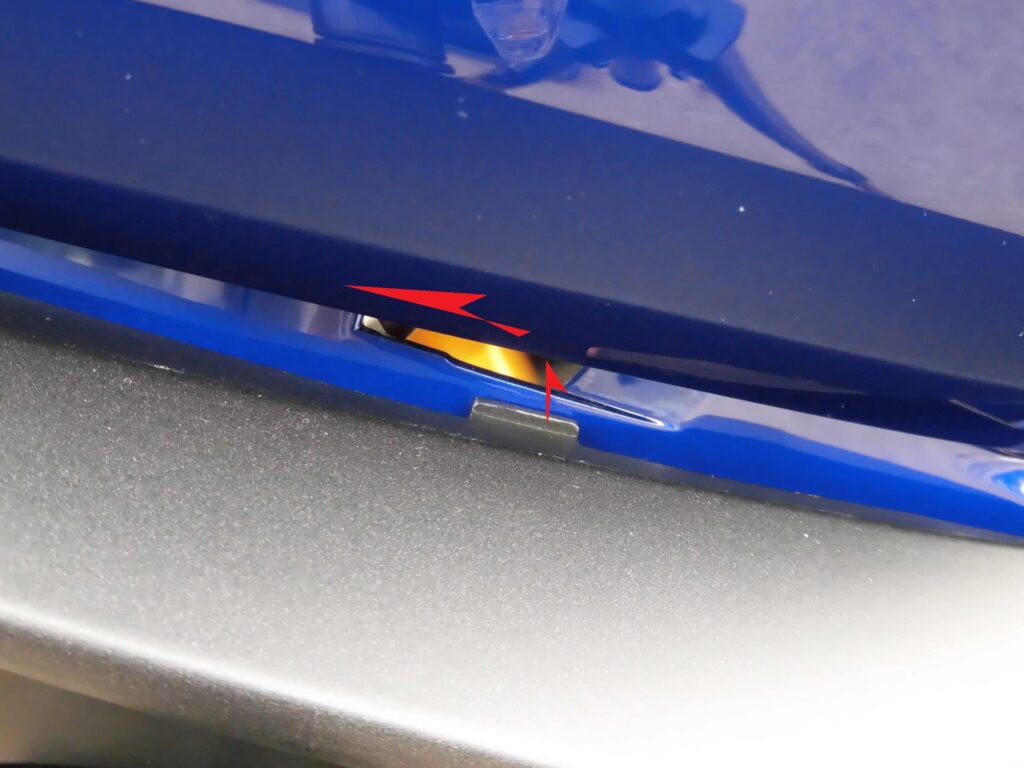
<Install upper side cowl 1>
Lock the upper side cowl protrusions through the holes in the front cowl and backwards.
Install upper side cowl 2
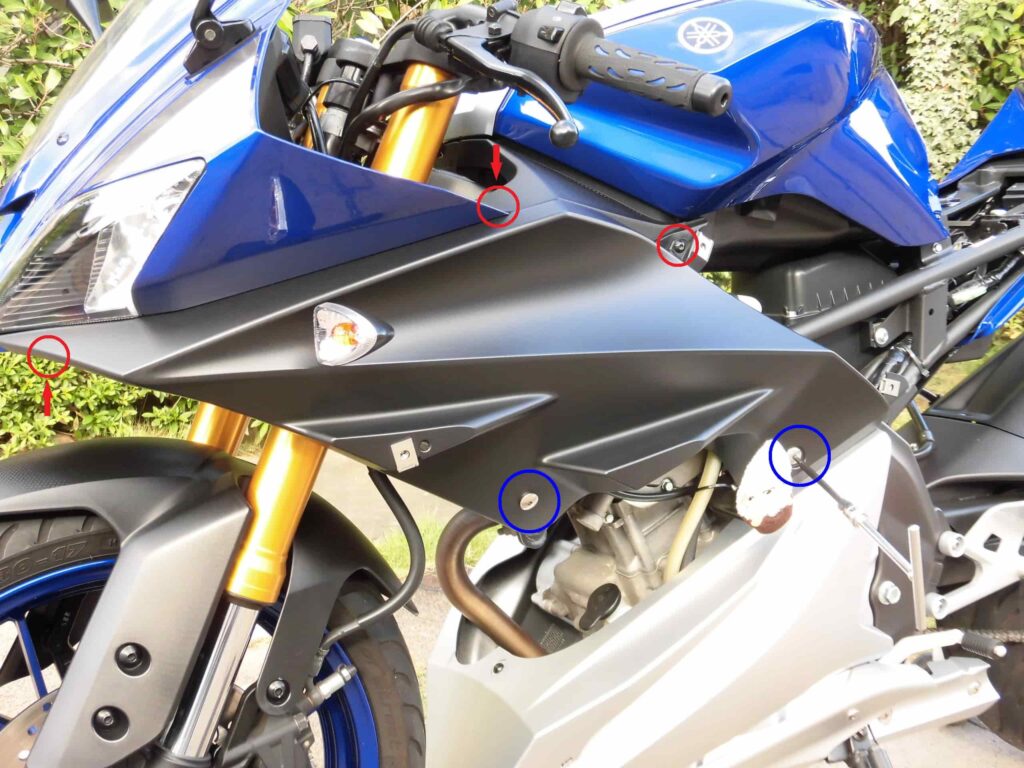
<Install upper side cowl 2>
With quick spinner and T-bar handle with hexagon socket (4 mm),
○: Tighten the tapping screws (3 places) temporarily.
○: Tighten the bolts (2 places) temporarily.
Then tighten the tapping screws first and then the bolts.
Also, remember to remove the cover from the bracket.
Install side cover 1
Next, install the side cover.
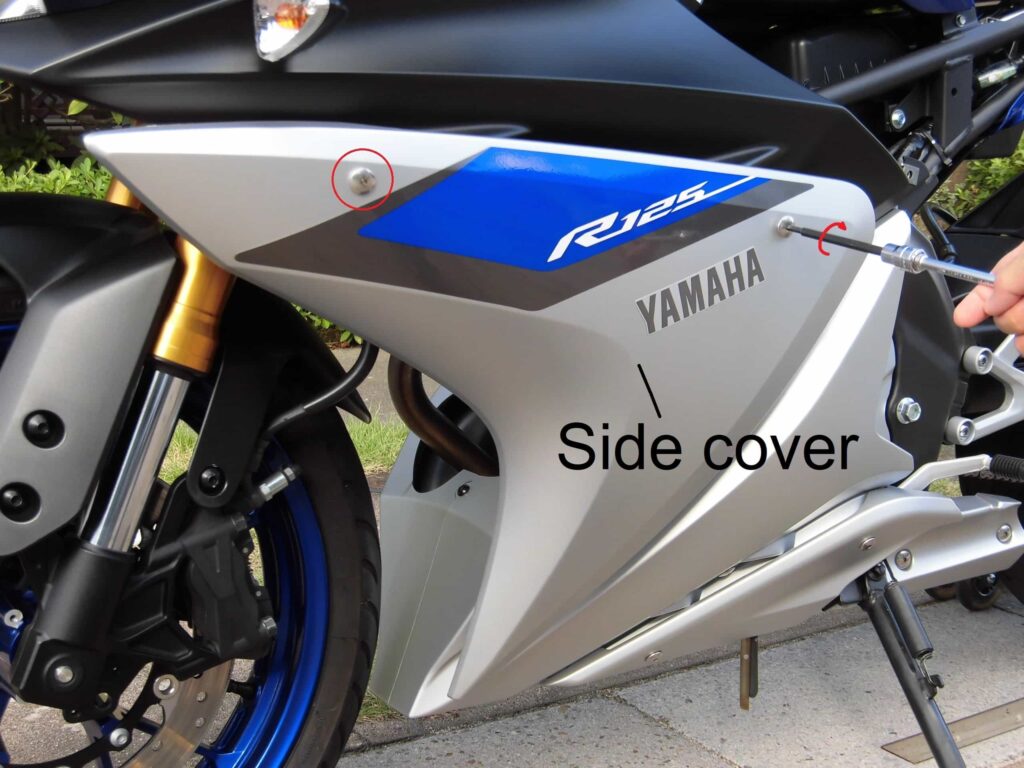
<Install side cover 1>
Temporarily tighten the side bolts (2 places) with a T-bar handle fitted with a hexagon socket (4 mm).
Install side cover 2
<Install side cover 2>
Tighten the lower tapping screw.
Then tighten the side bolts (2 places).
Install side panel 1
Next, install the side panel.
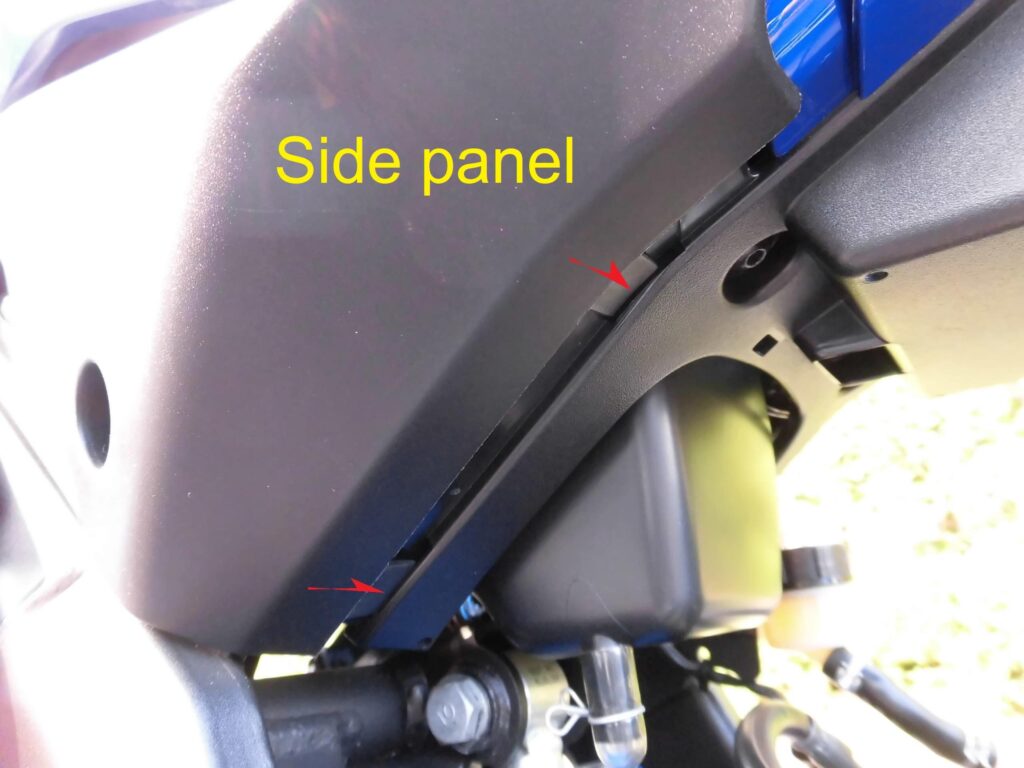
<Install side panel 1>
Insert the side panel click into the hole in the mudflap.
One time, I tightened it without realizing it was off.
Install side panel 2
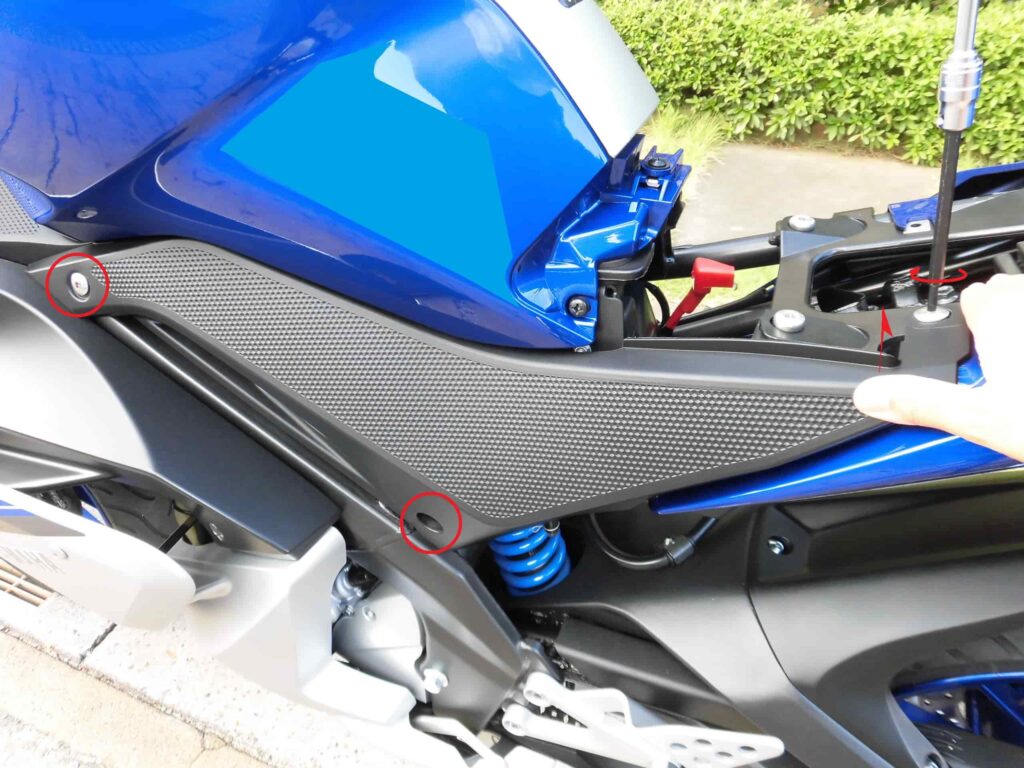
<Install side panel 2>
Temporarily tighten the bolts (3 places) with a T-bar handle with a hexagon socket (4 mm), taking care not to forget to attach the collar.
Tighten the bolts under the seat by pushing the side panel towards the vehicle body.
Afterwards, tighten the bolts.
Tighten the right side in the same way to complete the process.
3. Summary
Fortunately, my moto never seems to have been knocked over (I bought used) and the brackets are not bent, and I can tighten them without stress every time.
One time, a plate washer (clear plastic part) was left in the parts tray, but it happens.
- Installation starts with aligning the left and right joint surfaces of the lower side cowl.
- Be careful not to over-tighten the tapping screws.
- Use the parts tray to avoid forgetting to install.


