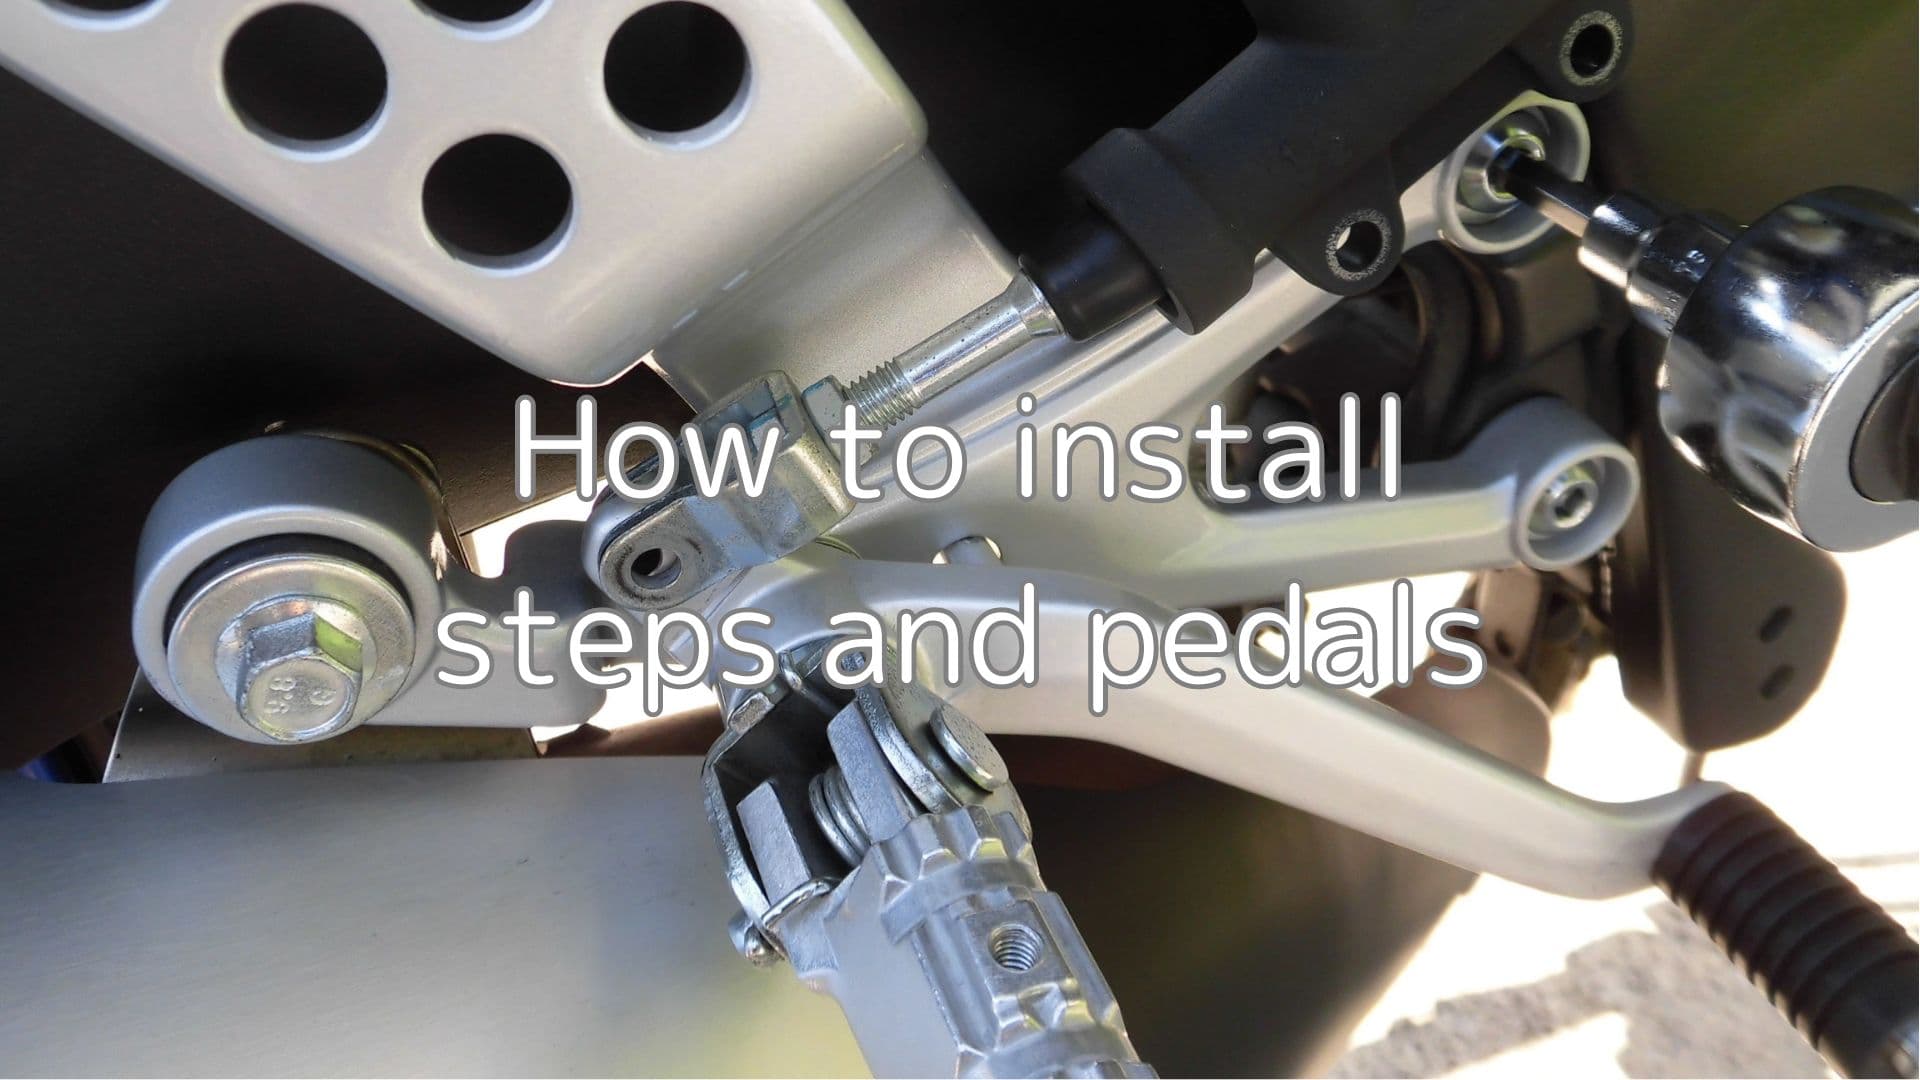
1. Install cleaned steps and pedals
This is a continuation of the maintenance record “Check and Clean steps and pedals”.
A torque wrench is used extensively around the step and pedal area, as tightening torques are specified.
The tightening torques are written in the R125.com service manual, but they are divided into several parts.
So, you can find out more quickly here.
From this article you can find out the following.
- How to install steps and pedal
- Example of fixing with R-pin
| Date | 12th June 2021 |
| Subjects | Maintenance, Failure, Repair |
| Shop or DIY | DIY |
| Difficulty | |
| Working hours | 0.5 |
| Costs [Yen] | 50 |
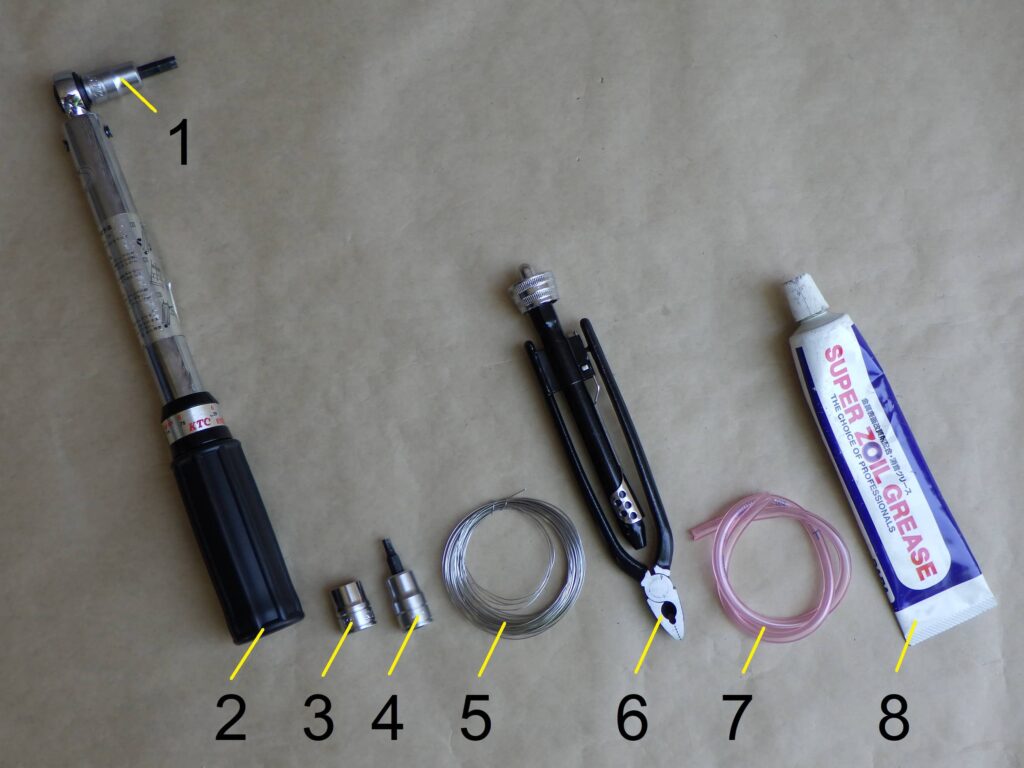
Goods to use:
| No. | Name | Manufacture | Parts number | Quantity | Amounts [Yen] | Purchasing this time |
| 1 | Hexagon bit socket (6mm) | KTC | BT3-06S | 1 | 1,012 | |
| 2 | Torque wrench (Small) | KTC | CMP0252 | 1 | (44,990) | |
| 3 | Socket wrench (12mm) | KTC | B3-12 | 1 | 880 | |
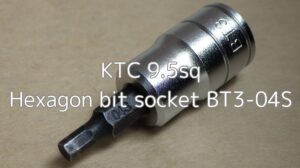
| 4 | Hexagon bit socket (4mm) | KTC | BT3-04S | 1 | 1,012 | |
| 5 | Wire (0.35mm) | – | – | 1 | (200) | |
| 6 | Wire twister | KITAKO | 674-0500502 | 1 | 5,280 | |
| 7 | Vinyl hose (6mm) | – | – | 1 | 50 | ○ |
| 8 | Lithium grease | Super zoil | ZG100 | 1 | 2,420 | |
| 55,844 | 50 |
2. How to install steps and pedals (STEP 1-11)
Install bracket 1
Now, install the bracket (step) to the frame.
Below is a picture of the right bracket, unless otherwise stated.
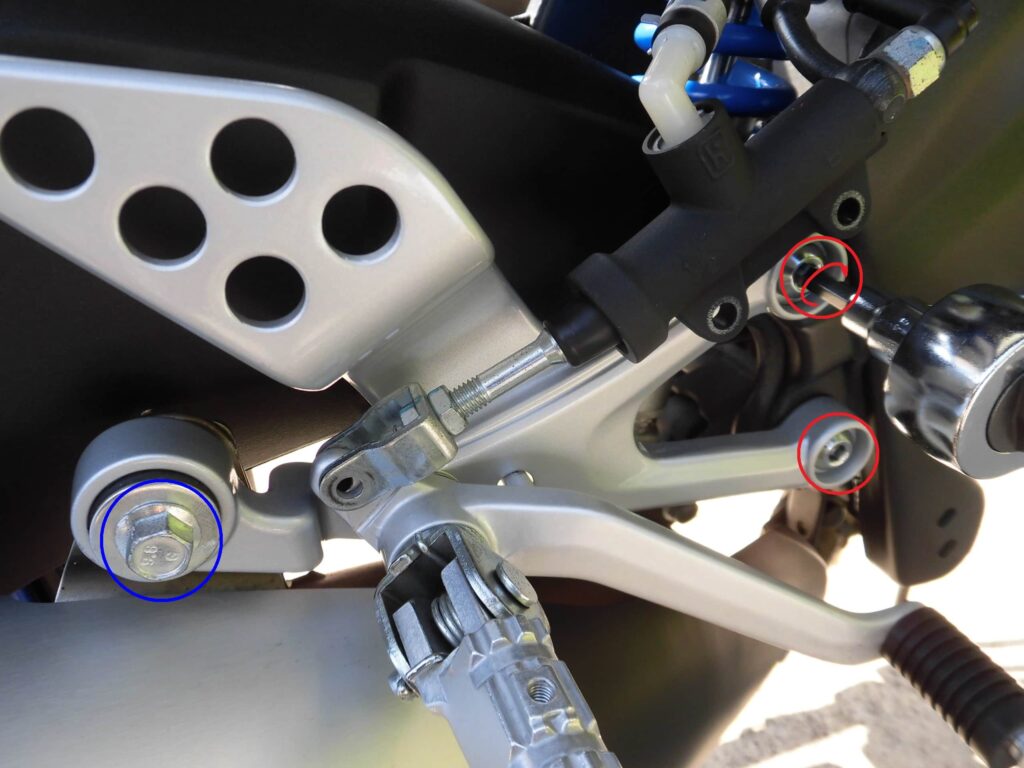
<Install bracket 1>
○: Bolt to fix the bracket
○: Bolt to fix the muffler
Tighten above bolts temporarily.
Then, using a torque wrench with a hexagon socket (6 mm), tighten the two bracket fixing bolts to 30 Nm.
Install bracket 2
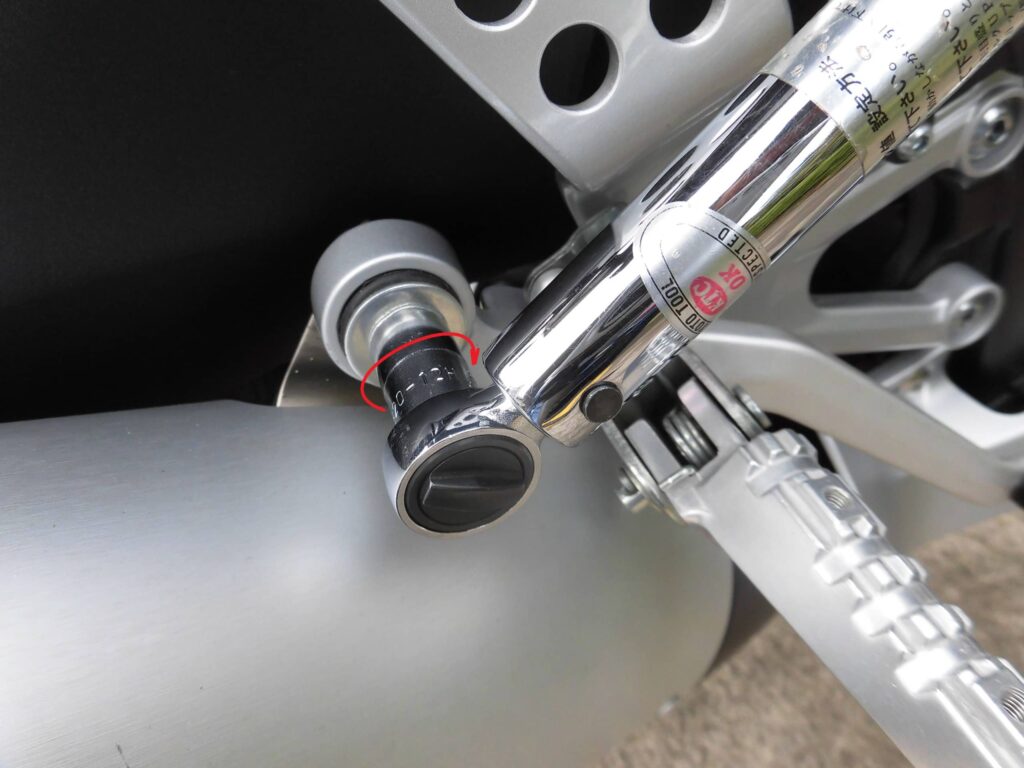
<Install bracket 2>
Then, using a torque wrench with a 12 mm socket, tighten the bolts securing the muffler to 20 Nm.
Mount master cylinder
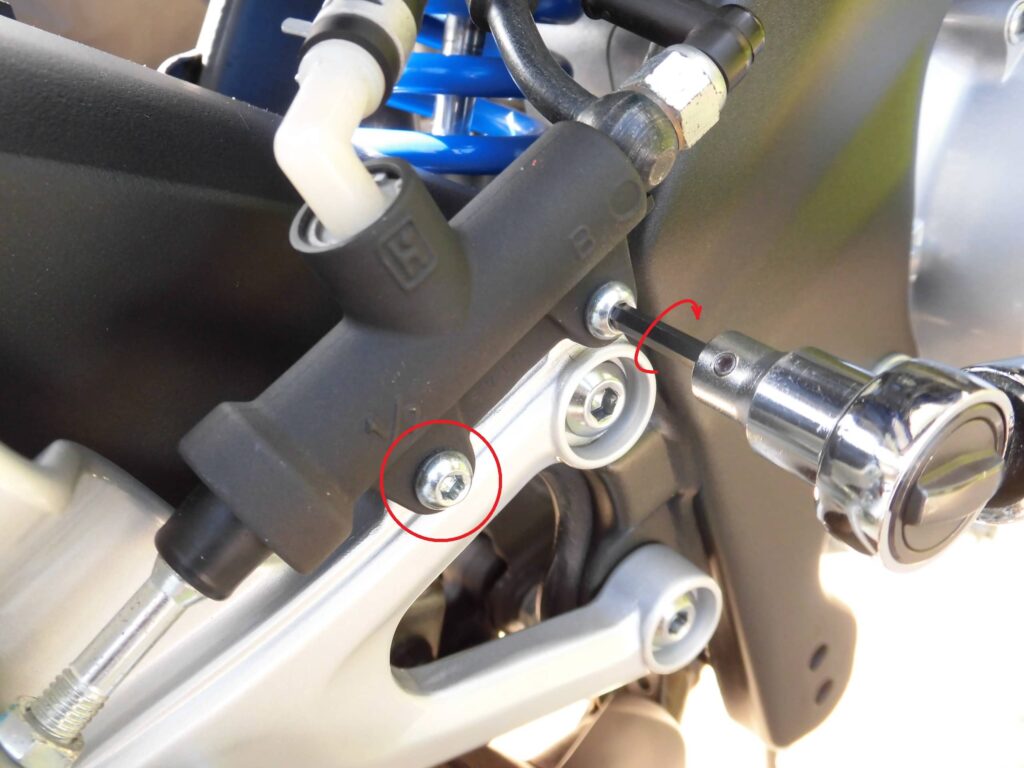
<Mount master cylinder>
Using a torque spanner fitted with a hexagon socket (4 mm), tighten two bolts securing the rear brake master cylinder to 13 Nm.
Install R-pin 1
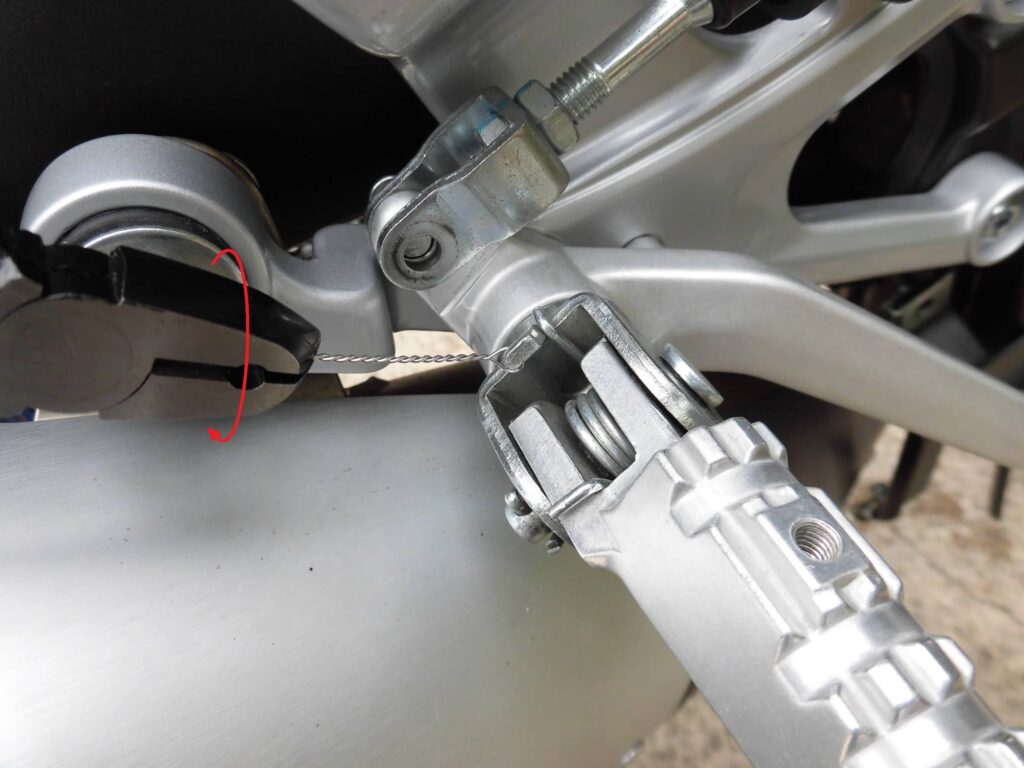
<Install R-pin 1>
Pass the wire holding the R-pin through the hole in the step and twist it with a wire twister.
Install R-pin 2
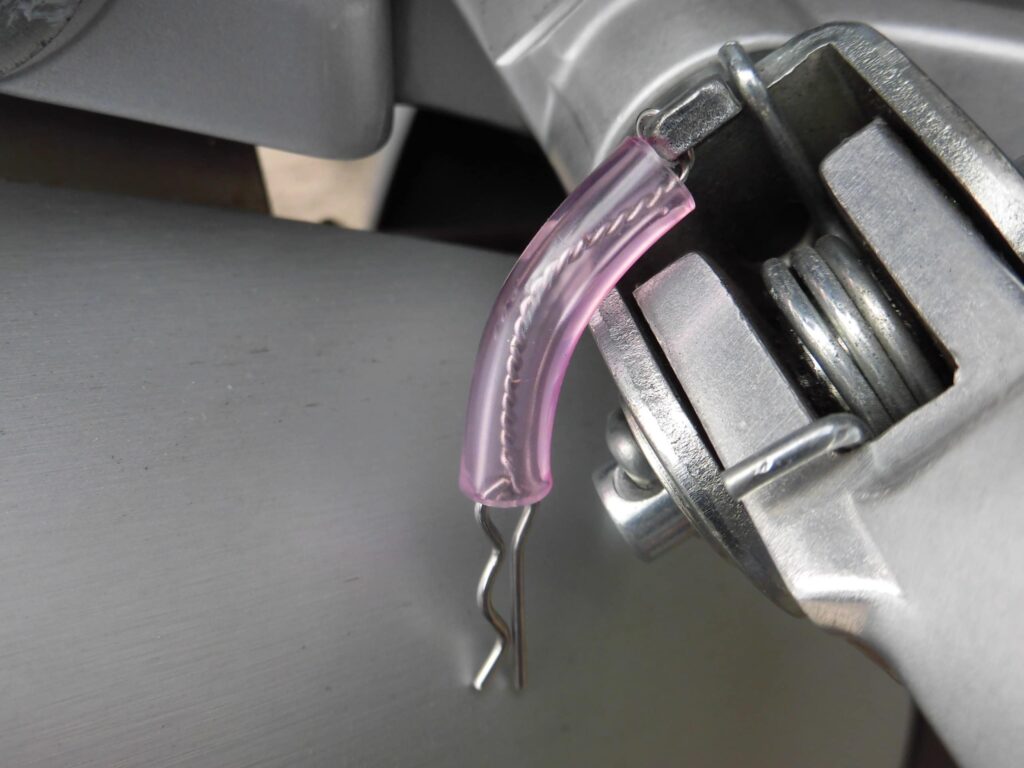
<Install R-pin 2>
Feed the wire through the vinyl hose and secure the R-pin.
Greasing of pin
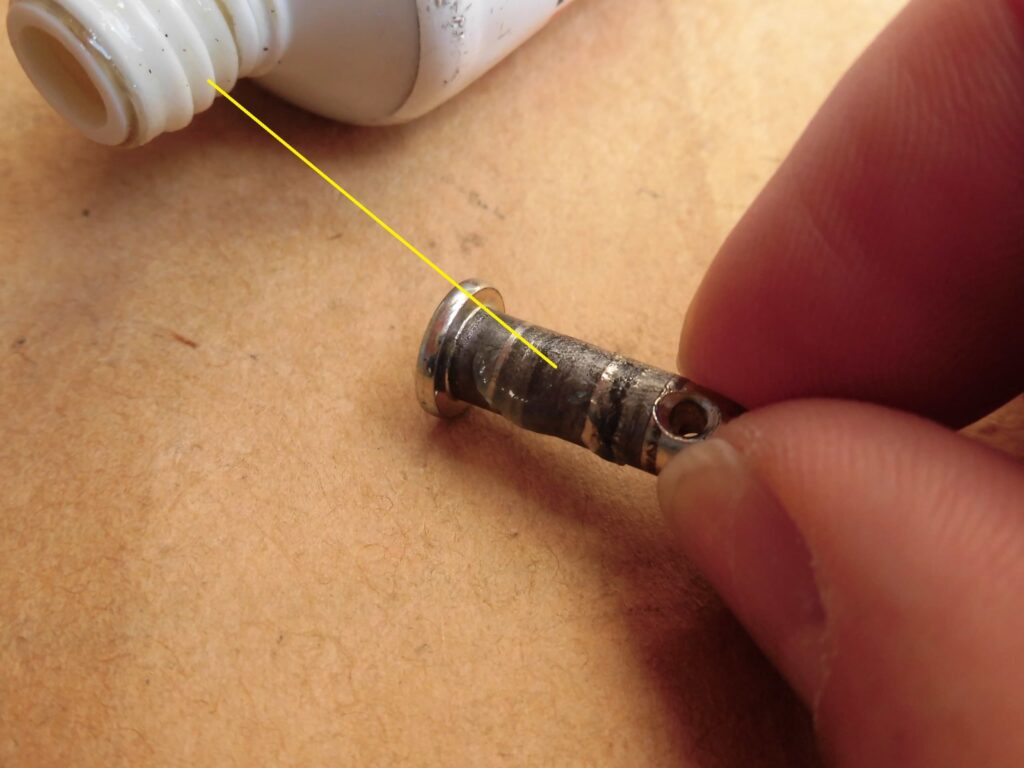
<Greasing of pin>
Grease the pushrod and the pin that stops the brake pedal.
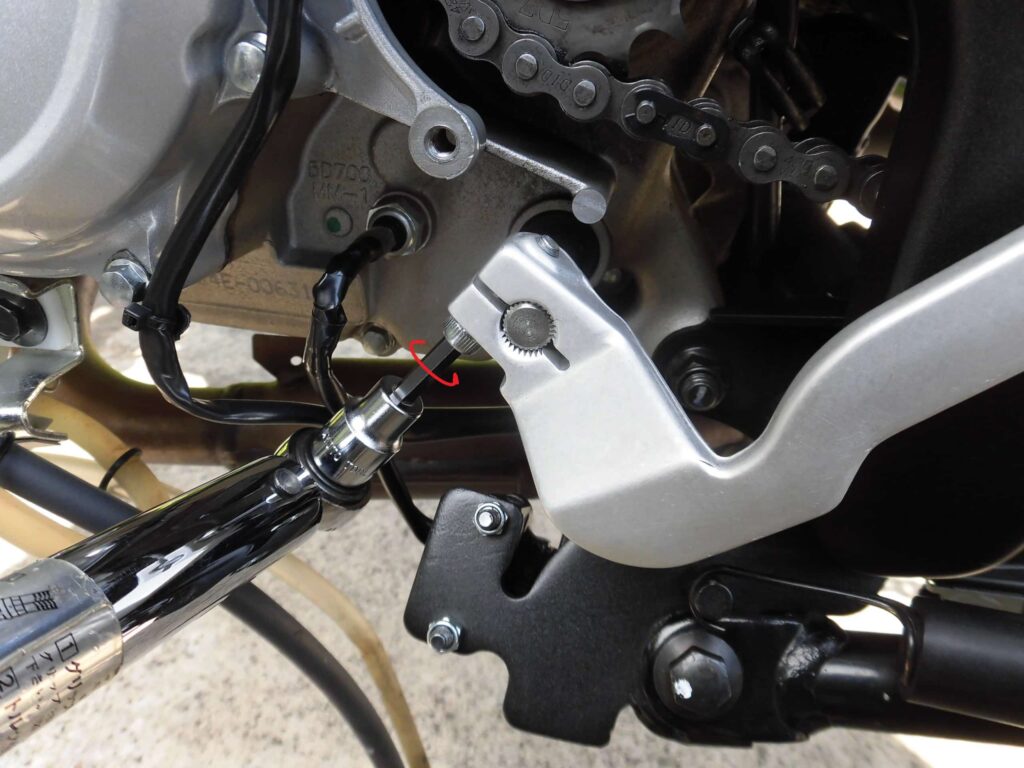
Install push rod

<Install push rod>
Pass the pin through from the back and then pass the R-pin prepared in STEP 5.
Note that this wire is to prevent the R-pin from being lost, not to stop the pin from coming off.
If force is applied in the direction in which the R-pin is pulled out, it will come off relatively easily.
Nevertheless, I have used the R-pin several times as a pin detent and fortunately it has never come off.
The left bracket is then installed in the same way.
Install shift pedal
<Install shift pedal>
Grease the shift shaft serrations and insert the shift pedal.
Then tighten the bolt to the shift pedal and tighten it with a torque wrench with a hexagon socket (6 mm) to 10 Nm.
By the way, the black marks I had initially put on the lever had disappeared.
So, I installed the lever position (angle) by eyeballing it.
(I managed to figure it out even without the mark, as the lever height changes by about 33 mm when the serrations are shifted by one frame).
Install side cowls and panels etc.
Finally, put the removed side cowls and panels etc. back on.
(See below for information on “How to install side cowls and panels etc.” back on).

Left step and pedal before and after comparison
Let’s now compare before and after work.
<Before checking and cleaning>
<After checking and cleaning>
I feel like it has more shine.
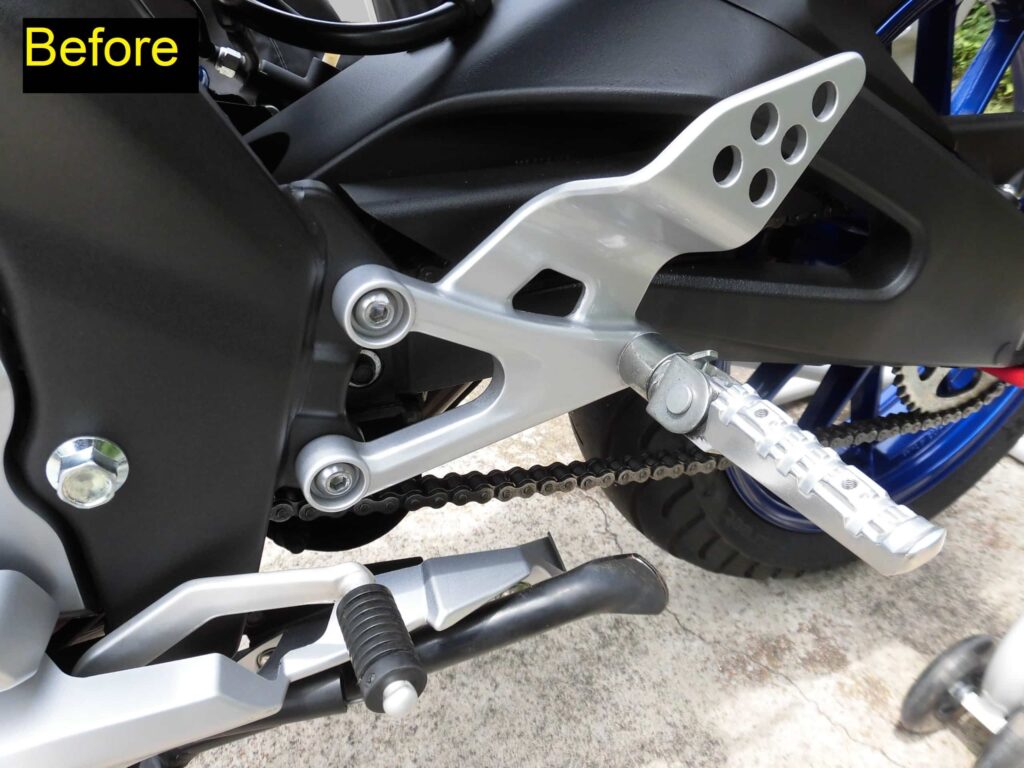
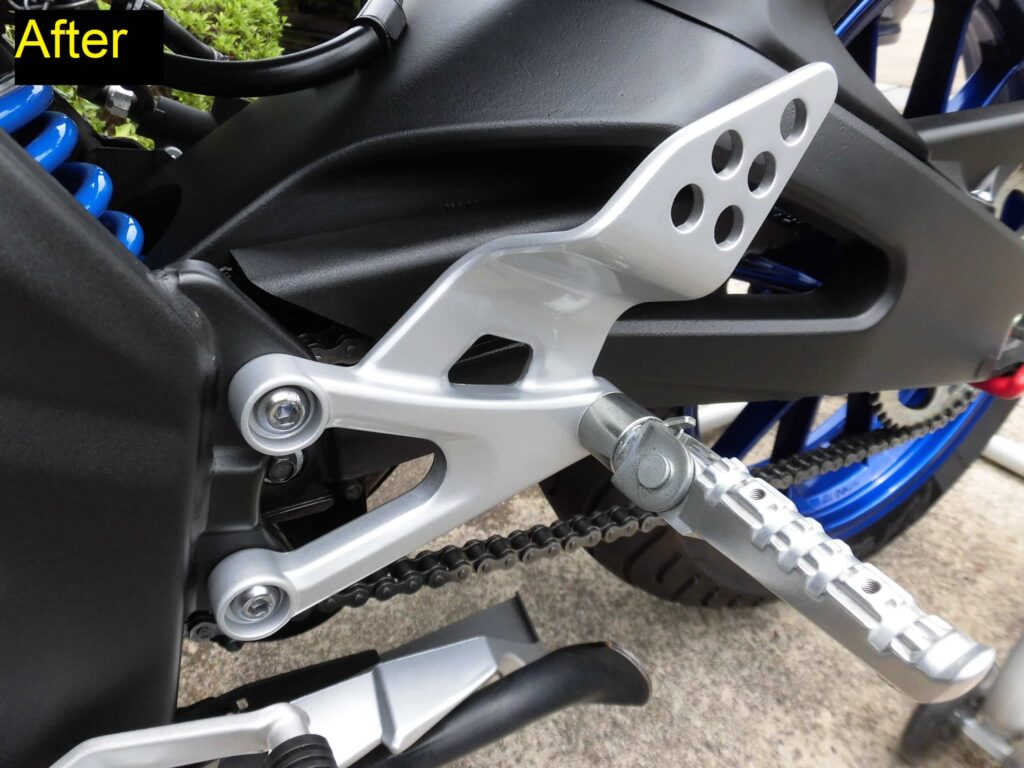
Right step and pedal before and after comparison

<Before checking and cleaning>

<After checking and cleaning>
The brake pedal is now shiny.
3. Summary
Steps and pedals were assembled after checking that there were no problems with the components.
STEP 10 in the event “Delivered YZF-R125 5D7W!”, I mentioned the broken slider screw on the back side of the right-hand step, but I was relieved to find that the steps and pedals were unaffected.
- Grease the pushrod and the pin that stops the brake pedal.
- R-pins are easy to remove and install but can come off.


