Put back the front stay that were removed in the maintenance record ‘How to remove front stay’.
Once the front stays are removed, the mounting position of the front stays changes slightly,
- The position of the front panel and frame will not align.
- Upper side cowl and frame will not align with each other.
- The side covers do not align with the frame.
This often happens.
What happened this time?
From this article you can find out the following.
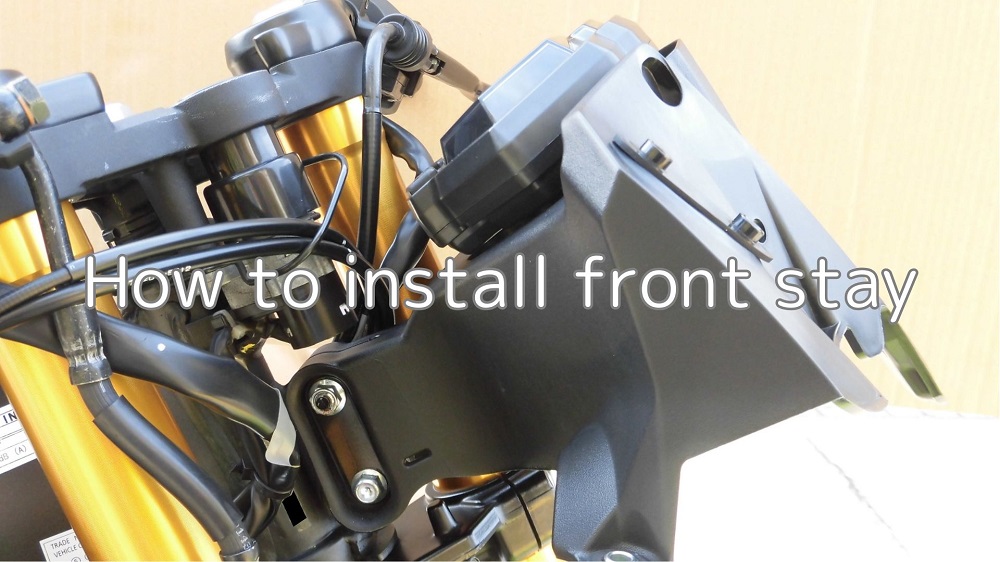
- How to install front stay
| Date | 29th January 2022 |
| Subjects | Maintenance, Failure, Repair |
| Shop or DIY | DIY |
| Difficulty | |
| Working hours | 0.5 |
| Costs [Yen] | 0 (Use what I have) |
1. Goods to use

| No. | Product name | Manufacturer | Parts number | Quantity | Amounts[Yen] |
| 1 | Microfiber cloth | DAISO | – | 1 | (197) |
| 2 | Slide head handle | KTC | BHM3 | 1 | 2,970 |
| 3 | Quick spinner | KTC | BE3-Q | 1 | 2,046 |
| 4 | Extension bar (150mm) | KTC | BE20-150 | 1 | (1,749) |
| 5 | Bit socket (12mm) | KTC | BT3-12 | 1 | 880 |
| 6 | Torque wrench (Small) | KTC | CMP0252 | 1 | (44,990) |
| 52,832 |

2. How to install front stay (STEP 1-9)
Install front stay
Now, let’s get to work.
<Install front stay>
Insert the front stay into the flat plate at the end of the frame.
(For convenience of photography, the plate is inserted instead of supporting the hand. In reality, the front stay needs to be supported by your hand, or it will fall off.)
Lay a microfiber cloth over the front stay to prevent them from dropping onto the front fender and scratching it.
Install plate 1
<Install plate 1>
Insert the plate with bolt and nut from the left side of the moto body, bolt side up.
Install plate 2
<Install plate 2>
- Install the plate from the right side of the moto.
- Tighten the nut and bolt.
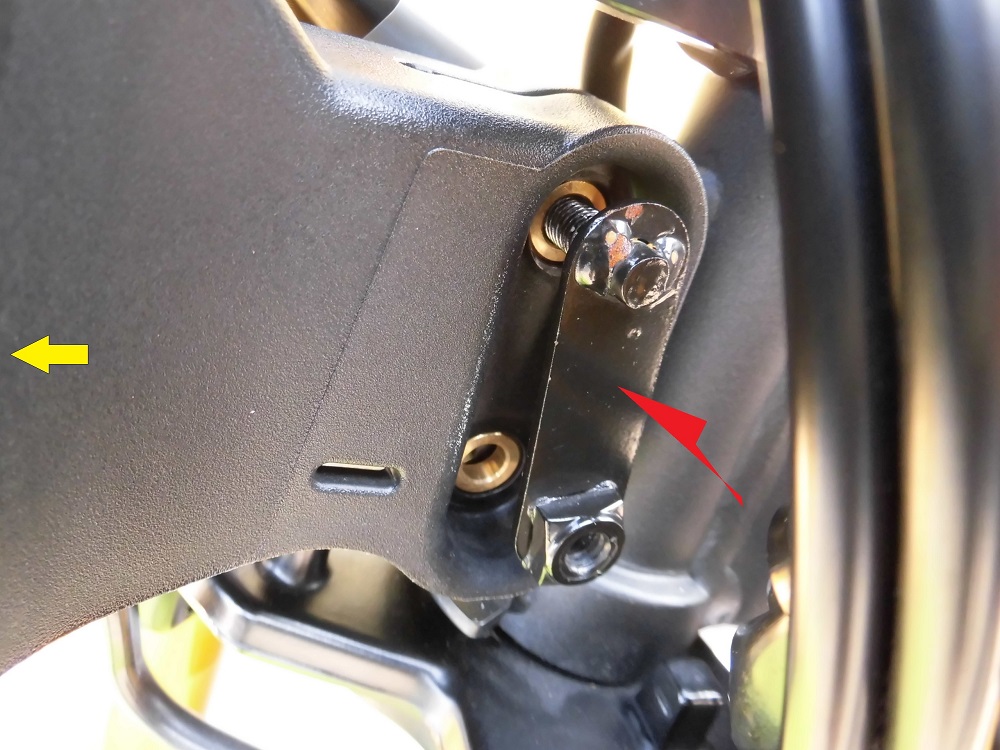
The stay moves up and down by the amount of clearance between the mounting holes.
Therefore, the position of the bolt holes/screws can easily change by about 5 mm.
For the time being, I tightened the stay without aligning the center of the mounting holes with the center of the stay, but with the stay slightly lowered by the weight of the stay.
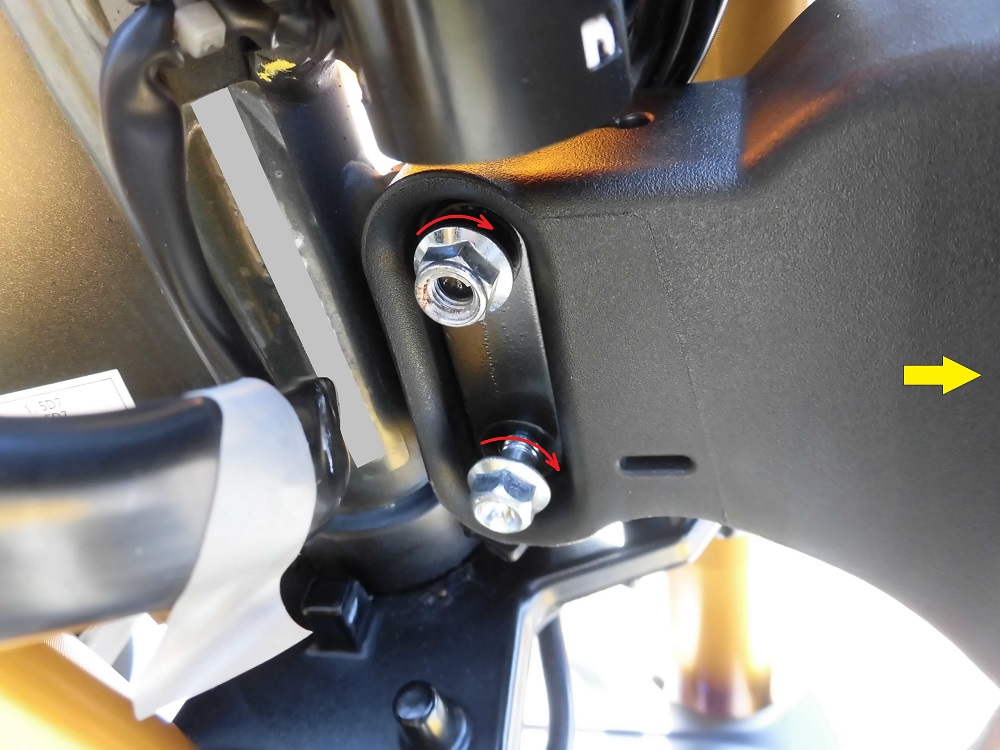
Install plate 3
<Install plate 3>
Tighten the nut/bolt using a T-bar handle with a socket wrench (12 mm) and an extension bar (150 mm).
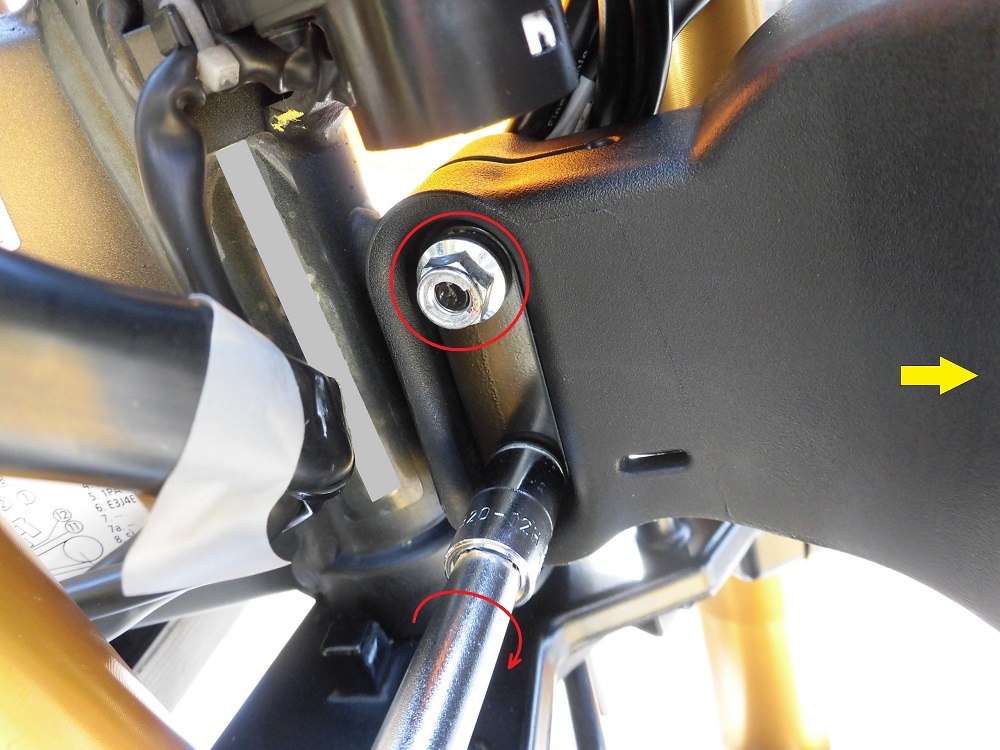
Install plate 4

<Install plate 4>
Use a torque wrench to tighten the nut/bolt to 23 Nm.
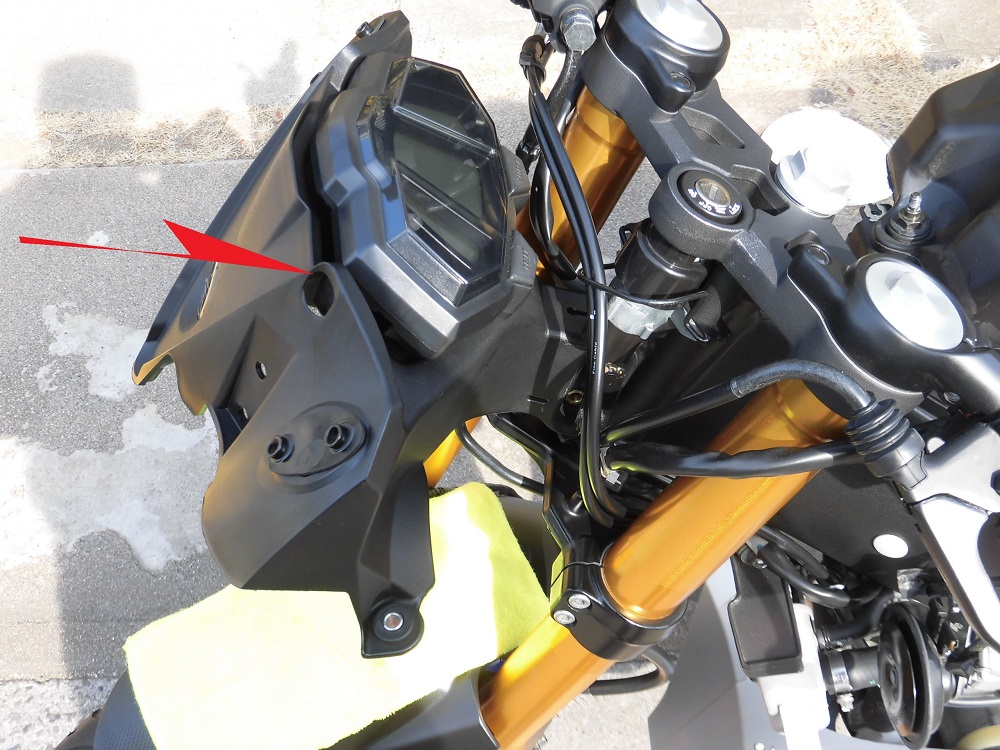
Condition of installed front stay
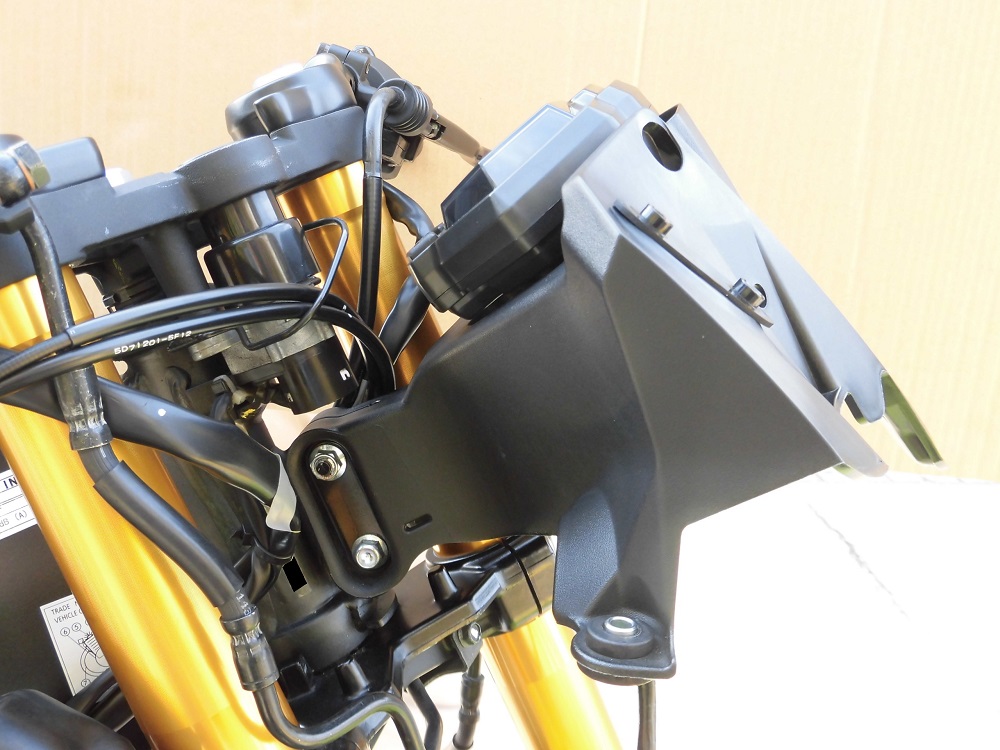
<Condition of installed front stay>
It came on like this.
Connect connectors
Now, it’s time to put the meter wirings back in place.

<Connect connectors>
- Connect the meter wiring connectors (3 places).
- Move the connector cover to the connector.
Condition of connected wirings
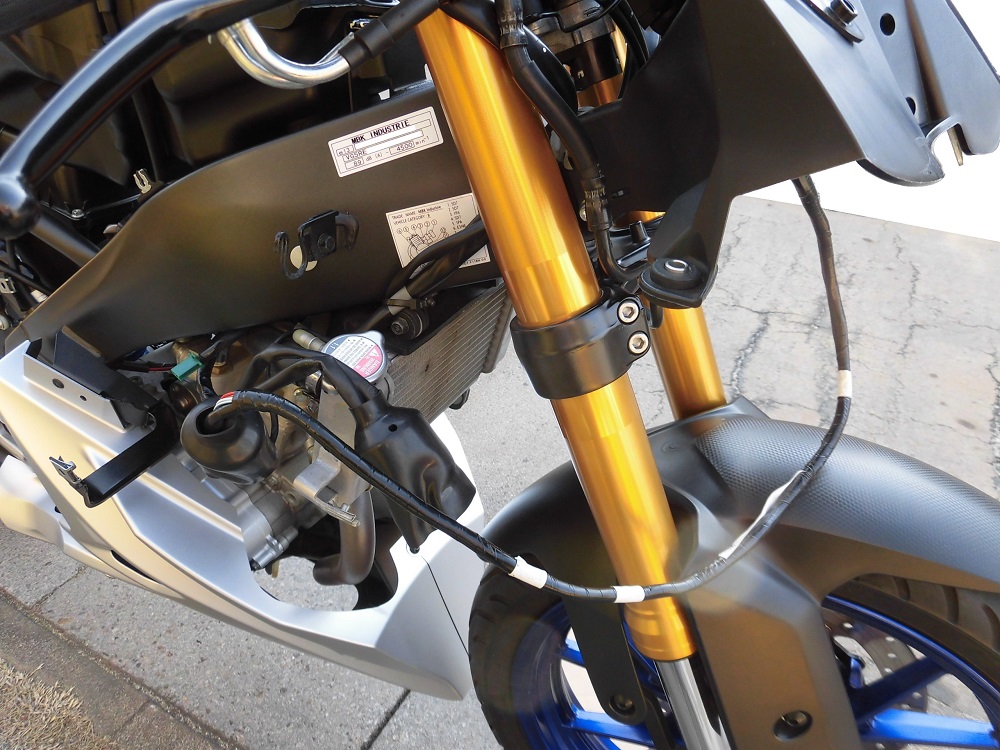
<Condition of connected wirings>
It can now be put back together.
Now, it is time to install the front cowl and panels, etc.
For more information, please see the next maintenance record ‘How to install front cowl and panels, etc.’.
Subsequent installation
The bolts could be tightened without any problems during the subsequent installation of the front cowl and other parts.
Luckily, there seemed to be no deformation of any of the components.
As the moto was purchased second-hand, this is a guess, but it has probably never had a major fall.
If the bolts were to be misaligned,
- Checking which way the holes/screws have shifted.
- The position of the stay needs to be adjusted again.
3. Summary
This is a summary of how to install the front stay.
I wanted to tell you if there were any tips when installing it, but it could be installed normally.
It may be that the design is highly accurate.
- Tightening with the stay slightly lowered by the weight of the stay did not affect the position of the holes in the front cowl etc.


