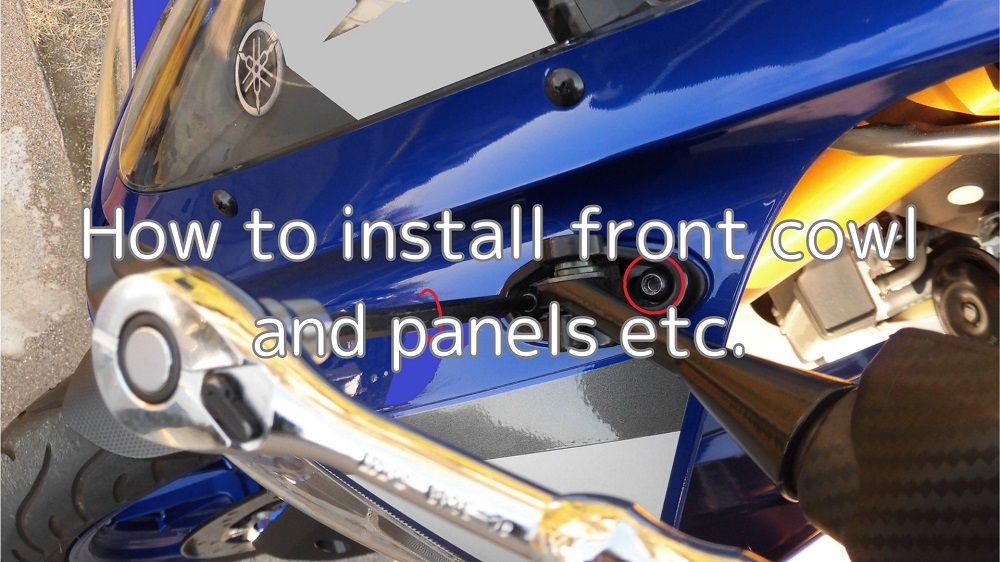
The following are notes on the installation of the front cowl/panel.
You have removed the front cowl and panels etc., but when you try to install it,
- I don’t feel confident about the work.
- I forgot where to fix the wires.
Here is an overview of the work to be done.
From this article you will know the following.
- How to install front cowl and panels etc.
- Position for fixing wiring
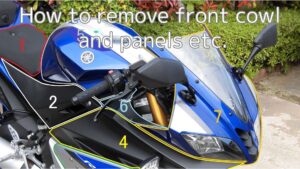
(For information on how to remove the front cowl and panels, etc., see maintenance record ‘How to remove the front cowl and panels etc.’).
| Date | 29th January 2022 |
| Subjects | Maintenance, Failure, Repair |
| Shop or DIY | DIY |
| Difficulty | |
| Working hours | 0.5 |
| Costs [Yen] | 0 (Use what I have) |
1. Goods to use
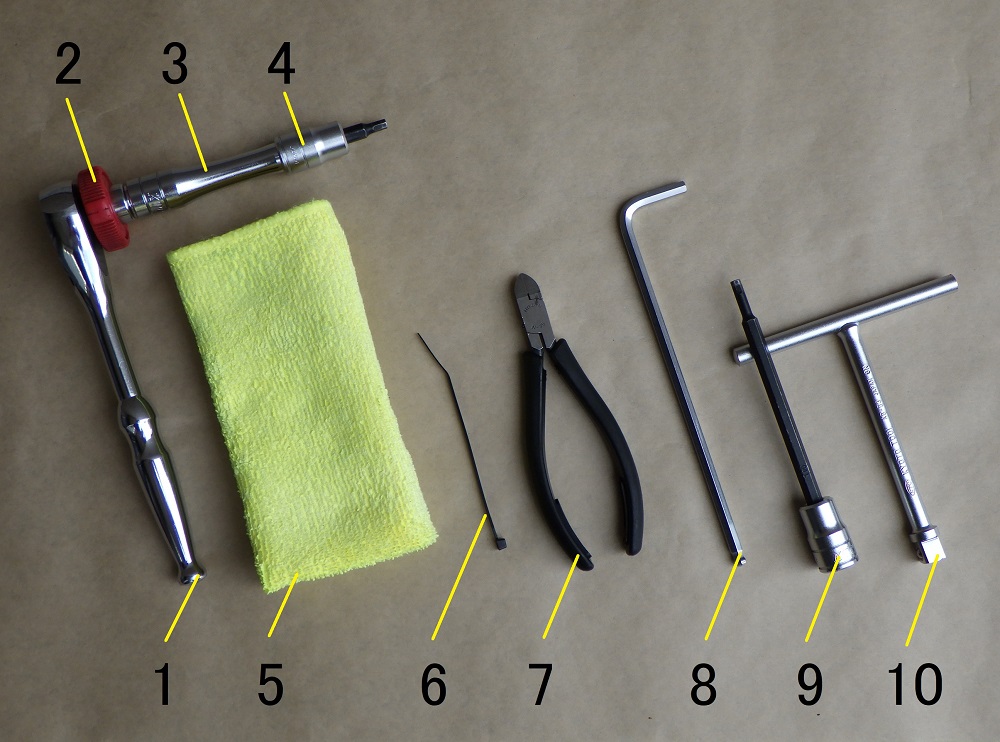
| No. | Products name | Manufacturer | Product number | Quantity | Amounts[Yen] |
| 1 | Rachet wrench | KTC | BR3E | 1 | (6,545) |
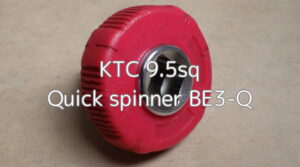
| 2 | Quick spinner | KTC | BE3-Q | 1 | 2,046 |
| 3 | Extension bar (75mm) | KTC | BE3-075 | 1 | 1,529 |
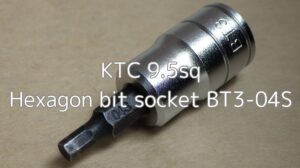
| 4 | Hexagon bit socket (4mm) | KTC | BT3-04S | 1 | 1,012 |
| 5 | Microfiber cloth | – | – | 1 | (197) |
| 6 | Cable tie (2.5mm) | ELPA | KBF-N100100(BK) | 1 | 175 |
| 7 | Cutting pliers | HOZAN | N-35 | 1 | 3,465 |
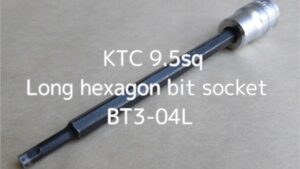
| 8 | Long hexagon bit socket (4mm) | KTC | BT3-04L | 1 | 1,485 |
| 9 | Long hex key (5mm) | KTC | HLD250-5 | 1 | 1,375 |
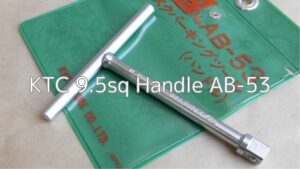
| 10 | Handle | KTC | AB-53 | 1 | 1,430 |
| 19,259 |
2. How to install front cowl and panels etc. (STEP 1-14)
Install front cowl 1
Install the front cowl.
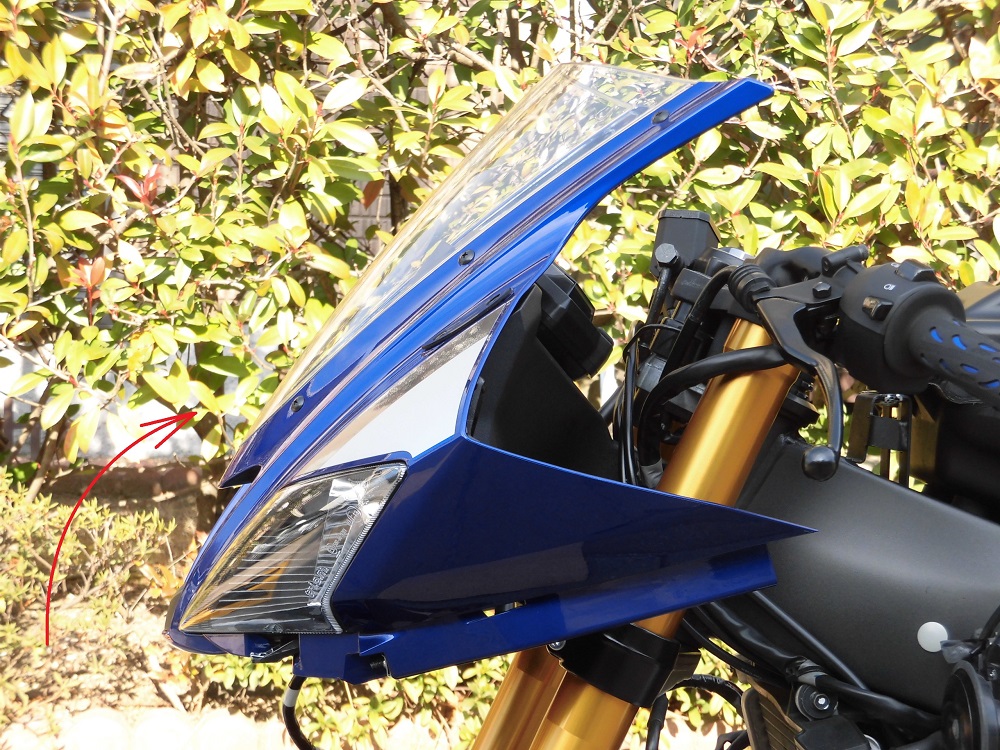
<Install front cowl 1>
Install the front cowl by lifting it from the underside.
Install front cowl 2

<Install front cowl 2>
Place the part of the front cowl with the spring nuts on the metal plate of the front stay.
Install front cowl 3
<Install front cowl 3>
Then hook the front cowl onto the protrusion on the mirror.
It may seem difficult to align the spring nut with the metal plate, but if the front cowl hangs smoothly over the projection of the mirror, it is attached correctly. (It goes on even if you’re not aware of it?)
Install front cowl 4
<Install front cowl 4>
Tighten the two bolts and secure the front cowl using a ratchet spanner with a hexagon socket (4 mm) and extension bar (75 mm).
The extension bar (75 mm) allows the ratchet spanner to be turned without hitting surrounding parts.
Also, place a microfiber cloth over the front fender to prevent dropping the tool and scratching it.
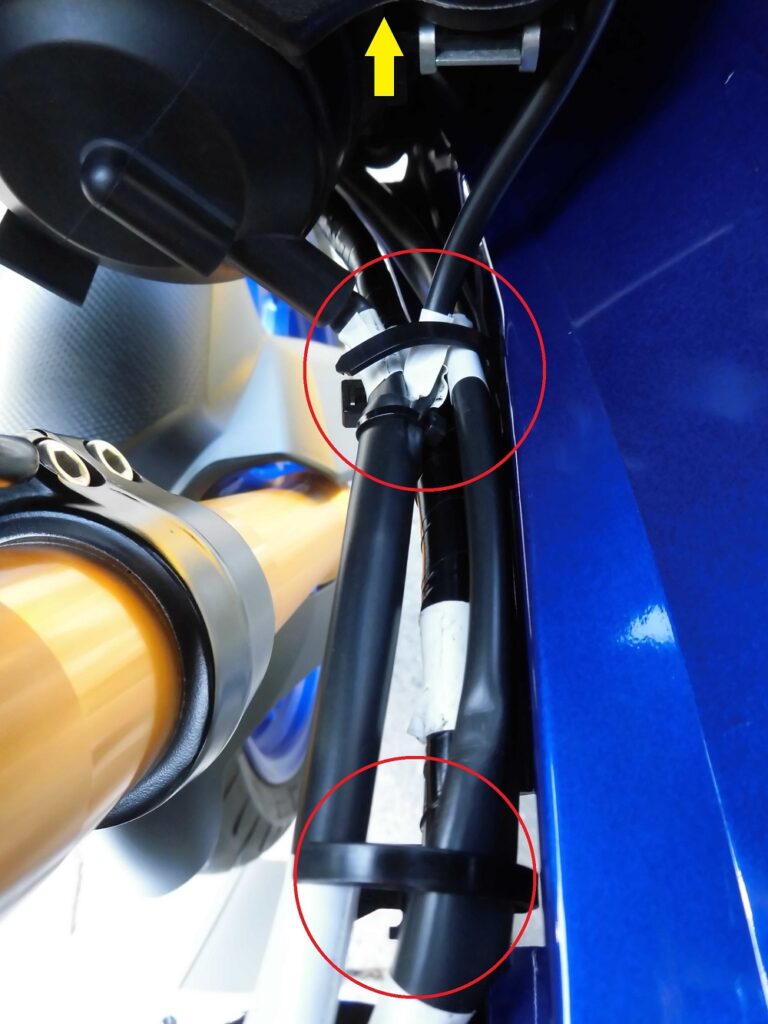
Fix wirings 1
Bundle the dangling meter-related wiring and the headlight-related wiring on the front cowl side.
<Fix wirings 1>
Lift up the meter-related wiring and align it with the headlight-related wiring.
Fix wirings 2
<Fix wirings 2>
○: Bundling bands with edge clips to secure the wiring.
○: Use cable tie to secure the wiring under the right-hand headlight.
For ○ ties, cut the excess part of the band with nippers.
Fix wirings 3
<Fix wirings 3>
Tighten the cable ties with edge clips, paying attention to the positioning of the three wires.
The front side should be aligned with the white marking tape to ensure that the wires are secured without straining them.
Connect connector
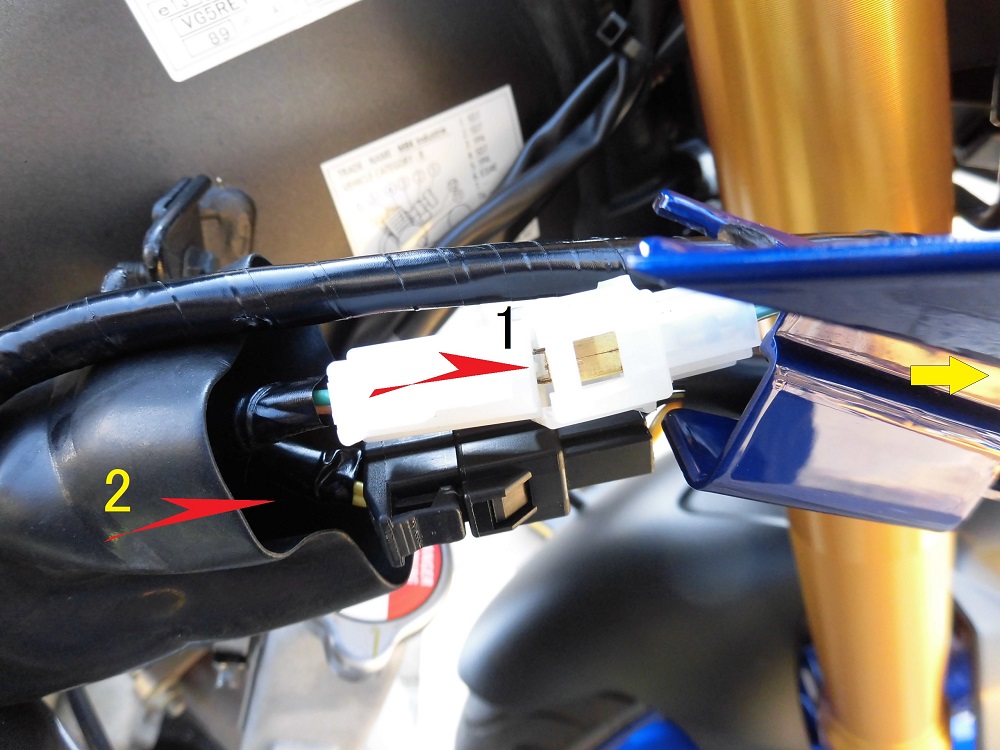
<Connect connector>
- Connect the black and white connectors to the body wiring.
- Move the connector cover to the connector.
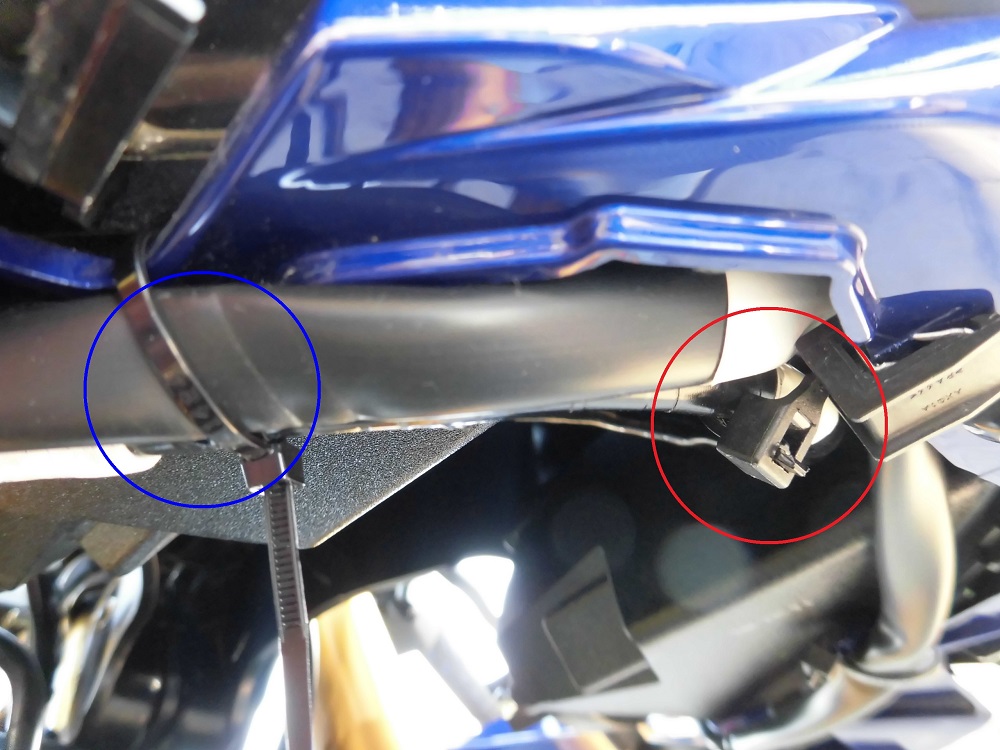
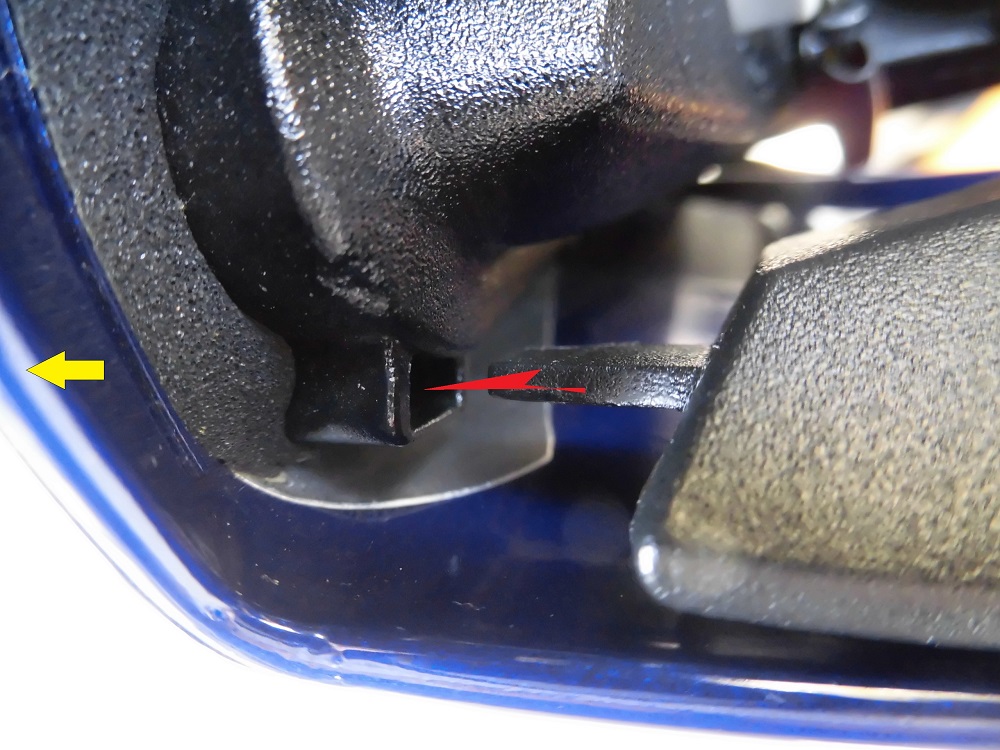
Fix connector cover
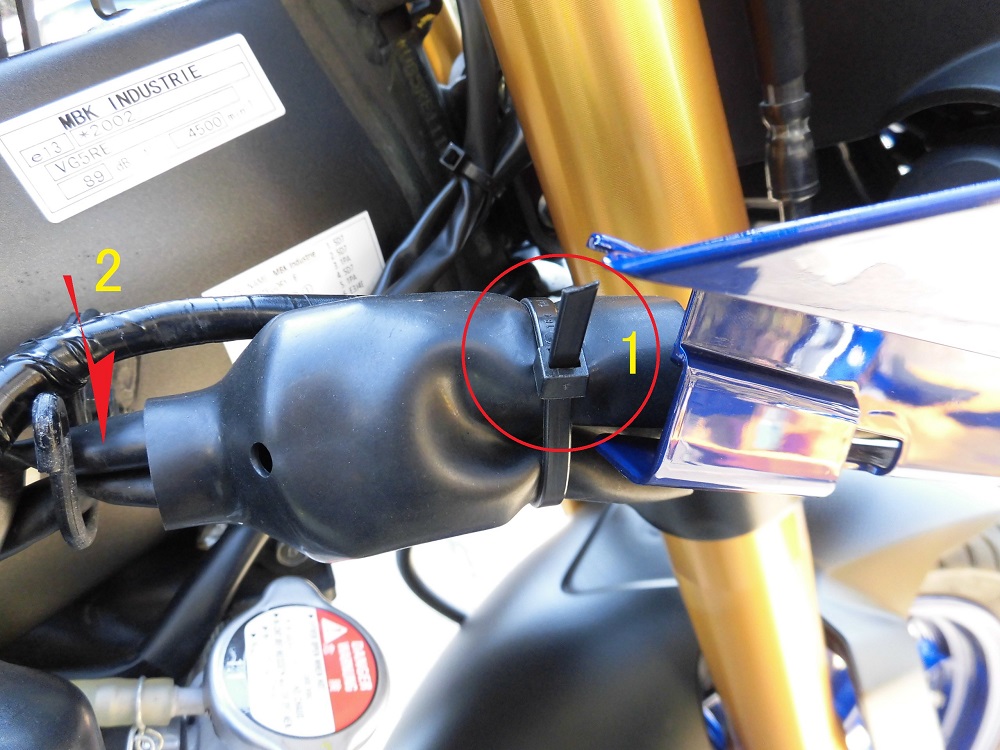
<Fix connector cover>
- Tie the connector covers with a cable tie.
- Place the headlight-related wiring and meter-related wiring on the hooks on the body side, in that order.
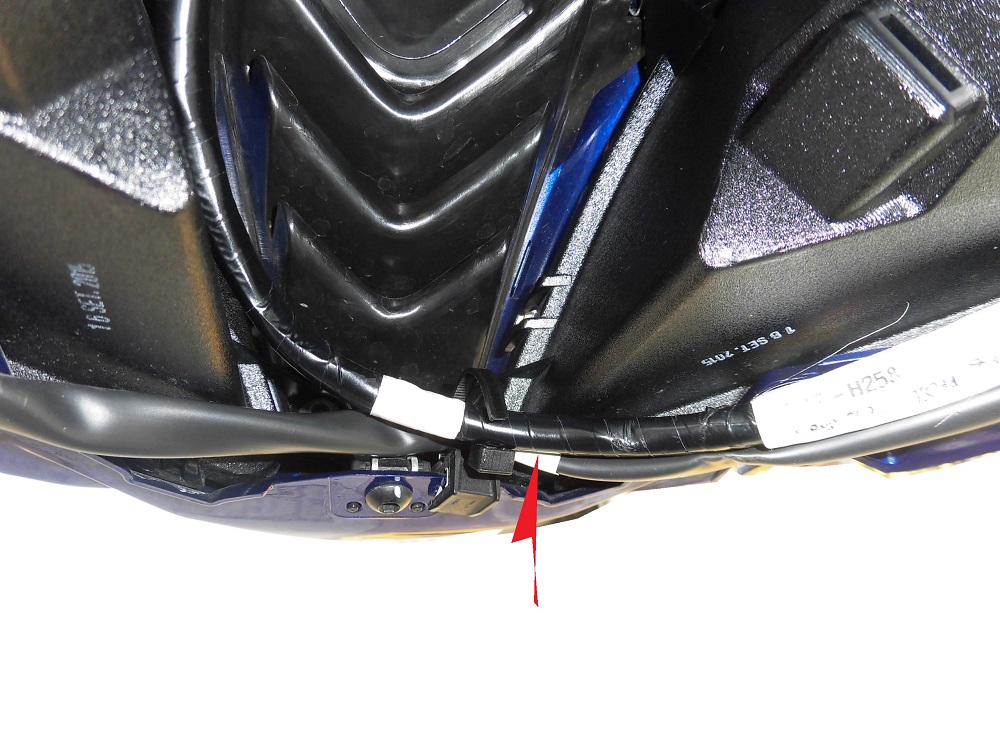
Fix wirings 4
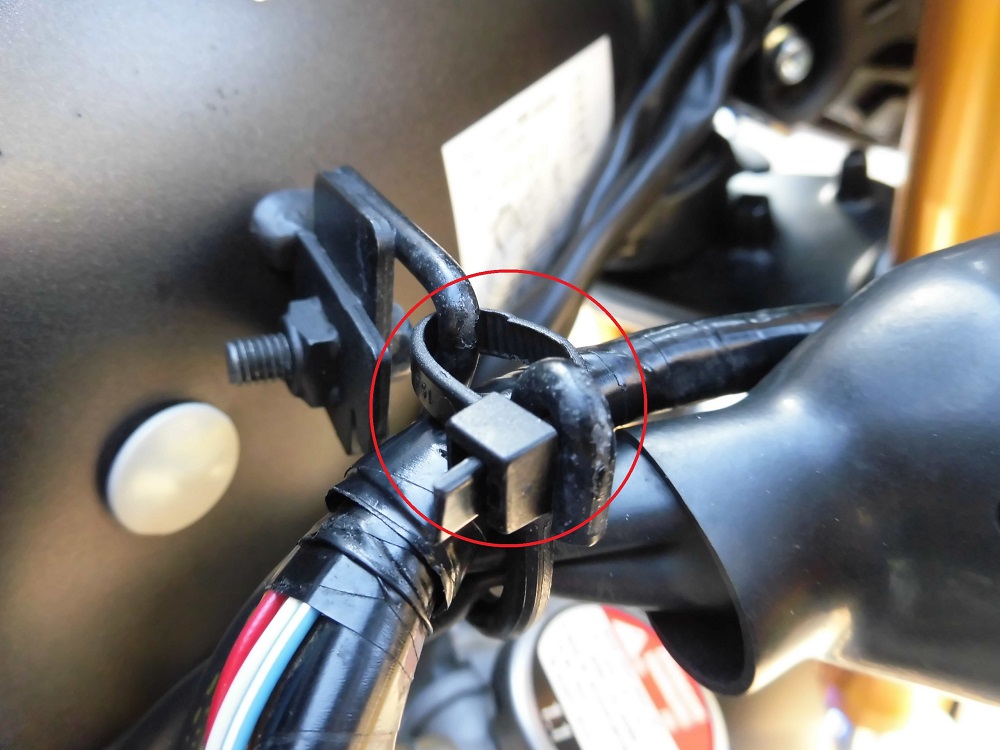
<Fix wirings 4>
Tighten the cable tie to the top of the hooks to secure the wires.
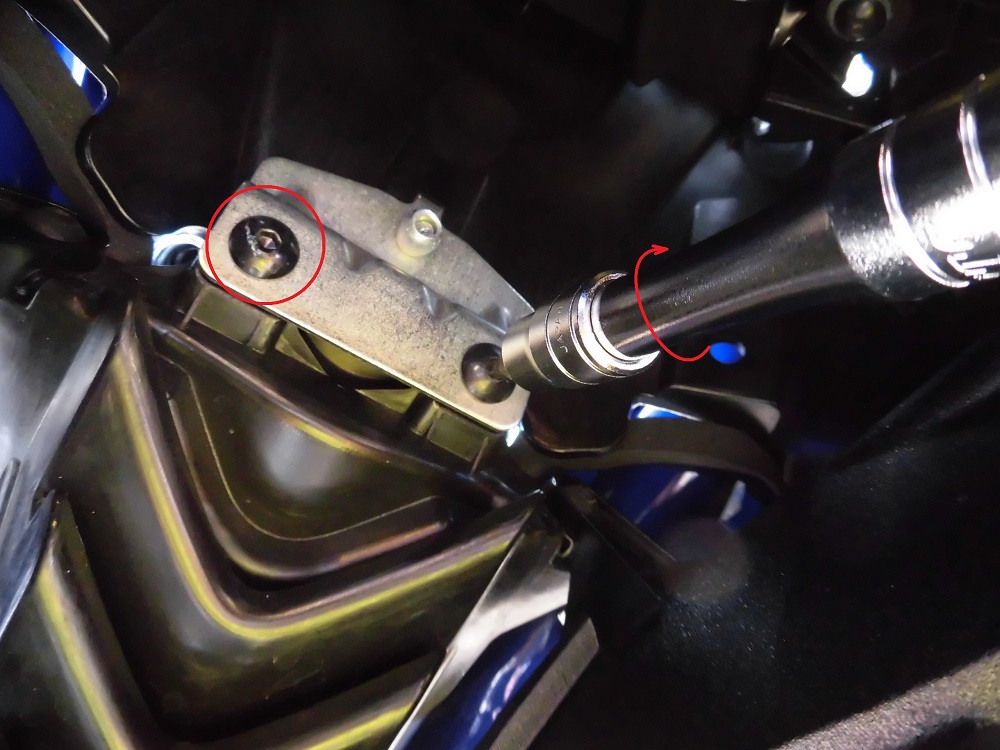
Install mirror
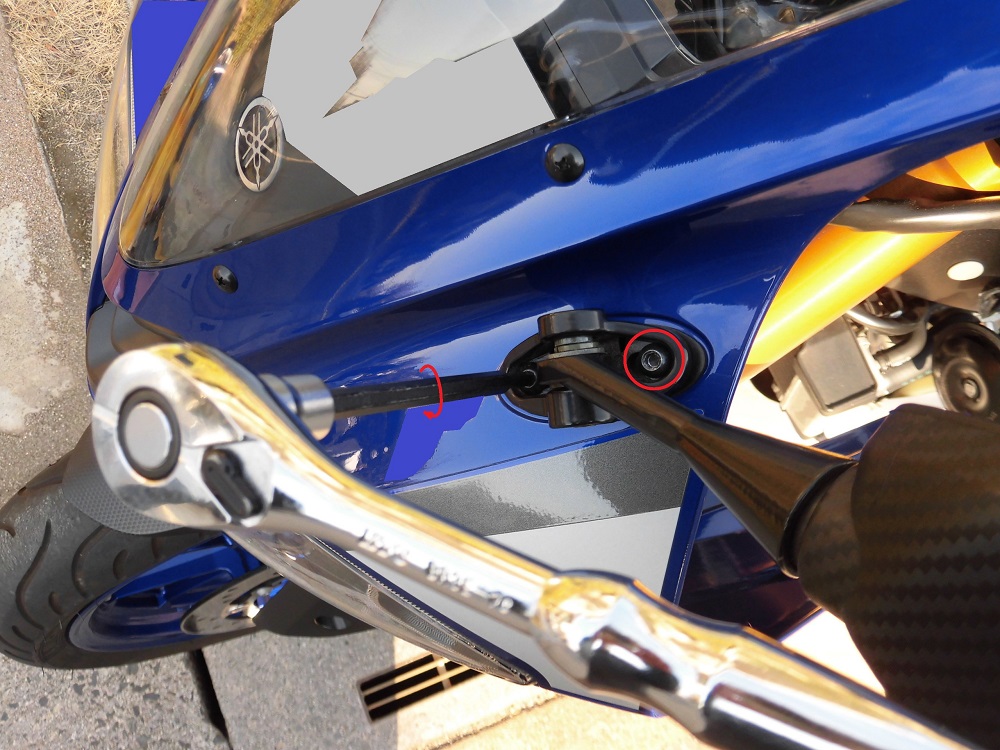
<Install mirror>
Using a ratchet spanner with a long hexagon socket (4 mm), tighten the two bolts securing the mirror.
Then, install the mirror on the other side as well.
Oh, I was using a different tool than when I removed it.
This one is better because the socket doesn’t hit the mirror handle.
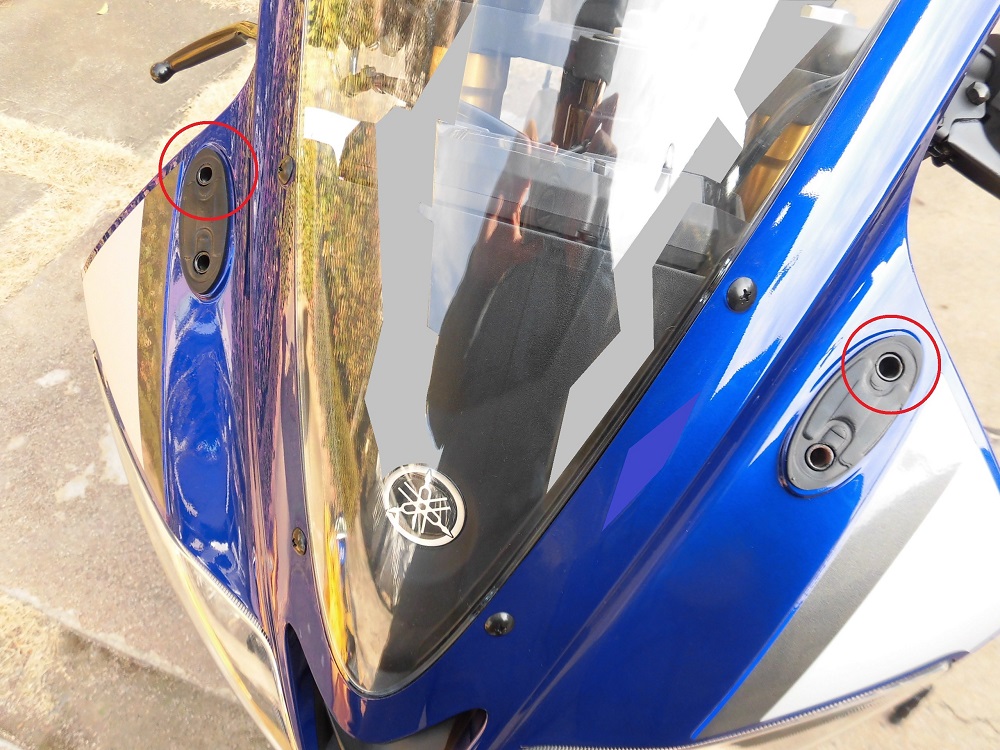
Install front panels 1
Next, install the front panel.
<Install front panels 1>
Insert the front panel protrusion into the hole in the headlight unit.
Install front panels 2
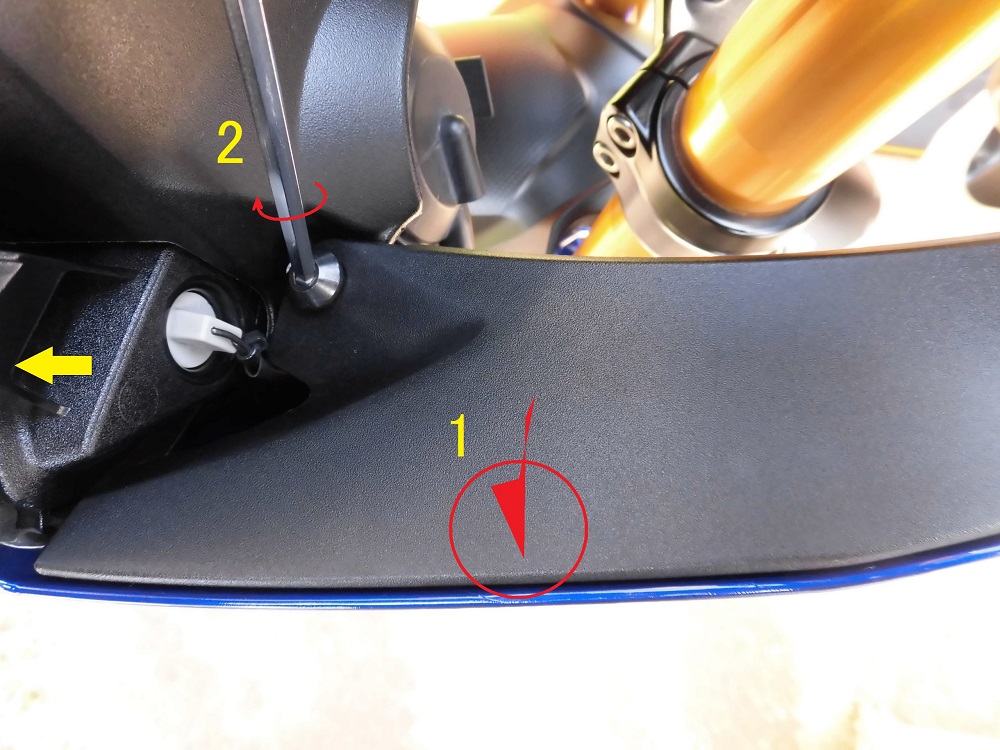
<Install front panels 2>
- Press down on the ○ part and it will fit into the front cowl projection.
- Tighten the bolts securing the front panel with a hexagonal spanner (5 mm).
The front panel on the other side is then also fitted.
Install front panels 3
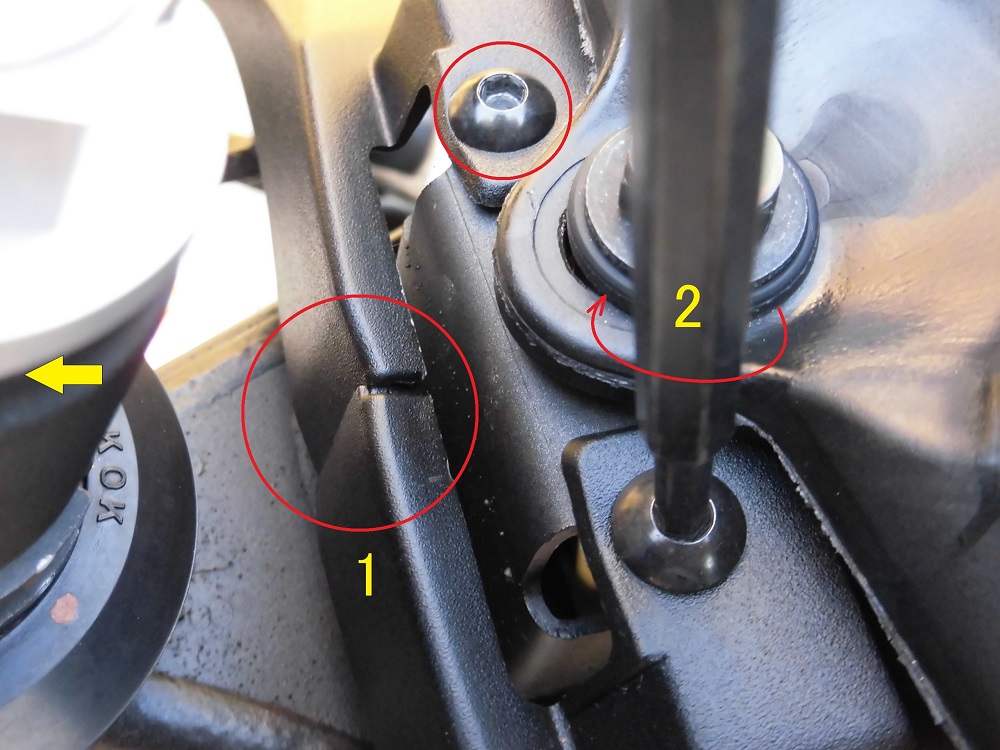
<Install front panels 3>
- Overlap the left and right front panels as shown in the photo.
- While holding the left and right front panels together, tighten the two front panel fixing screws with a handle fitted with a hexagon socket (4 mm).
This completes the installation of the front cowl panels.
3. Summary
I wrote how to install front cowl and panels, etc.
Installing the front cowl is more about securing the wirings than tightening the bolts.
When bundling the wiring with cable ties, take care not to twist or sag the wires.
That alone will keep them neat and tidy.
- An extension bar (75 mm) is useful for tightening the two bolts securing the front cowl.
- Use of a long hexagonal bit socket (4 mm) is recommended for removing and installing the mirror.
- Tighten the front panel joints by pinching them together to reduce the gap.


