The turn signals on R125 (5D7) seems to break off at the base over time.
If you look at motos listed on Yahoo! Auctions, you will sometimes see turn signals listed with broken.
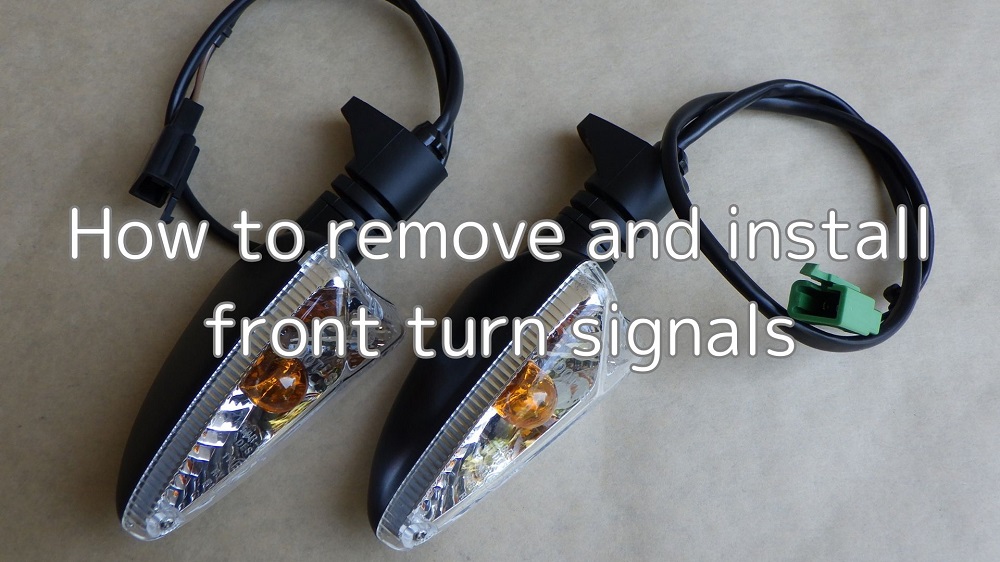
In order to repair or replace a broken turn signal, it must be removed from the moto body.
Therefore, in this article, I will summarize how to remove and install the front turn signals.
I will also explain the differences between “front and rear” and “left and right”.
The purposes of removing a turn signal may include the following
- Replacing broken turn signals
- Replace with LED turn signals, etc.
- Replace upper side cowl
- Change the location of turn signals
Note that it is not necessary to remove the turn signals in the following cases.
- Replacing the bulb
- Replace the lens
From this article, you can learn the following.
- How to remove and install front turn signals
- Difference between left and right turn signals
- Difference between front and rear turn signals
| Date | 3rd January 2022 |
| Subjects | Maintenance, Failure, Repair |
| Shop or DIY | DIY |
| Difficulty | |
| Working hours | 0.5 |
| Costs [Yen] | 0 (Use what I have) |
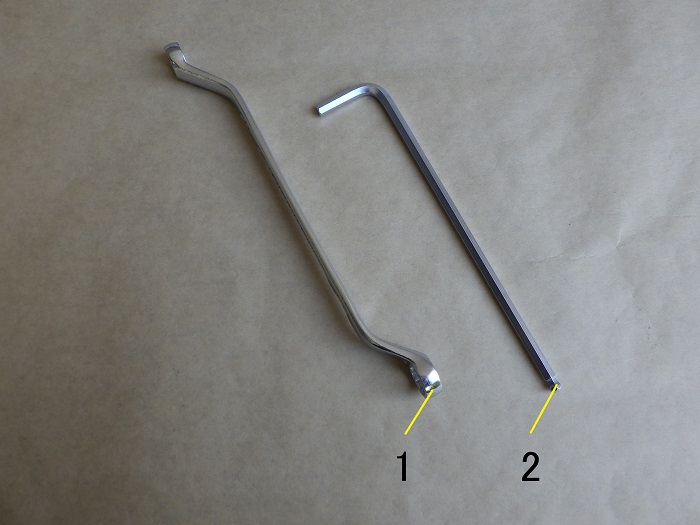
1. Goods to use
| No. | Products name | Manufacturer | Products number | Quantity | Amounts[Yen] |
| 1 | Box wrench (10×12mm) | KTC | M25-10X12 | 1 | 1,936 |
| 2 | Long hex key (5mm) | KTC | HLD250-5 | 1 | 1,375 |
| 3,311 |
2. How to remove and install front turn signals (STEP1-8)
Remove upper side cowl
First, remove the upper side cowl, where the turn signals are installed.
(Unless otherwise noted, the photo below is of the right side.)
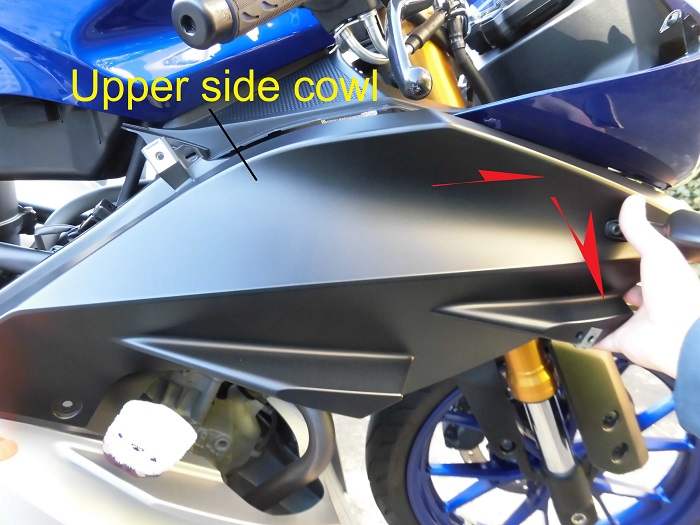
<Remove upper side cowl>
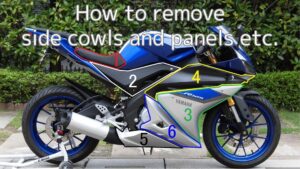
(For details, please refer to the maintenance record “How to remove side cowls and panels etc.” STEP 1-14.)
※
It is not necessary to remove the upper side cowl if the connector can be disconnected from the body with the cowl attached.
Remove wiring
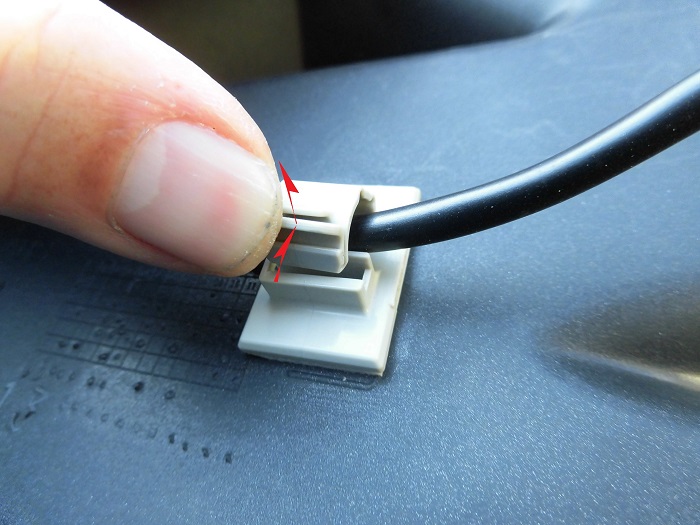
<Remove wiring>
Remove the wiring from the clip fixed to the upper side cowl.
Lift up the clip while pressing down on it to remove it.
Remove turn signal 1
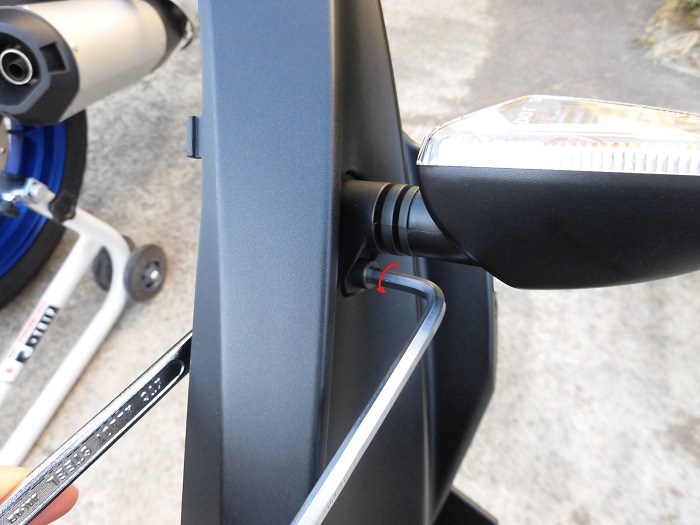
<Remove turn signal 1>
Hang the wrench (10 mm) on the nut to hold it in place and use the hexagonal wrench (5 mm) to remove the bolt.
At first, I used a hexagon socket, but it hit the turn signal body, so I used a hexagon wrench.
Remove turn signal 2
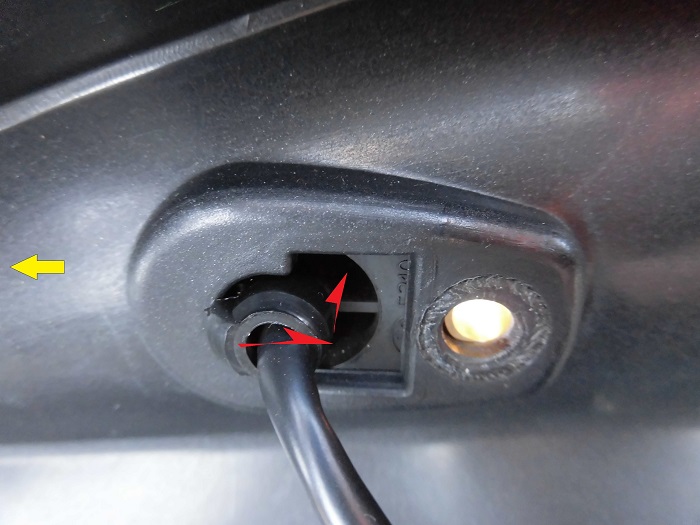
<Remove turn signal 2>
Move the claw part of the turn signal backward and outward to remove it.
Remove turn signal 3
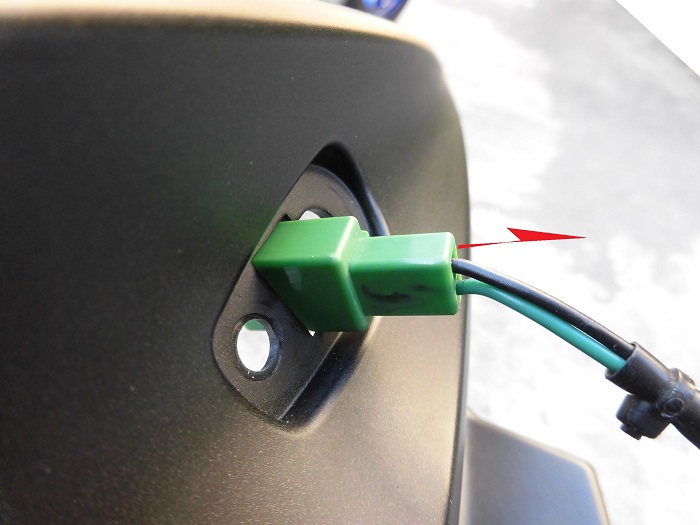
<Remove turn signal 3>
Then, pull the turn signal outward and remove the connector.
Disconnect the left side in the same way.
Removed turn signals
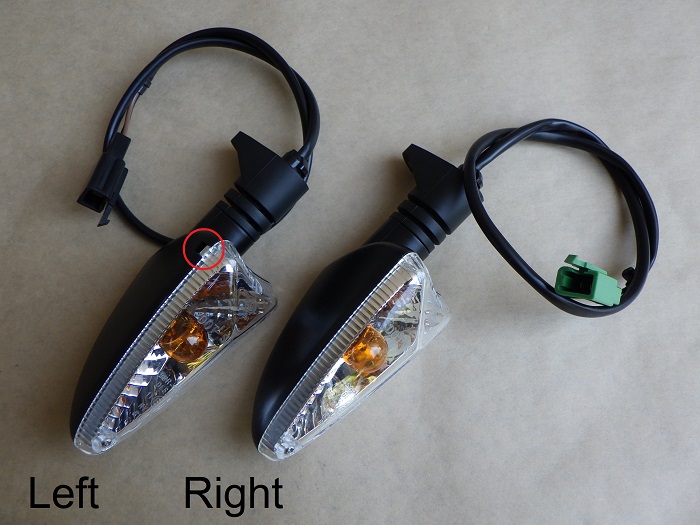
<Removed turn signals>
For left side: Connector color… Black
For right side: Connector color … Green
Not only the color of the connectors, but also the turn signals themselves have a left and right side, and the one with the drain hole (○) is on the bottom.
Removed turn signals front and rear (Left)
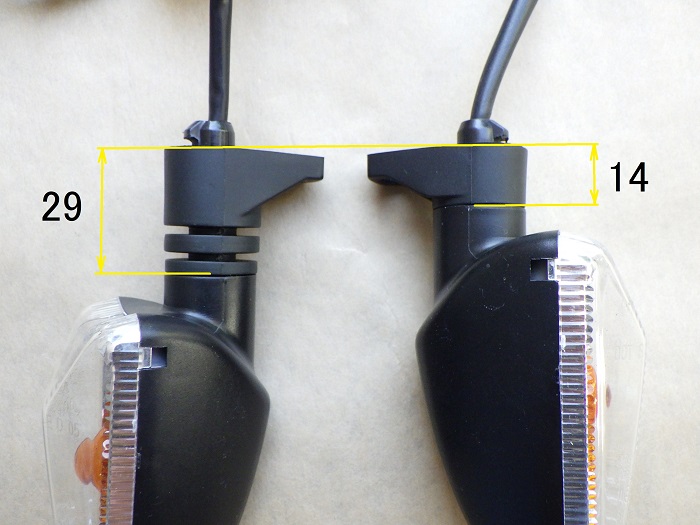
<Removed turn signals front and rear (Left)>
For front: 29mm
For rear : 14mm
You may not notice it, but the length of the mounting part is different for the front and rear.
When replacing a turn signal on one side only, be careful not to mistake the part number.
Install turn signals
To install, simply follow the procedure in reverse order of removal.
- Be careful not to mistake the left and right sides.
- Before installing the upper side cowl, be careful not to forget to connect the connectors.
(For details on how to install the upper side cowl, please refer to the Maintenance Record “How to install side cowls and panels etc.” STEP 12 or later.)

3. Summary
Here is a summary of how to remove and install the front turn signals.
The process should not be difficult as all you have to do is to remove the bolt and nut (one location).
Actually, I noticed the difference between “left and right” and “front and rear” turn signals when I removed them.
- Connectors are black on the left and green on the right.
- Install so that the drain hole is on the lower side.
- The length of the mounting part is 15 mm longer for the front side.


