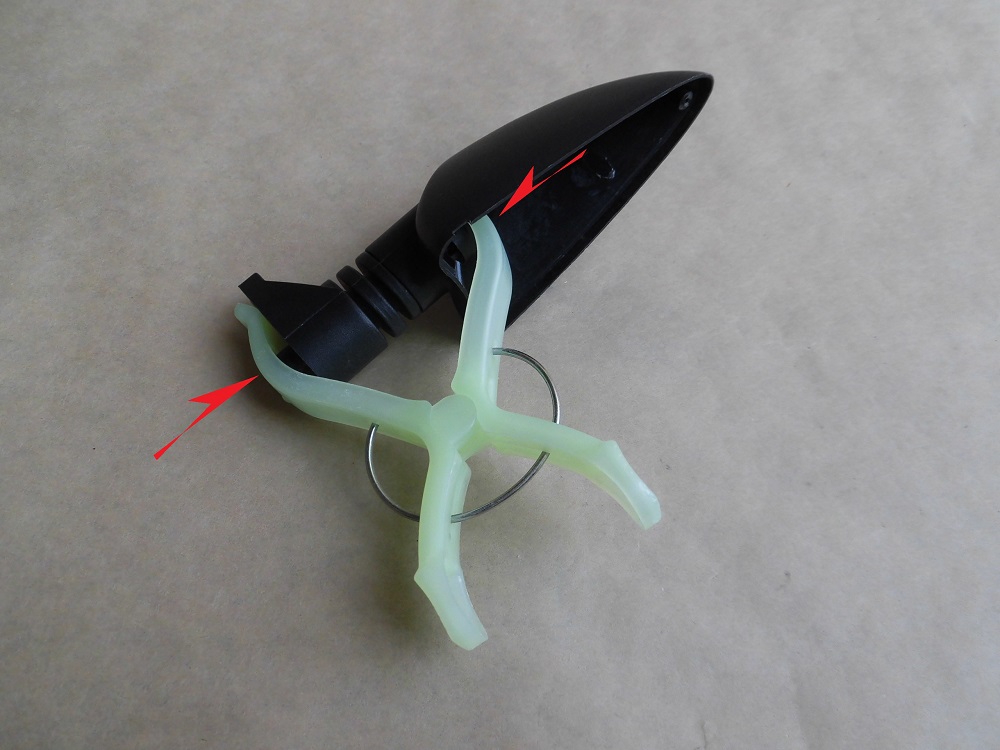
When I was taking the moto out of the parking lot, I hit the front right side turn signal and broke it.
Since I have thought about the repair method and prepared the parts, as described in the maintenance record “Repair turn signal1 【Consider repair methods】”, I will repair it.
From this article, you can learn the following.
- How to repair a broken turn signal
- Adhesive considering the material of the turn signal body
- State after repair
| Date | 27th May 2023 |
| Subjects | Maintenance, Failure, Repair |
| Shop or DIY | DIY |
| Difficulty | |
| Working hours | 3 |
| Costs [Yen] | 0 (Use what I have) |
1. Goods to use
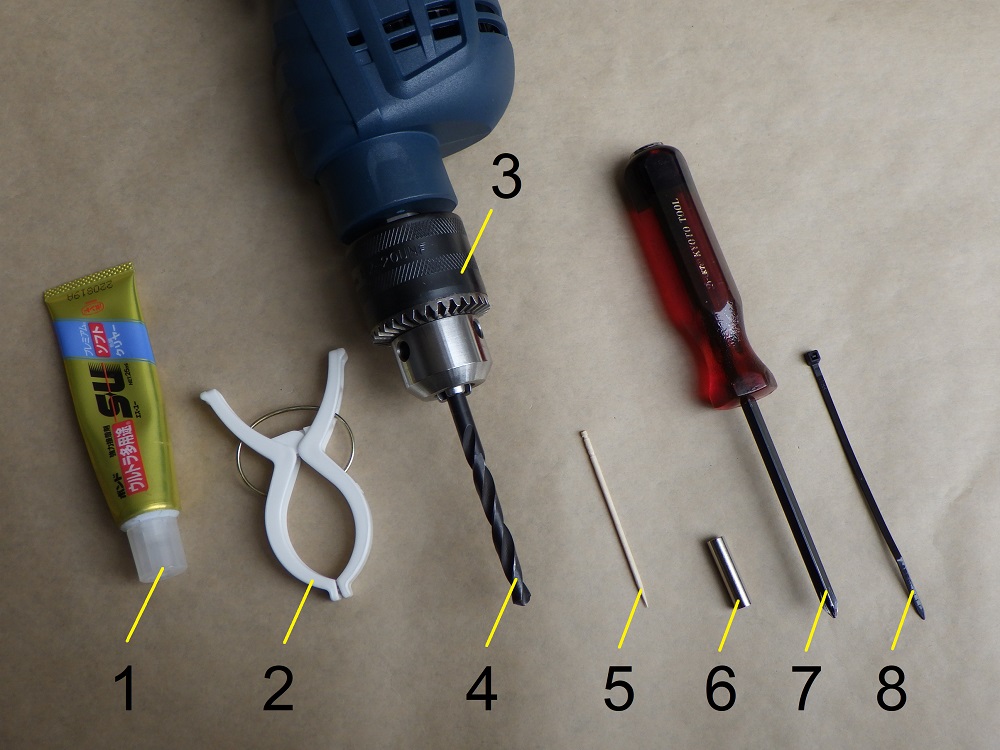
| No. | Products name | Manufacturer | Products number | Quantity | Amounts[Yen] |
| ST1 | LED turn signals (Length 36mm) | SAVAGE | – | 1 | 2,453 |
| 1 | Adhesive Ultra multiple Application SU Premium soft | Bond | 05141 | 1 | 681 |
| 2 | Clothespins | DAISO | – | 1 | 110 |
| 3 | Power drill | Bosch | GBM13RE | 1 | 22,880 |
| 4 | Drill 6.5mm | – | – | 1 | 326 |
| 5 | Spacer 5×25 | YAHATA NEJI | 412 | 1 | 128 |
| 6 | Toothpick | DAISO | – | 1 | 110 |
| 7 | Resin Pillips screwdriver (No.1) | KTC | DPD-1 | 1 | (1,353) |
| 8 | Cable tie (2.5mm) | ELPA | KBF-N100100(BK) | 1 | 175 |
| 28,216 |
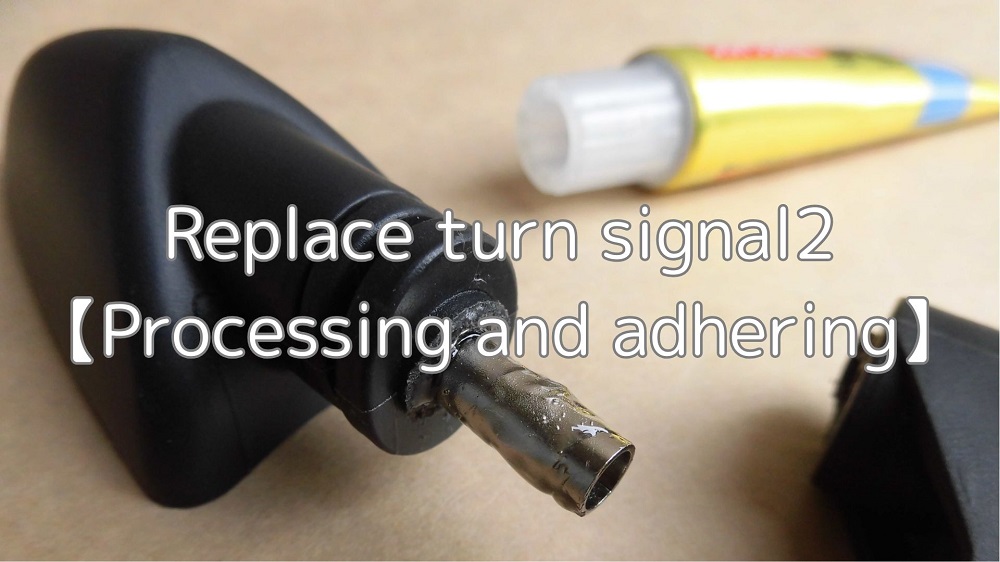
2. Repair turn signal2【Processing and adhering】(STEP1-13)
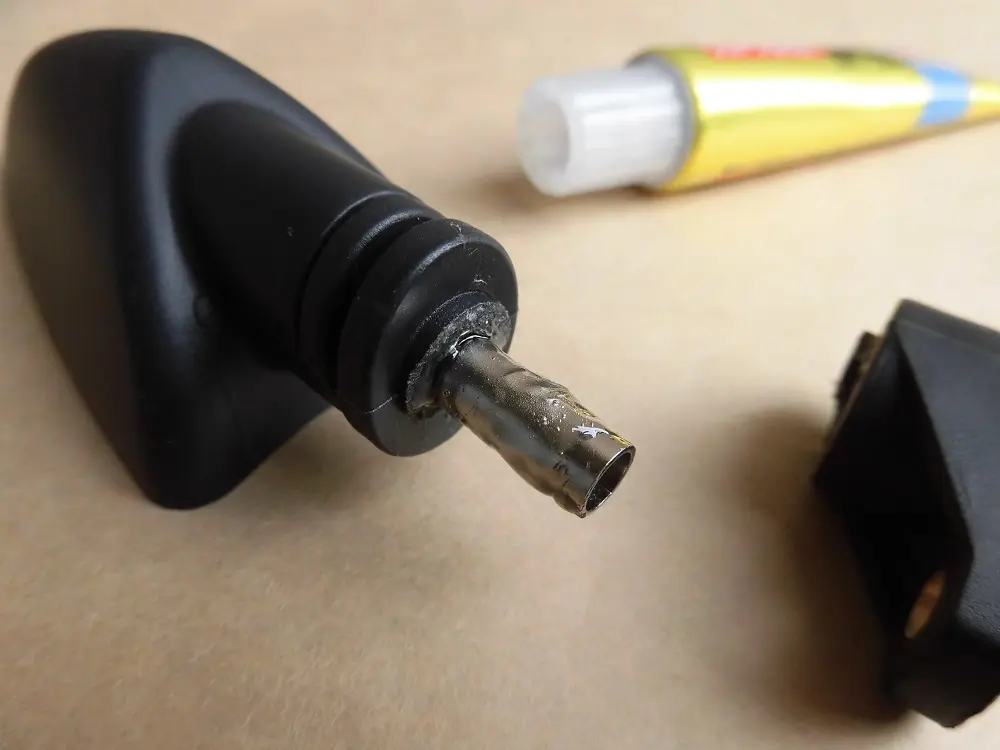
Apply adhesive
I would like to adhere the mounting part to the body so that the core of the hole in the mounting part and the hole in the body match up and then widen the hole.
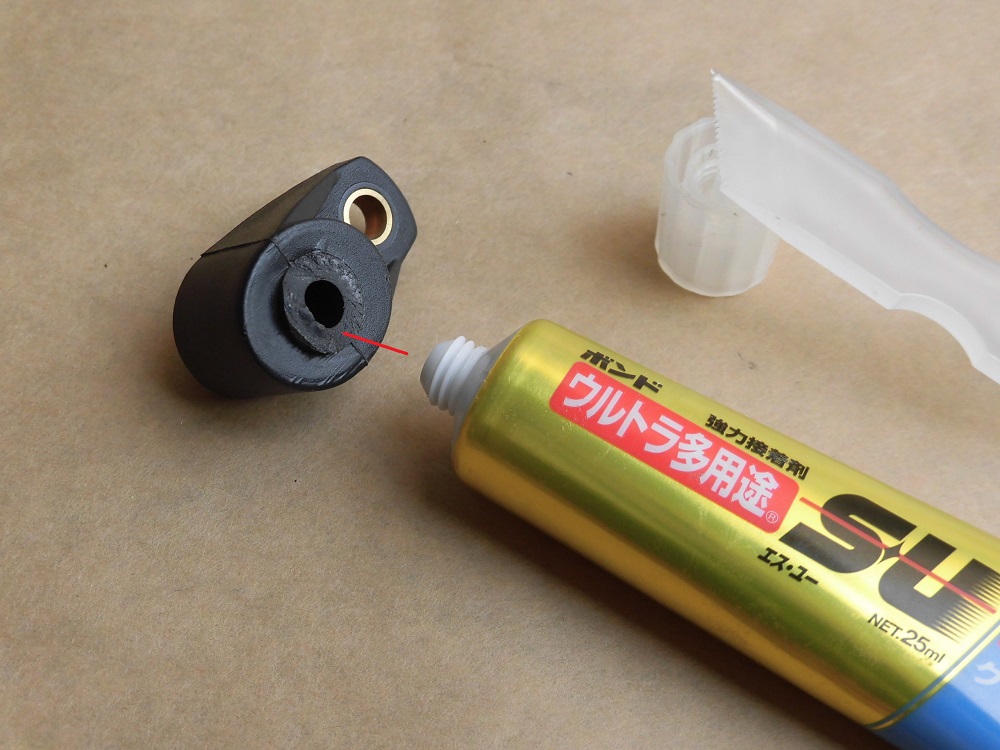
<Apply adhesive>
Apply adhesive, which can also be used for polypropylene, to the broken portion of the mounting.
Dry adhesive
<Dry adhesive>
We used clothespins to pinch the adhesive section and held it in place for about an hour.
Before drilling
Now, I will enlarge the hole with a drill.
I clamped the mounting part with a mini-vise and tried to widen the hole with a drill…
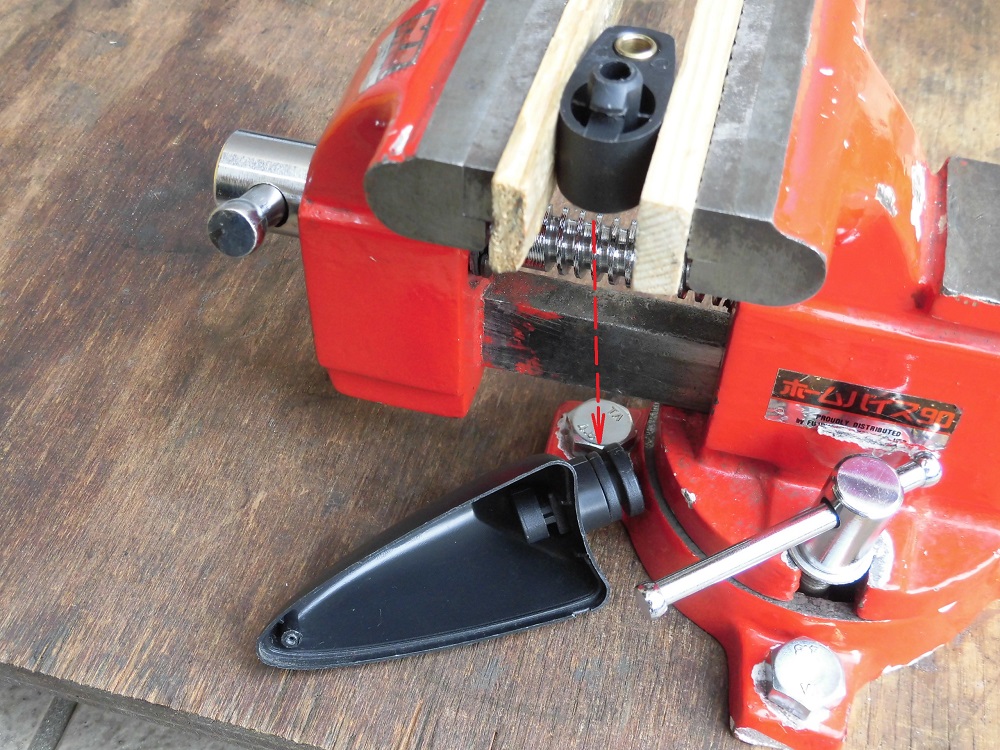
<Before drilling>
”The body fell off.”
I could see that adhering alone was not good enough at all.
Drilling
I had no choice but to widen the holes in the mounting section and body separately.
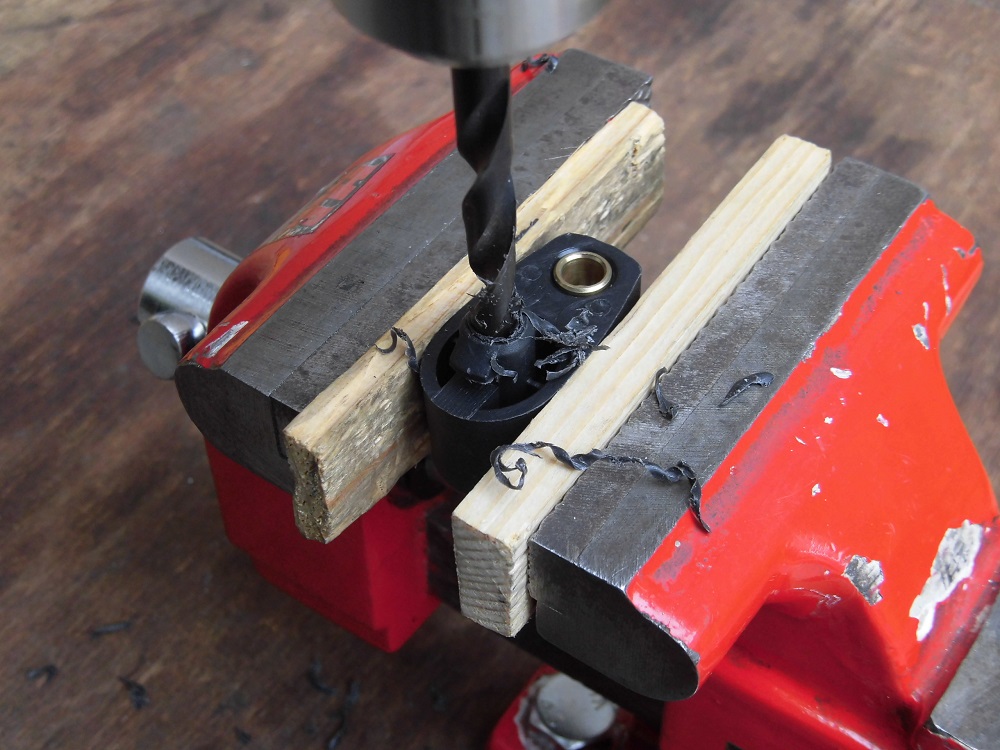
<Drilling>
I think “Resin is easy to process” and I’m not careful…
Hole that’s been widened too far
This is where the hard work begins.
Since the mounting part and the body were machined separately, the centers did not match and I’m in a panic.
Furthermore, the holes were drilled at an angle, so they are beyond repair…
It is difficult to drill a hole.
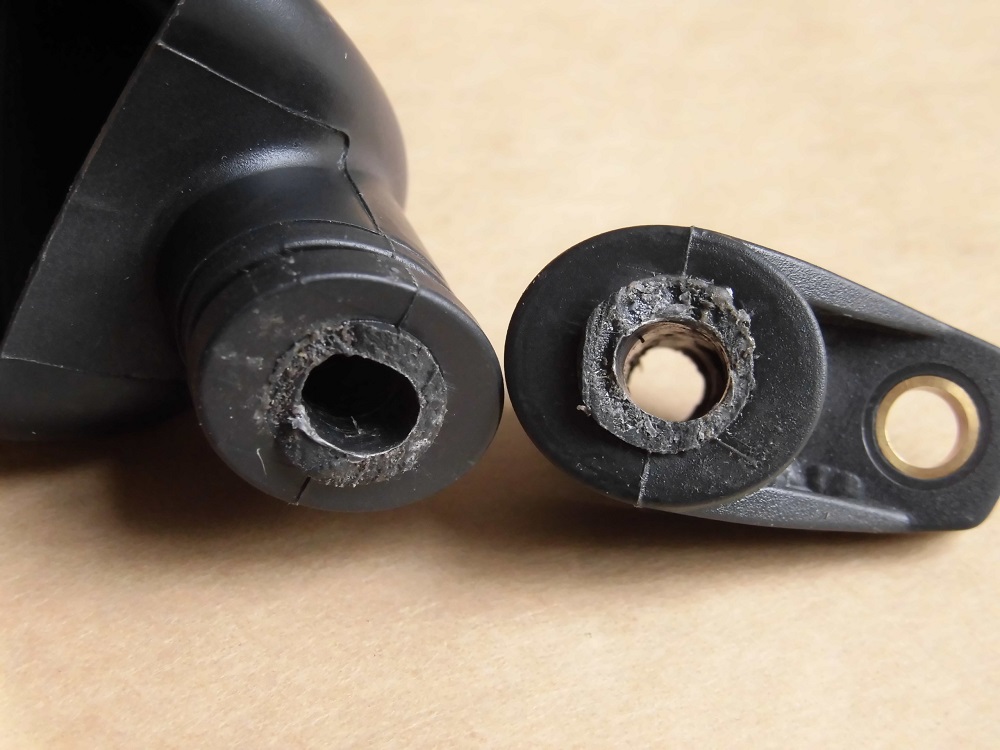
<Hole that’s been widened too far>
The result is a beautiful oval hole…
At first, I imagined it would be a light press-fit, but the gap is too large. And the weight of the turn signal will eventually cause it to tilt…
Adhere spacer
But I won’t give up.
<Adhere spacer>
I will apply a generous amount of adhesive to the spacer to fill the gap between it and the hole.
In order to prevent the adhesive from getting inside the spacer, I applied it to the surface of the spacer.
Even though I applied so much the adhesive, only a small portion of the adhesive came out the outside… (How oval the hole is!)
Remove protruding adhesive
After a week of drying (just leaving it out), it appears to have stuck.
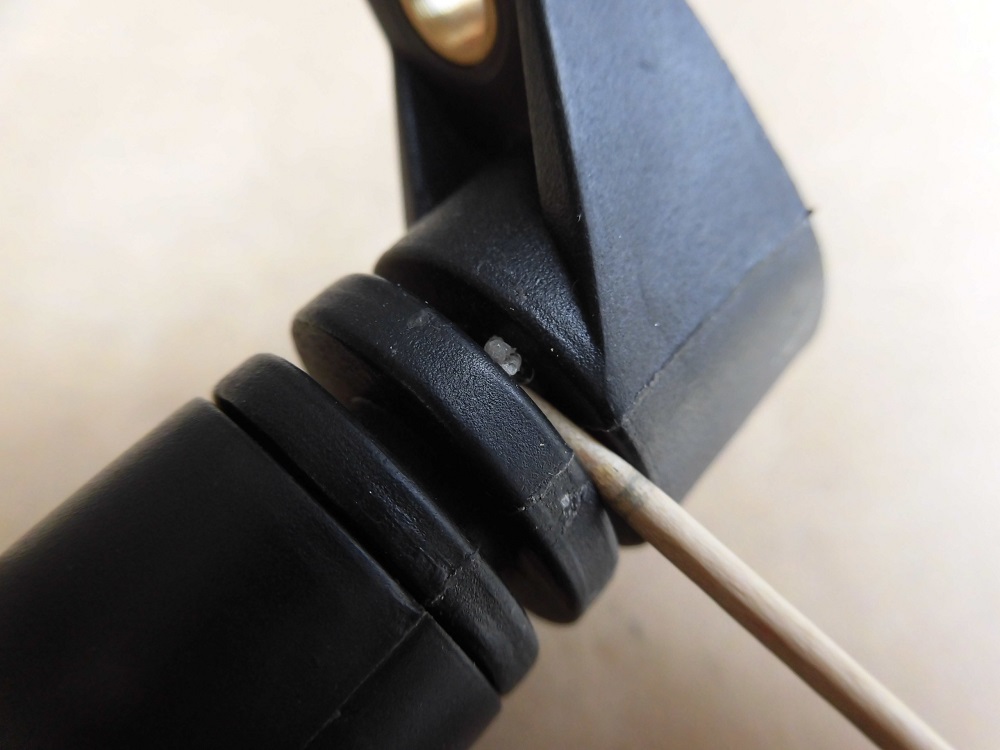
<Remove protruding adhesive>
Pluck off the protruding adhesive.
Repaired body
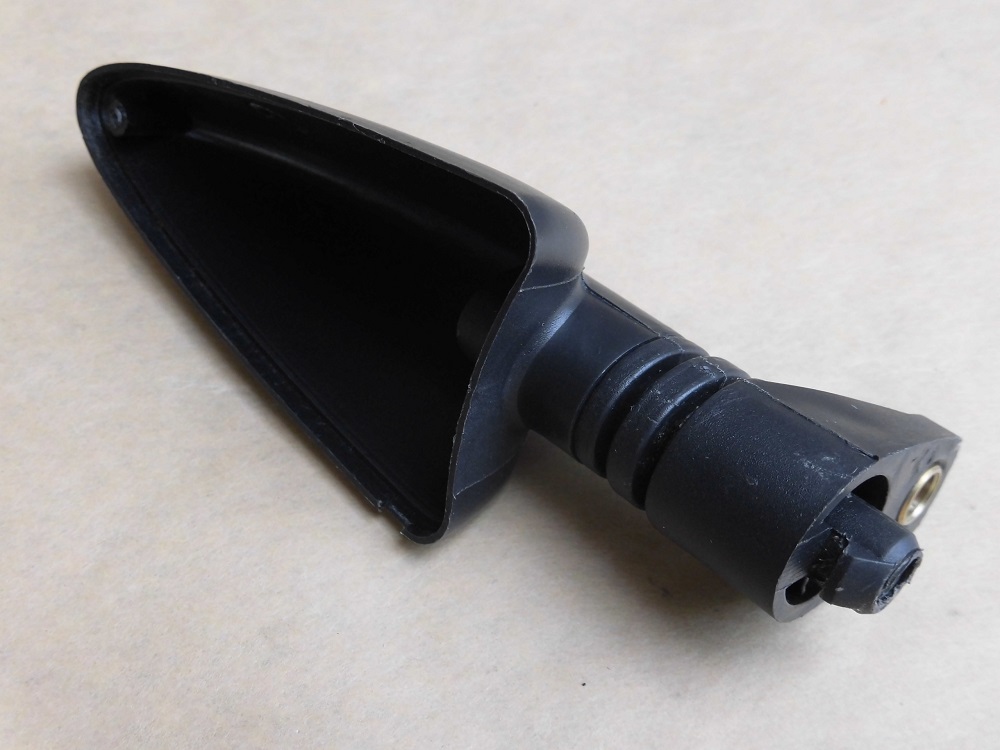
<Repaired body>
The finish was quite normal, despite the large amount of glue applied to fill in the gaps between the holes.
Inside the spacer
To be sure, check the spacer for adhesive.
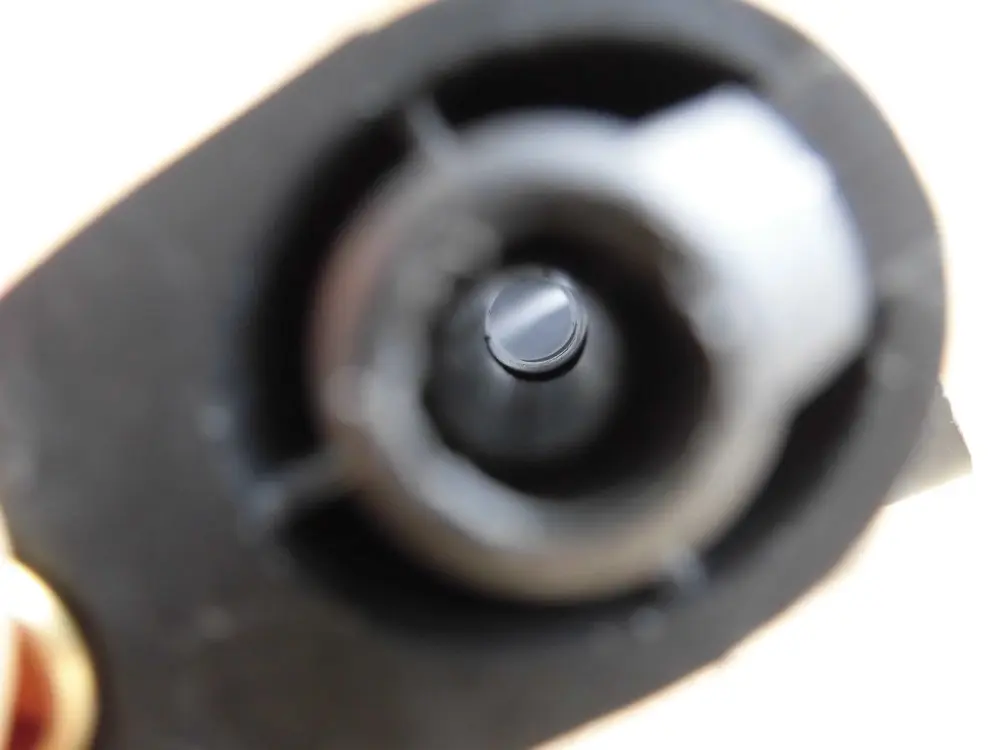
<Inside the spacer>
It seems to be ok.
Assemble LED turn signal
Now, I will run the wire through the body.
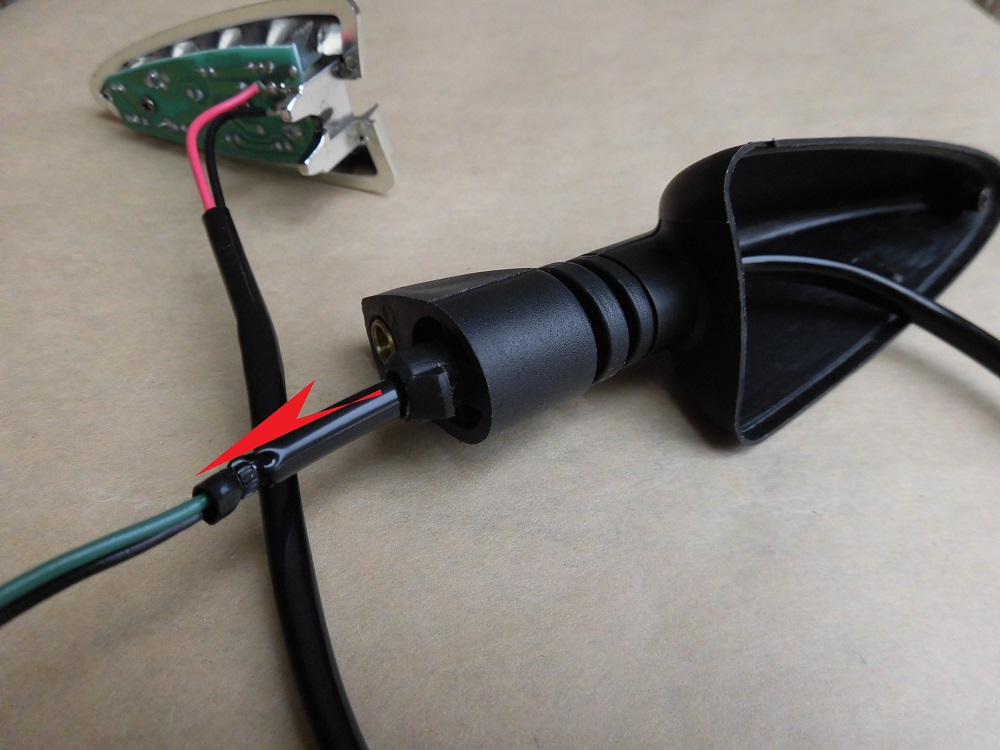
<Assemble LED turn signal>
I was able to run the wire without incident.
Assembled LED turn signal
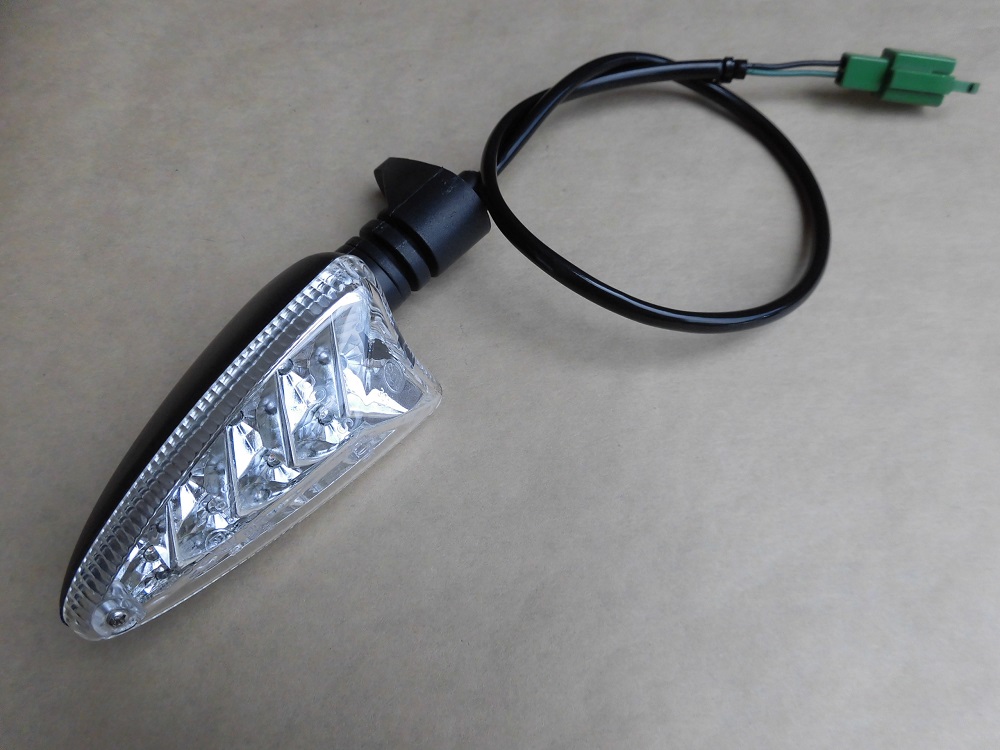
<Assembled LED turn signal>
Install the lens and connector, secure the ends of the harness tube with cable tie, and you are done.
Install LED turn signal
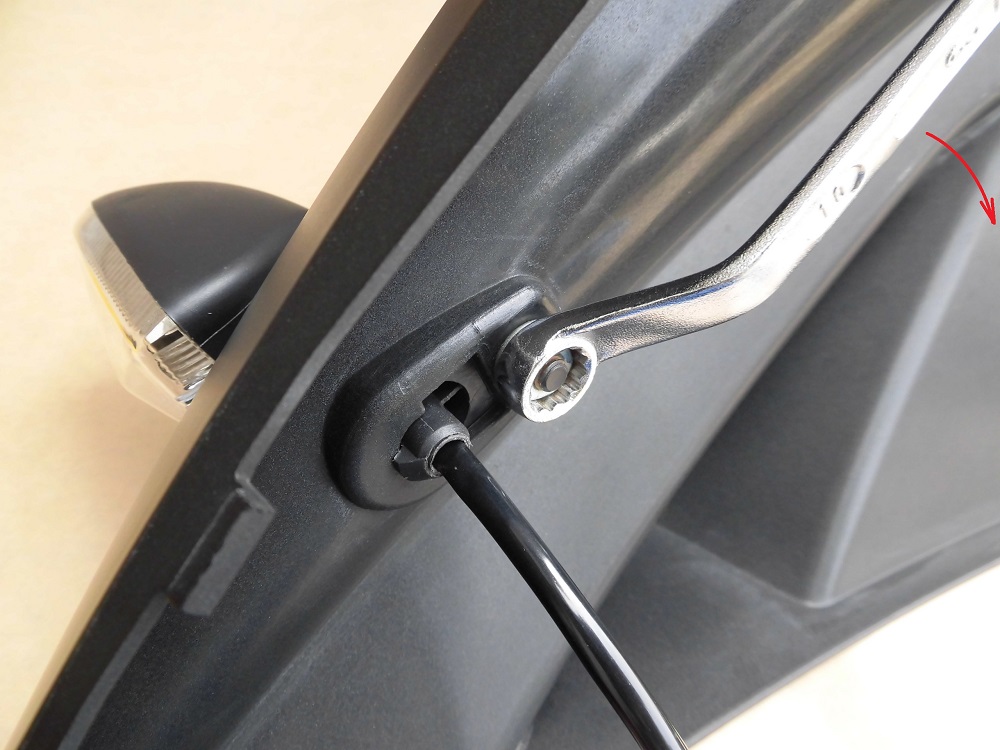
<Install LED turn signal>
Then, install the LED turn signal on the upper side cowl and you are done.
(For details, please refer to the maintenance record “How to remove and install front turn signals”)
At least, I was able to restore it.
At first, I regretted that I should have prepared an aluminum pipe close to the hole diameter, but the spacer did a good job.
Afterwards
The spacers worked great and are still working fine after almost two years.
Also, the adhesive is soft even after curing, making it more flexible and bendable than it was before we broke it.
Adhesives are not to be underestimated.
If it breaks, I will write about it again.
3. Summary
The following is a summary of the machining, adhering, etc. of the broken front right turn signal.
Since the resin is relatively soft, it is necessary to drill the holes with care.
Therefore, a hand drill may be better for drilling.
- When drilling hole, be careful not to spread them out. (Even if they spread a little, they can be adjusted with adhesive.)
- Choose adhesive that can also be used with polypropylene
- The spacers are very effective and have been used for over 2 years.


