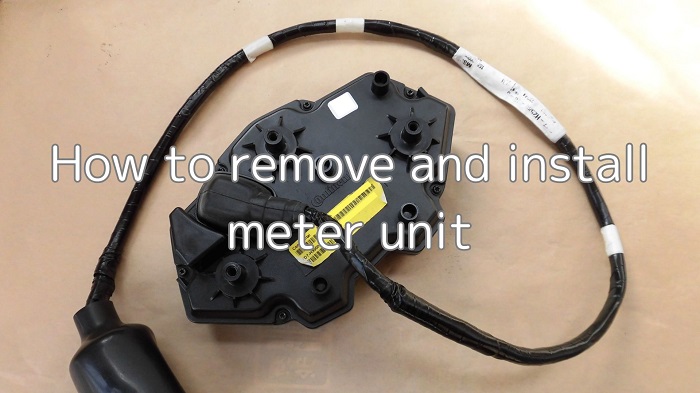
I will summarize how to remove and install the meter unit.
From the beginning, but I broke the threaded part when installing the meter unit.
I will tell you at the beginning that there is a risk of breaking by removing and installing.
By removing the meter unit, it will be easier to do the following.
- Installation of electrical components around the meter unit (anti-theft device, shift indicator)
- Cleaning the front stays
From this article, you can learn the following.
- How to remove and install the meter unit
- Broken threaded part of meter unit
- How to temporarily repair a broken threaded part
| Date | 20th March 2022 |
| Subjects | Maintenance, Failure, Repair |
| Shop or DIY | DIY |
| Difficulty | |
| Working hours | 1 |
| Costs [Yen] | 0 (Use what I have) |
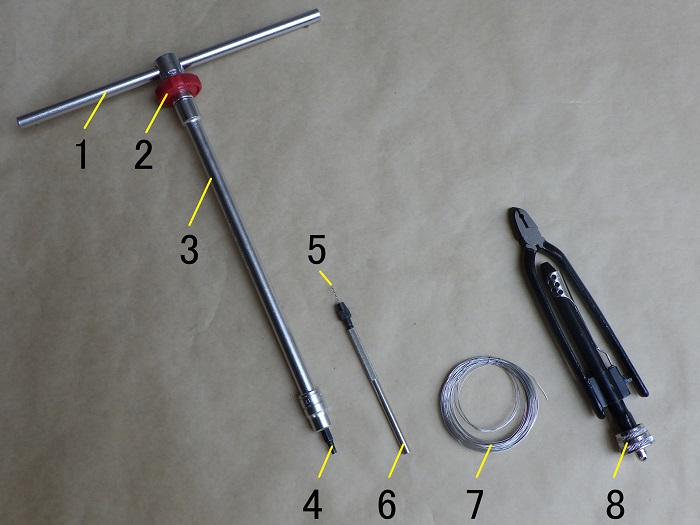
1. Goods to use
| No. | Product name | Manufacturer | Product number | Quantity | Amounts[Yen] |
| 1 | Slide head handle | KTC | BHM3 | 1 | 2,970 |
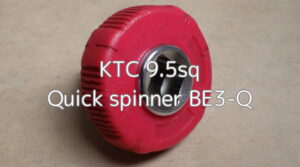
| 2 | Quick spinner | KTC | BE3-Q | 1 | 2,046 |
| 3 | Extension bar (250mm) | KTC | BE20-250 | 1 | (2,783) |
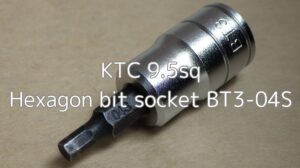
| 4 | Hexagon bit socket (4mm) | KTC | BT3-04S | 1 | 1,012 |
| 5 | Drill (1mm) | – | – | 1 | 129 |
| 6 | Pin vise | – | – | 1 | 890 |
| 7 | Wire (0.35mm) | – | – | 1 | 296 |
| 8 | Safety wire twist pliers | KITAKO | 674-0500502 | 1 | (3,298) |
| 13,424 |
2. How to remove and install meter unit (STEP 1-15)
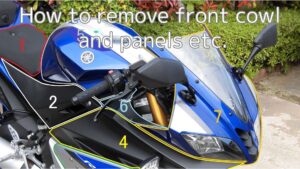
Remove front cowl and stay
First, remove the front cowl and stay.
- Front cowl
For details, see the maintenance record “How to remove front cowl and panels etc.”. - Front stay
For details, please refer to the maintenance record “How to remove front stay”.
*
It is possible to remove the meter unit without removing the front cowl and front stay from the moto body, but for ease of taking pictures and because of other work to be done, I removed them.
Meter unit and front stay
When removed, it looks like this.
<Front side>
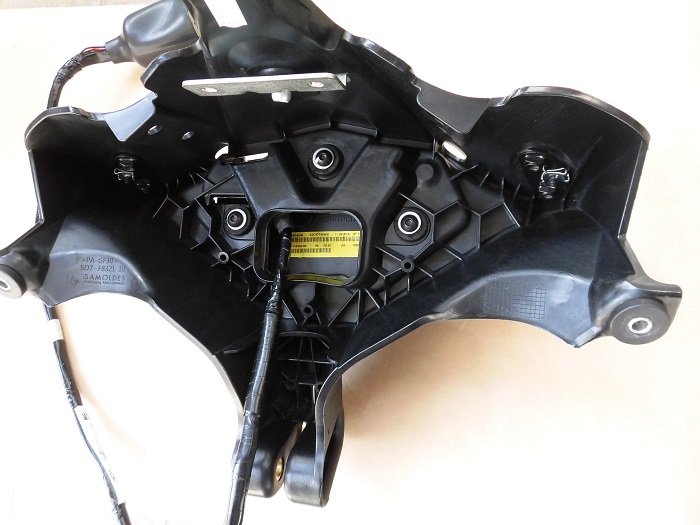
<Back side>
Remove meter unit 1
Now let’s get to work.
<Remove meter unit 1>
Using a T-shaped handle with a hexagon socket (4 mm), remove three screws that secure the meter unit.
Remove meter unit 2
<Remove meter unit 2>
After removing the screws and washers, lift up the meter unit.
Remove meter unit 3
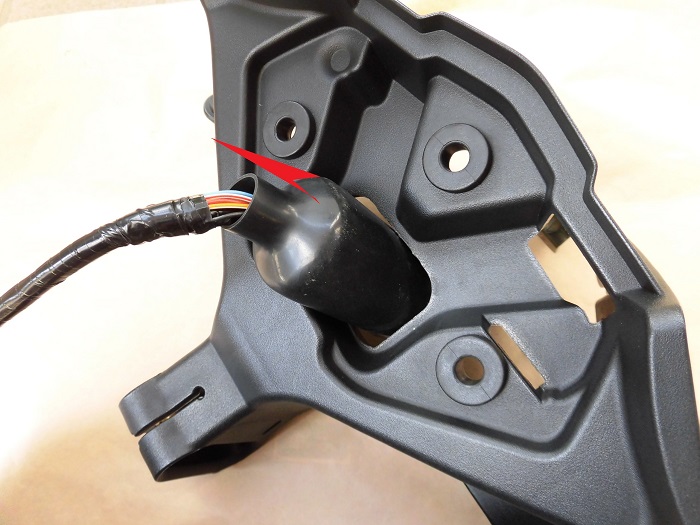
<Remove meter unit 3>
The wiring behind the meter unit is also pulled through the hole in the front stay.
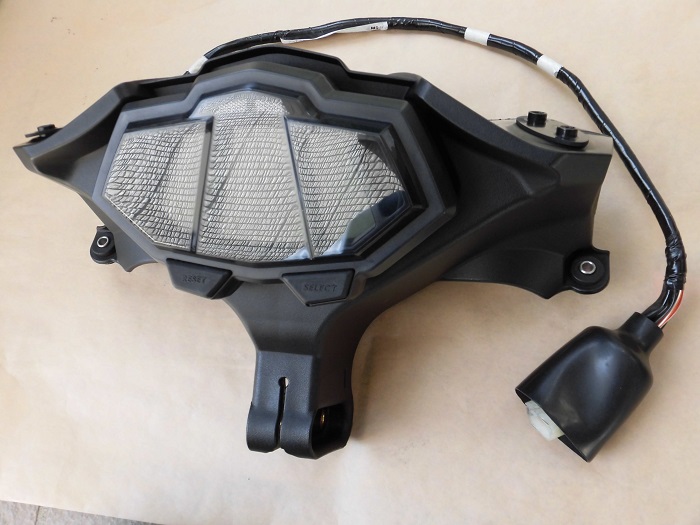
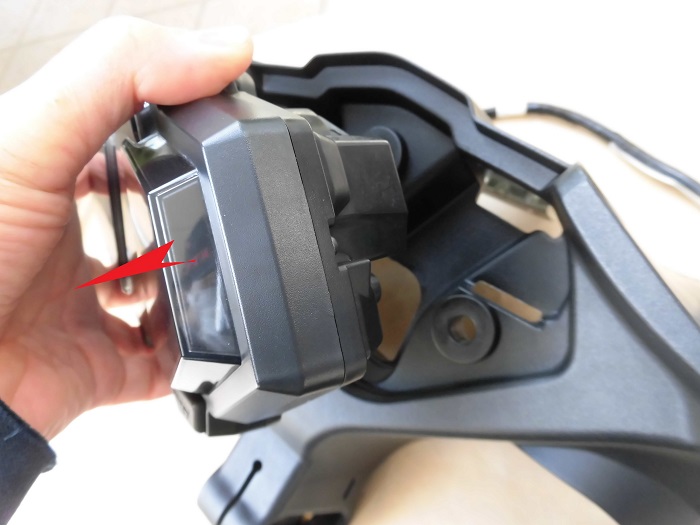
Removed meter unit
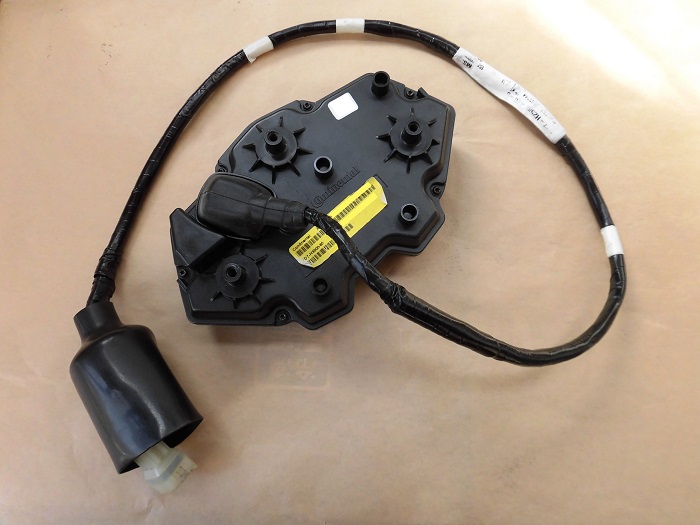
<Removed meter unit>
The meter unit came off like this.
So, it is made by Continental.
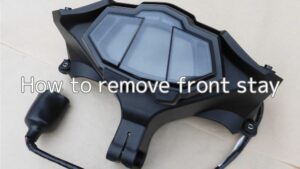
Front stay
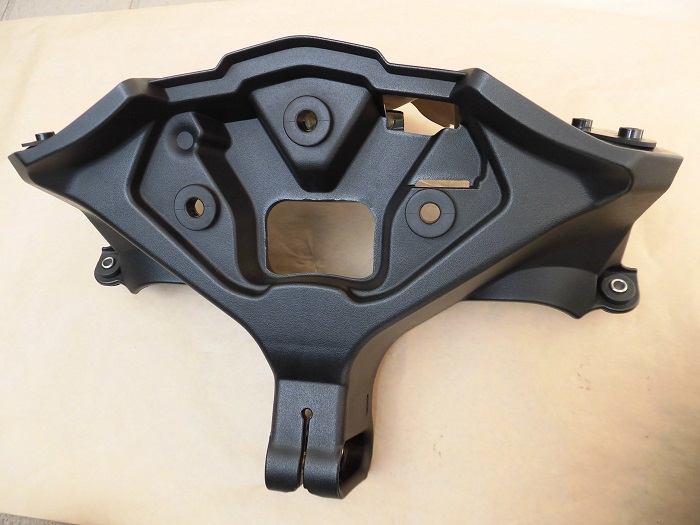
<Front side>
When the meter unit is removed, it looks like this.
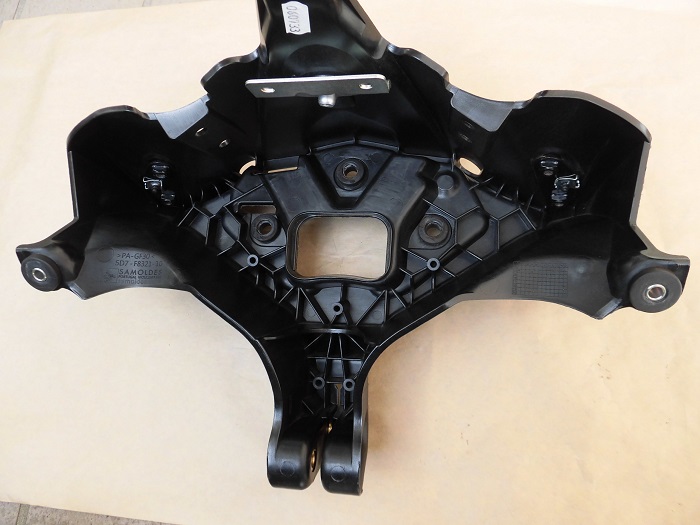
<Back side>
It has many ribs on the inside and seems to be stronger than it looks on the outside.
The front stay takes the weight of the front cowl, headlights, mirrors, etc., which must be a burden.
Install meter unit
Now, let’s install the meter unit on the front stay.
I wanted to finish by saying, “Now all I have to do is put it back together…” but…
As I tightened the screws with the hexagon socket, I couldn’t feel that I had tightened them forever (no torque).
As I tightened it further…
<back side of the front stay>
Snap off…
“Oh no, the threads have been removed!!!!”
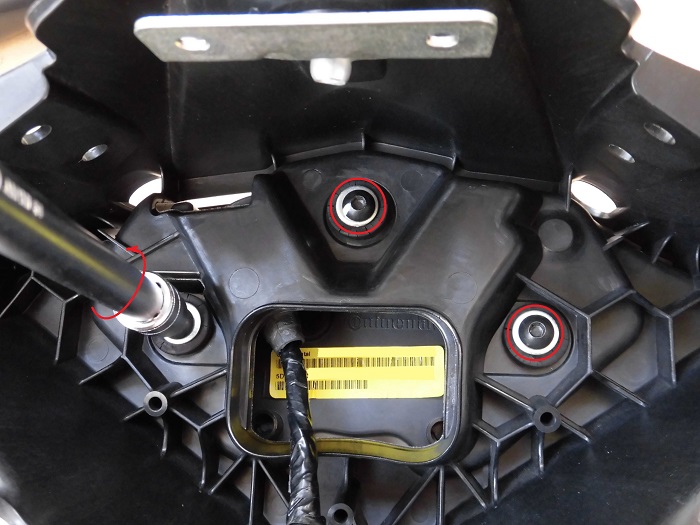
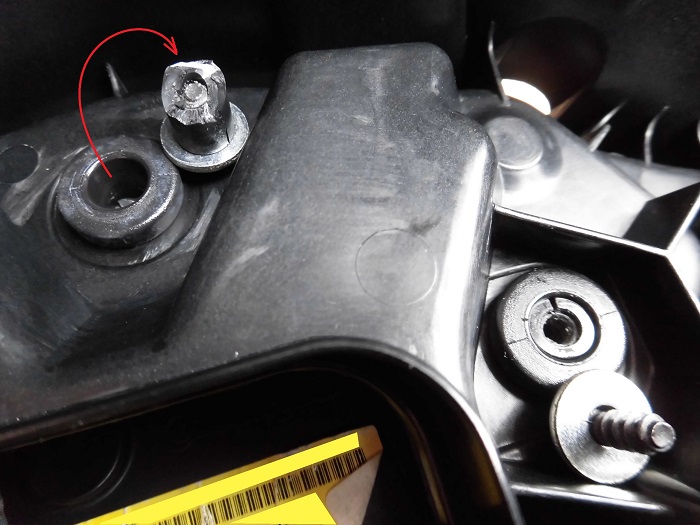
Threaded part of meter unit 1
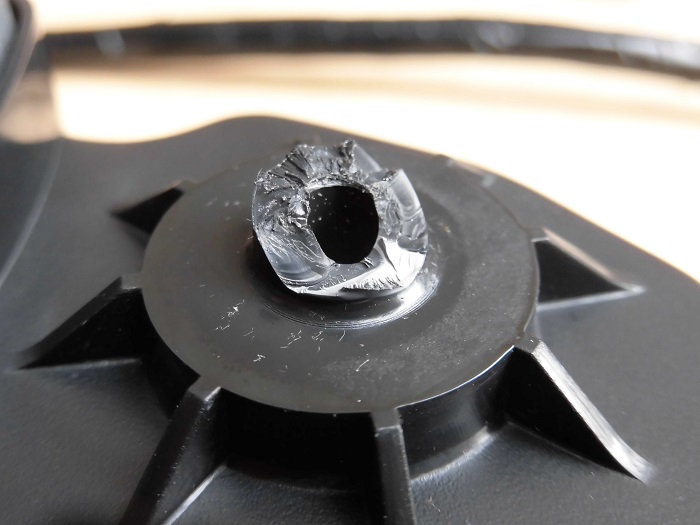
<Threaded part of meter unit 1>
I hurriedly removed the meter unit to check and found that the entire threaded part had broken off.
Threaded part of meter unit 2
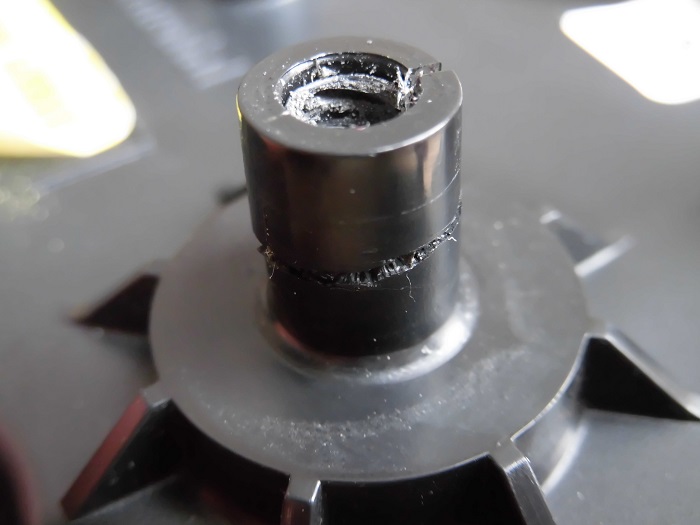
<Threaded part of meter unit 2>
The other spot is almost on the verge of breaking as well.
If I leave it like this, it is only a matter of time before it breaks off. So, I broke it off after this.
What caused the breakage?
The cause of the breakage was obviously over-tightening of the screw.
Since the female screws are resin, they should have been handled with a little more care.
Looking at the photo of STEP 6 again, you can see that the upper screw has already cracked.
After 7 years of production, the resin may be starting to become brittle.
Incidentally, I searched the Internet and found a similar case.
After all, it seems that we need to be very careful when tightening screws to this part.
Now, what should I do for the time being?
Drill holes in rib
I couldn’t think of a good idea to fix the threaded part right away. So, I decided to use a wire to hold the meter in place to prevent it from coming off for now.

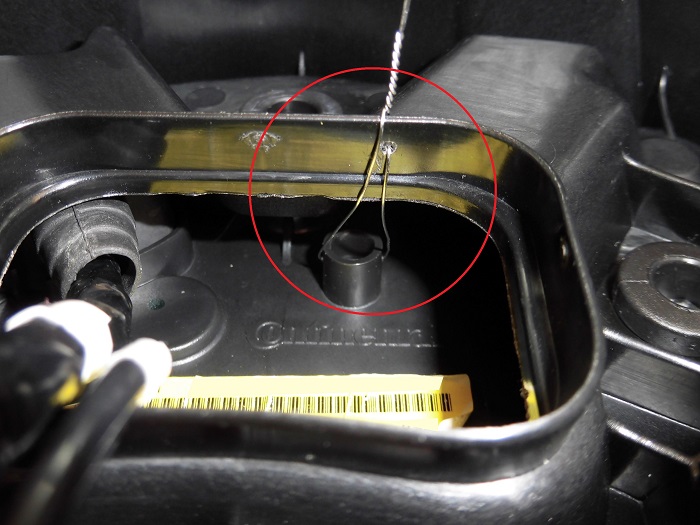
<Drill holes in rib>
Using a pin vise with a drill (1 mm), drill a hole in the round projection in the middle of the meter unit.
Next, drill a hole in the end of the front stay located below the round projection of the meter unit.
Twist wire
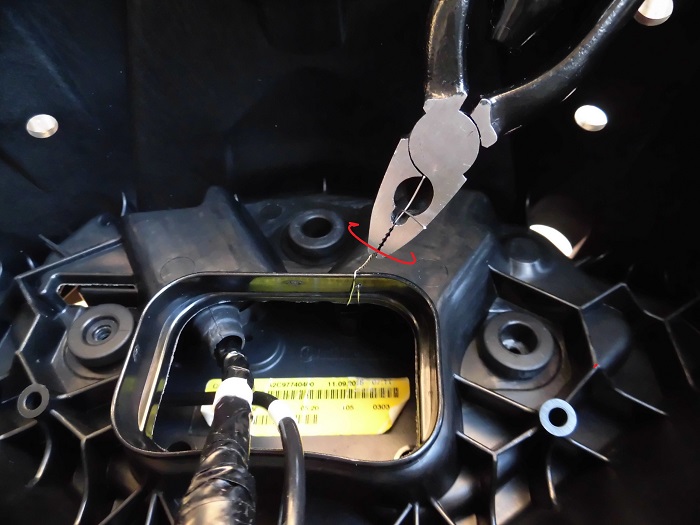
<Twist wire>
Thread a wire (0.35 mm) through the hole between the meter unit and the front stay, using wire twist pliers.
Condition of wire
<Condition of wire>
I fixed the meter unit like this.
Fortunately, as there was one protrusion left on the meter unit, the vertical and horizontal movement was suppressed.
It rattles a little, but as long as it doesn’t come off, it’s OK…
Actually, it moves unnecessarily when I press the button on the meter unit, which annoys me every time I press it.
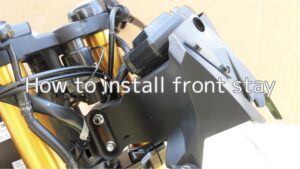
Install front stay and cowl
Then, the front stay and cowl are installed and finished.
- Front satay
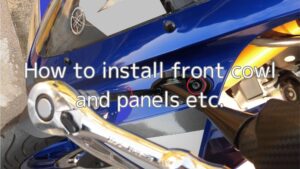
For details, see the maintenance record “How to install front stay”. - Front cowl
For details, see the maintenance record “How to install front cowl and panels etc.”.
3. Summary
I summarize how to remove and attach the meter unit.
Although there may be few opportunities to remove the meter unit, care must be taken not to break the threaded part when re-tightening it.
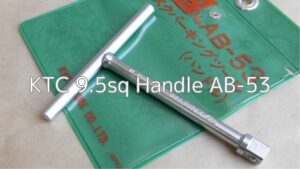
- When installing the meter unit to the front stay, if the screw is tightened too much, the threaded part will break off. (It is recommended to use a small handle such as KTC AB-53.)
- A wire can be used to secure the unit to the front stay.