1.Remove parts and apply ceramic coating
A ceramic coating is a great way to keep your moto looking as good as possible for as long as possible.
A ceramic coating will
- Longer-lasting gloss.
- dirt is easier to remove.
So, cleaning afterwards becomes easier.
This time, the parts were removed according to the maintenance record ‘How to remove the rear cowls and panel, etc.’.
So, the backside of the cowl can also be cleaned and coated.
This is another advantage of doing the installation yourself.
From this article you can find out below.
- Shape of removed cowls and panel.
- How the coating is applied.
Last time, I coated the side cowls and panels, but unfortunately, I couldn’t tell the visual effect because the surface was not glossy.
How will it look this time?
| Date | 14th June 2021 |
| Subjects | Maintenance, Failure, Repair |
| Shop or DIY | DIY |
| Difficulty | |
| Working hours | 12 |
| Costs | 0 Yen (Use what I have) |
Goods to use:
| No. | Name | Manufacturer | Products number | Quantity | Amounts[Yen] |
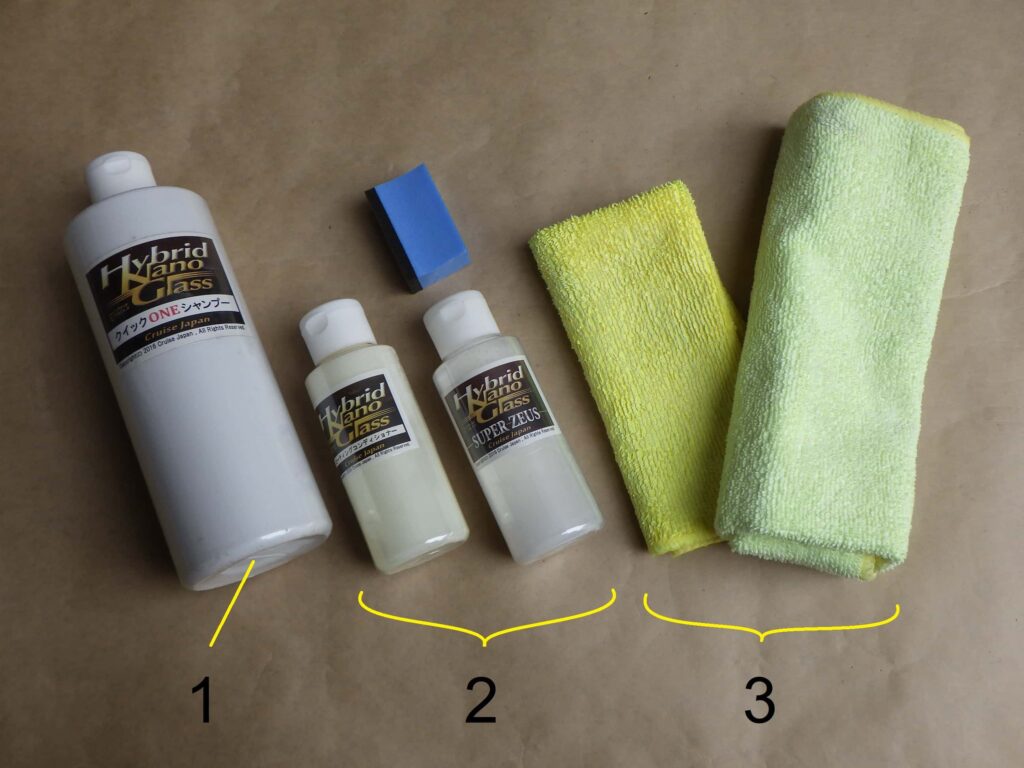
| 1 | Quick one shampoo | Cruise Japan | carshampoo91919 | 1 | 3,800 |
| 2 | Coating conditioner + Super Zeus set | Cruise Japan | 2018memorial-set1 | 1 | 10,340 |
| 3 | Microfiber cloth | – | – | 3 | (1,650) |
| 15,790 |
2. Apply ceramic coating of rear cowls and panel etc. (STEP 1-8)
Wash with water
<Wash with water>
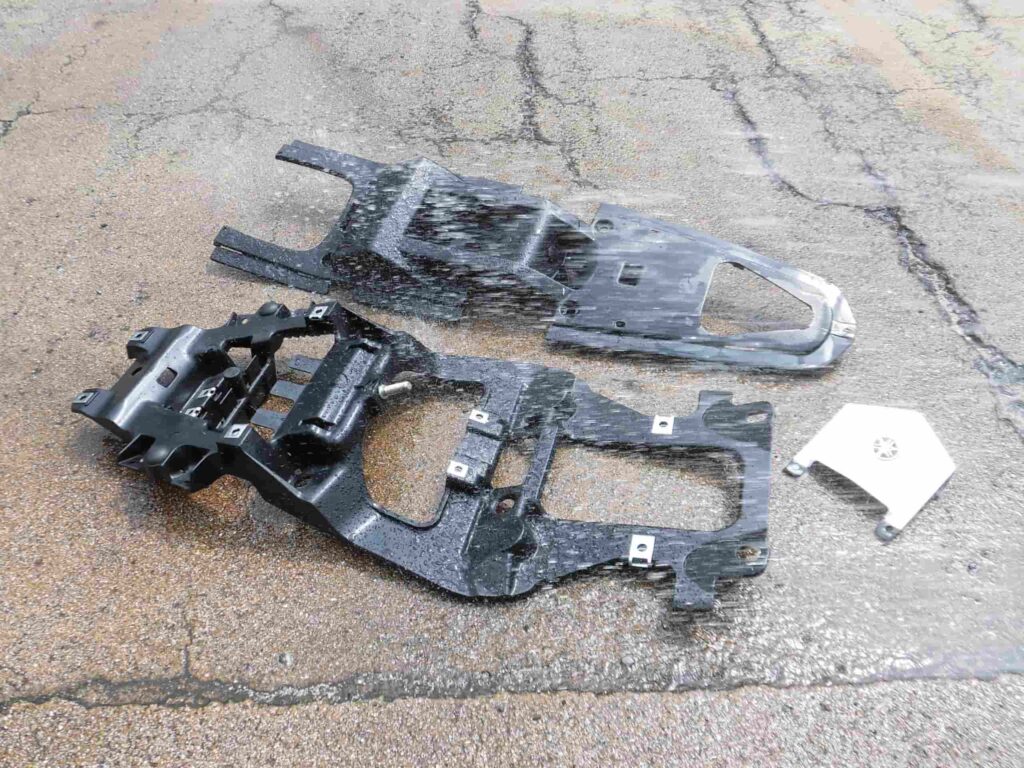
First, water is sprayed over the entire components.
For the rear cowls, water was sprayed while holding it by hand to avoid scratching.
Wash with car shampoo
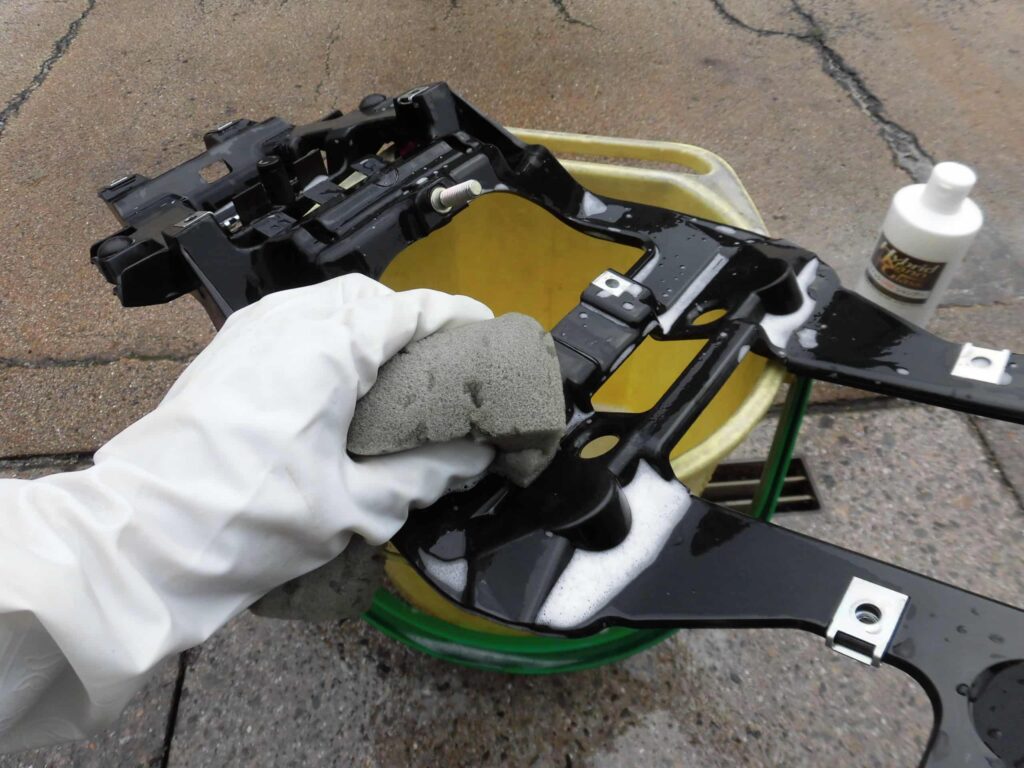
<Wash with car shampoo>
Car shampoo is applied, and dirt is washed off.
The smallest parts were carefully washed using a toothbrush.
Dry
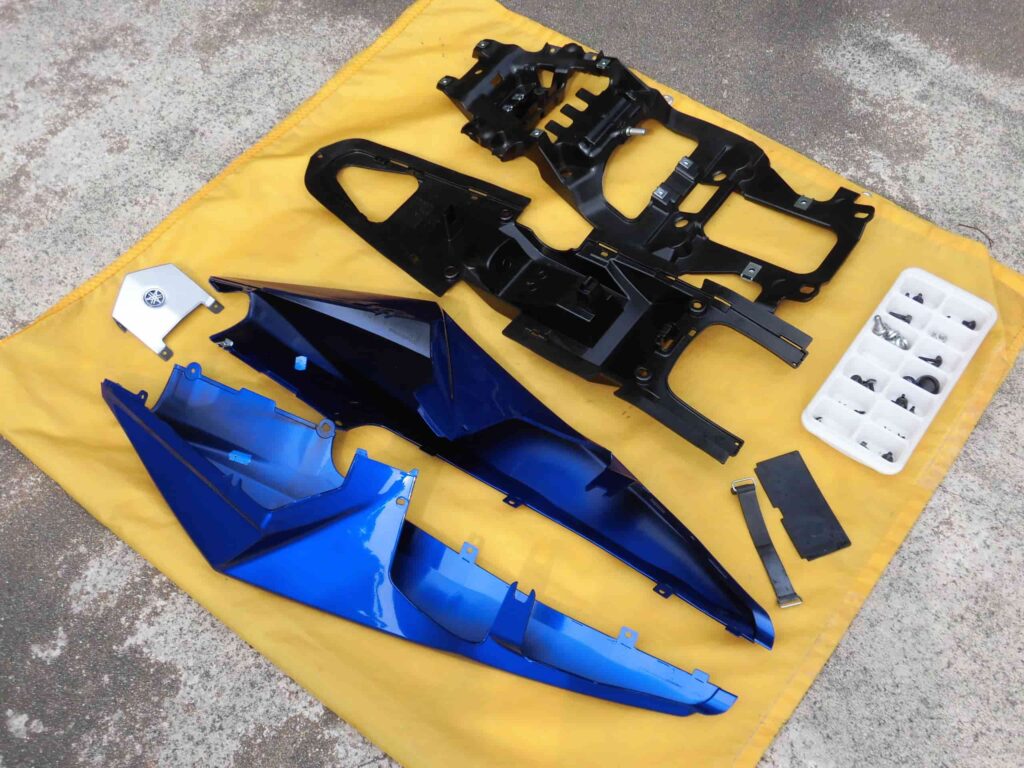
<Dry>
The car shampoo is rinsed off, the water is wiped off with a microfiber cloth and the parts are left to dry naturally.
Of course, the bolts that were removed were also washed.
Condition of the underside of the rear cowl
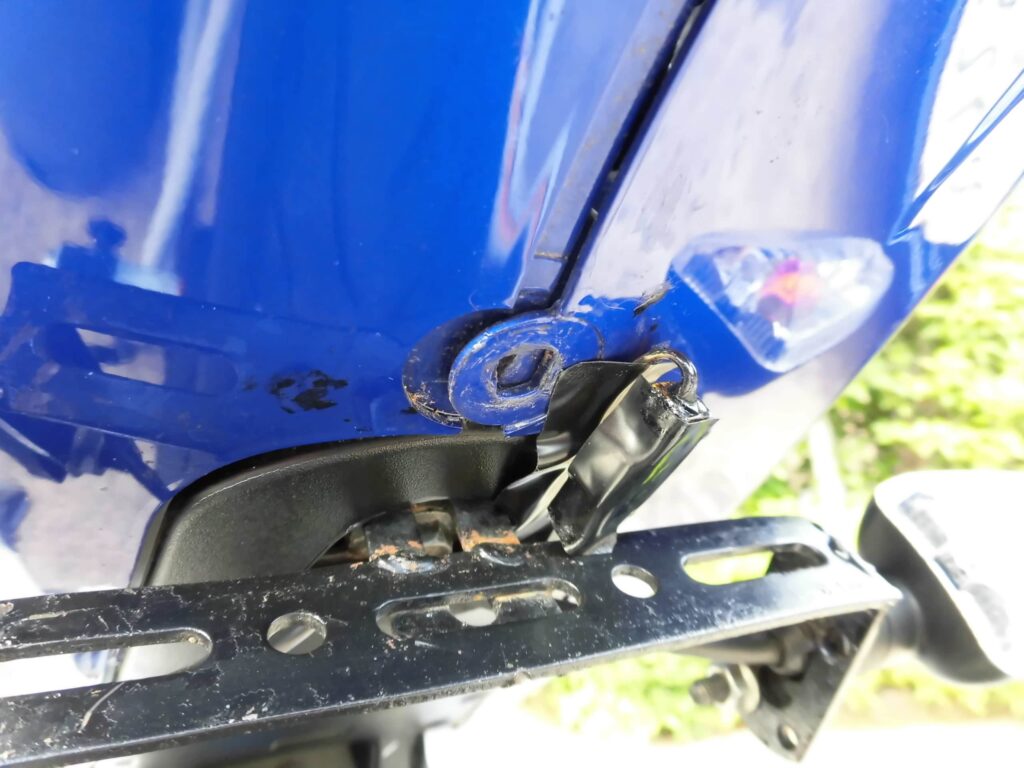
<Condition of the underside of the rear cowl>
The bike was actually very clean on the outside, but only the underside of the rear cowl was dirty.
There was black sticky dirt (butyl rubber?) and tape adhesive on it, probably from the previous owner’s use when he fitted the tail tidy.
This is a good opportunity to remove these stains.
Clean rear cowl
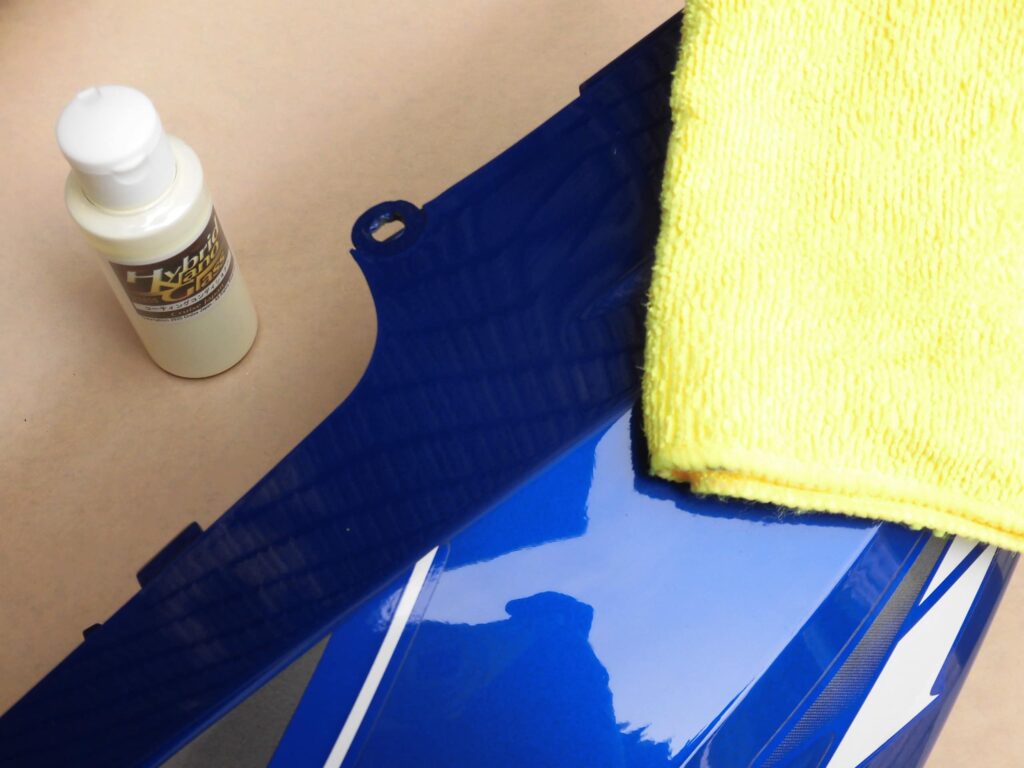
<Clean rear cowl>
Remove sticky dirt with a parts cleaner and finish with a coating conditioner.
Before and after cleaning rear cowl underside
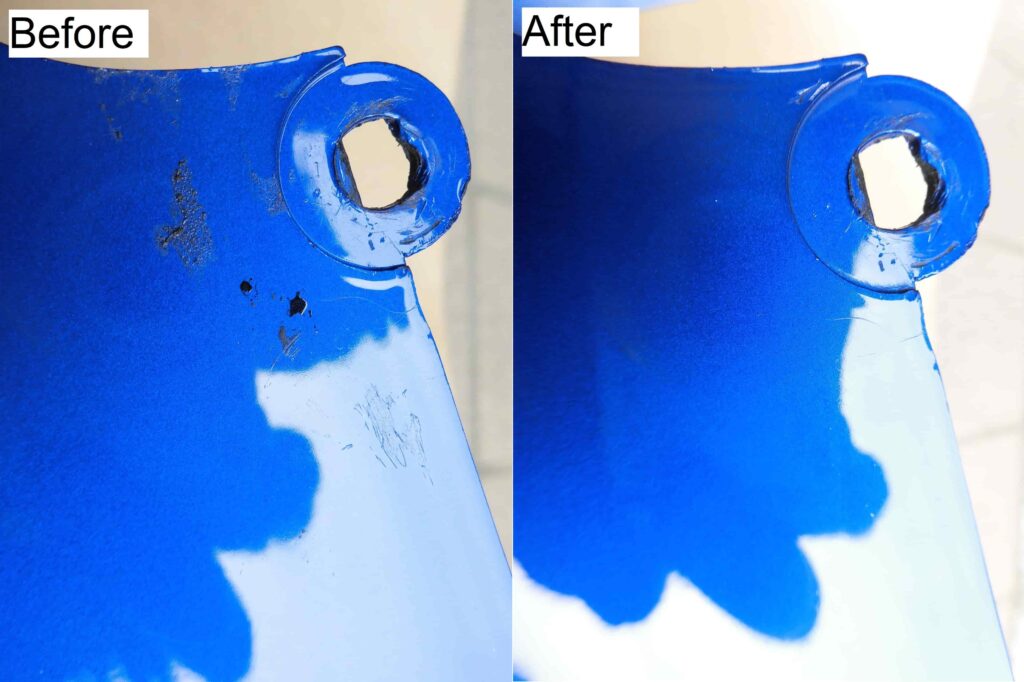
<Before and after cleaning>
Left: Before cleaning
Right: After cleaning
Removed more dirt than expected.
Apply ceramic coating
Finish with a ceramic coating.
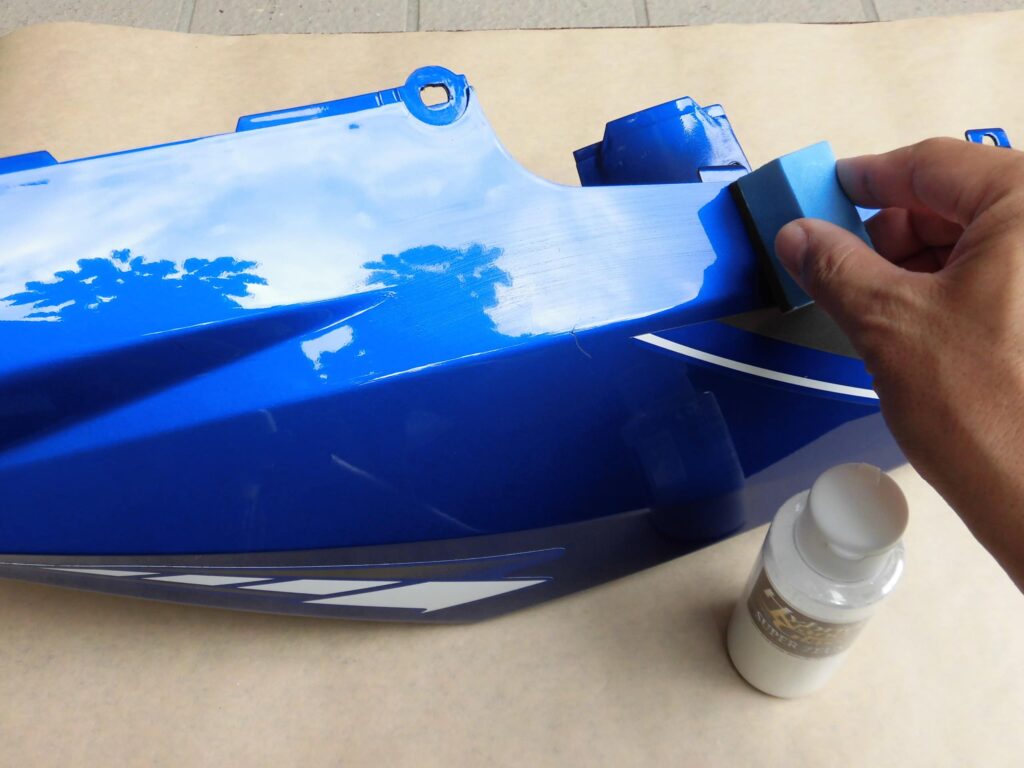
<Apply ceramic coating>
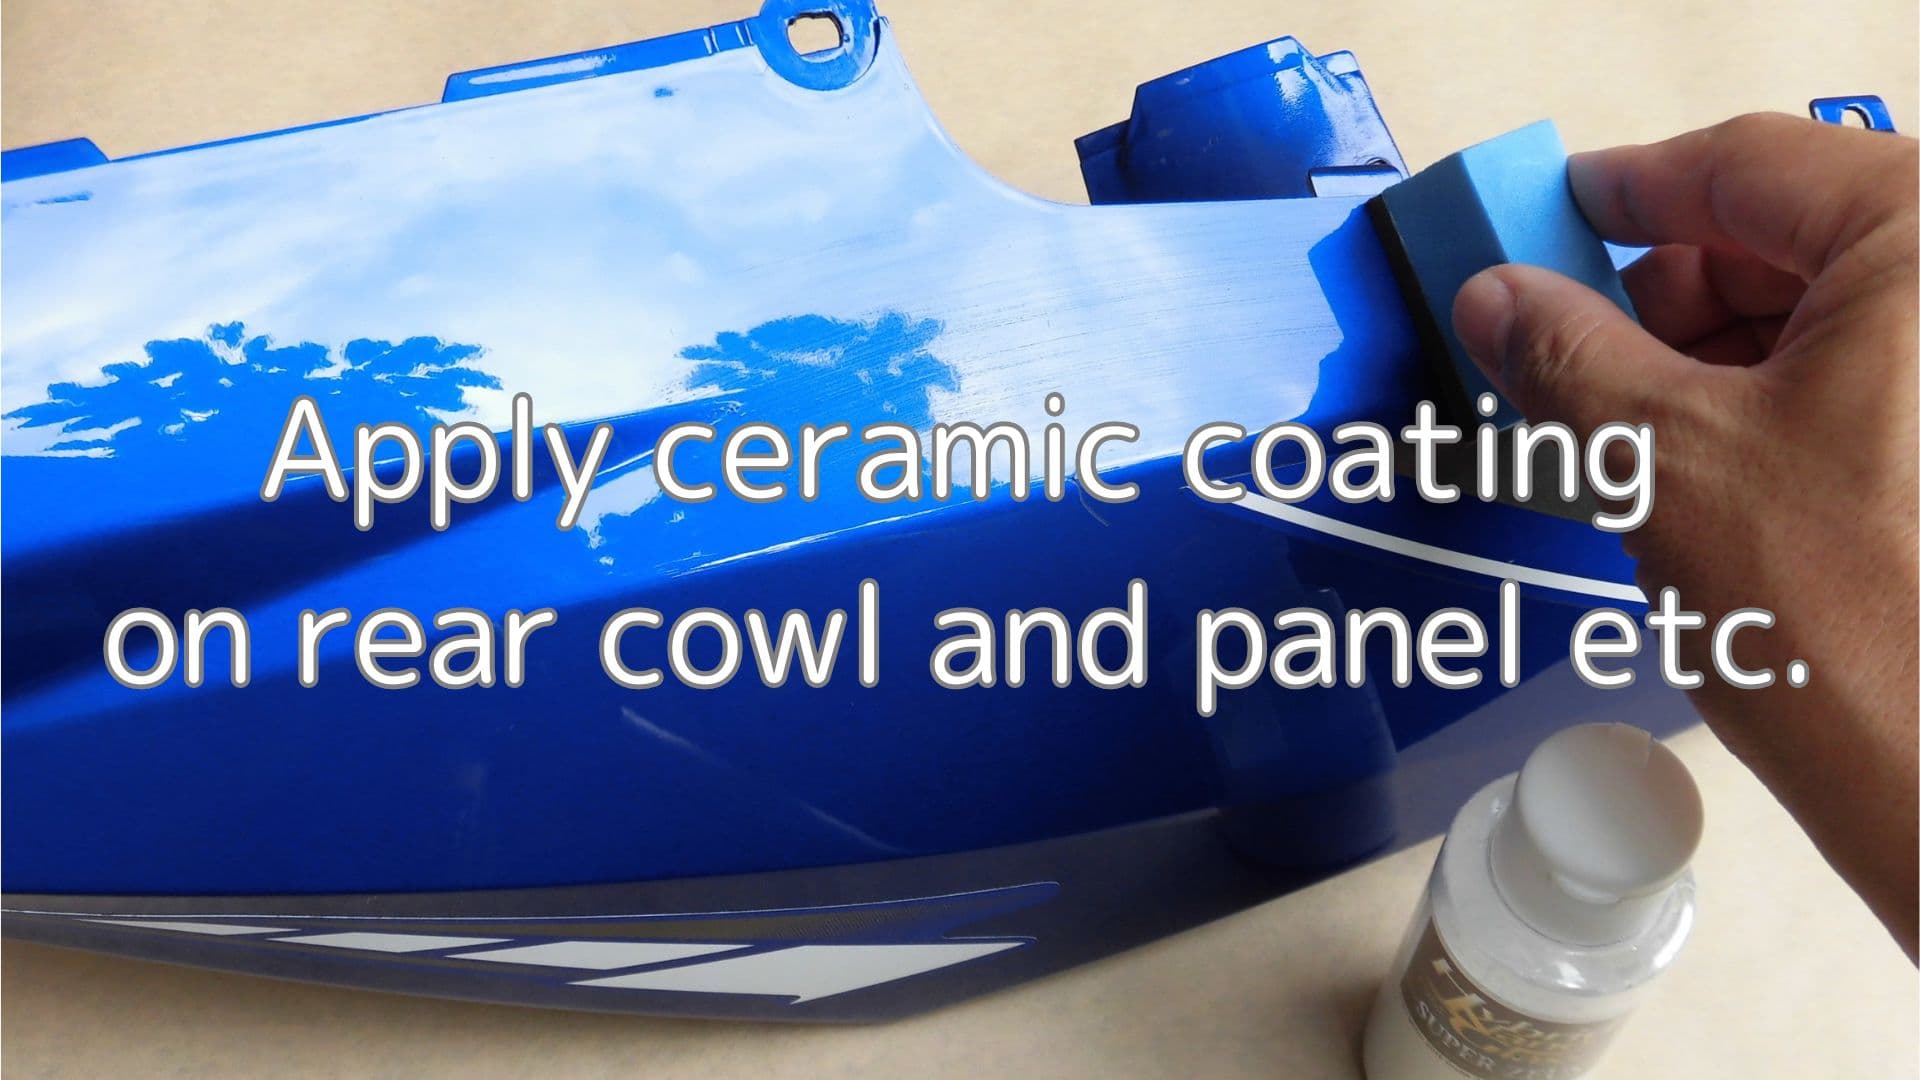
A few drops of ceramic coating are applied to a sponge and spread over the entire surface.
Then, after drying, it is wiped up with a microfiber cloth.
It may feel similar to applying wax.
This was applied three times over a period of three days.
I applied it to the box, mudguard and even child parts such as bolts.
The work was carried out in a straightforward manner.
After ceramic coating
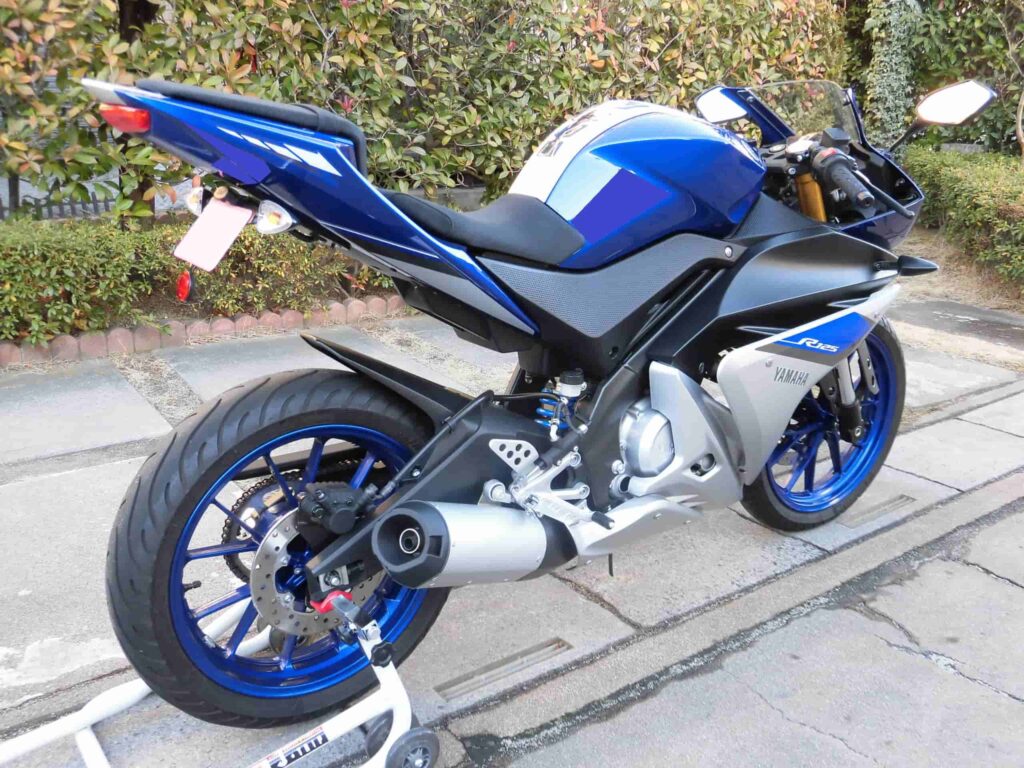
<After ceramic coating>
Just before coating, it is a pity that I did not take a photo.
It is hard to tell from the photo whether it has been cleaned up or not, but the scenery is now visible in the picture.
3. Summary
Rear cowls and panel, other parts were coated.
I was able to clean the underside of the rear cowl and are happy with the gloss.
The condition of the coating will be shown on the occasion of the tail tidy installation.
- Removing the cowls and panel allows the coating to be applied in depth.
- The rear cowl can be coated with glass to allow the view to show through.
