I cleaned the rear brakes, but the “squeaking” noise returned.
So, I will replace the brake fluid this time.
I noticed that it has been two and a half years since I took delivery of the car, but I had not changed the fluid during this time.
There are three main methods of replacing brake fluid.
- The pressure-feeding method…
1) Pressing the brake lever/pedal
2) Push out from the reservoir tank or brake caliper - Suction type…sucked out from the bleeder plug by negative pressure
- Gravity type…method of draining by the fluid’s own weight
Many articles on the Internet have been written on 1-1), but in this article, I will summarize working with a hand-held vacuum pump using the suction method in 2).
From this article, you can learn the following.
- How to change brake fluid in rear brake
- How to use a hand-held vacuum pump
| Date | 17th September 2023 |
| Subjects | Maintenance, Failure, Repair |
| Shop or DIY | DIY |
| Difficulty | |
| Working hours | 1 |
| Costs [Yen] | 0 (Use what I have) |
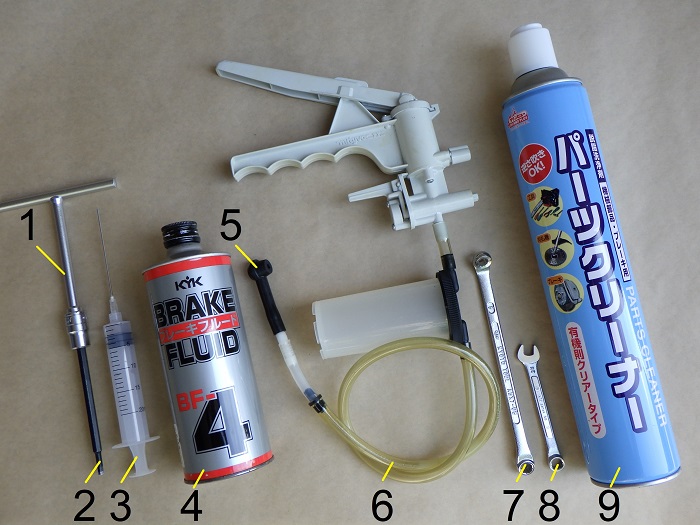
1. Goods to use
| No. | Products name | Manufacturer | Product number | Quantity | Amounts[Yen] |
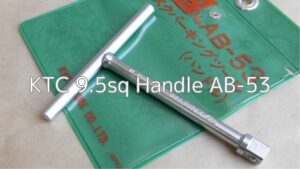
| 1 | Handle | KTC | AB-53 | 1 | 2,431 |
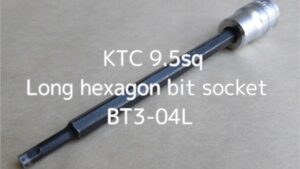
| 2 | Long hexagon bit socket (4mm) | KTC | BT3-04L | 1 | 1,529 |
| 3 | Syringe | DAISO | – | 1 | 110 |
| 4 | Brake fluid (DOT4) | KYK | 58-052 | 1 | 857 |
| 5 | Brake nipple adapter | STRAIGHT | 15-7616 | 1 | 540 |
| 6 | Hand-held vacuum pump (mityvac) | DAYTOA | 24956 | 1 | (9,130) |
| 7 | Box wrench for bleeder plug (8mm) | KTC | ABX7-08 | 1 | 3,179 |
| 8 | Combination wrench (8mm) | KTC | MS2-08 | 1 | 1,287 |
| 9 | Parts cleaner | Taiho Kozai | 829 | 1 | 428 |
| 19,491 |
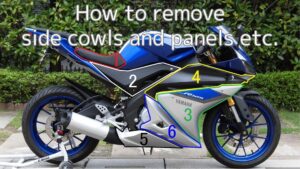
2. Change rear brake fluid (STEP 1-24)
Remove right side panel

<Remove right side panel>
First, remove the right side panel.
You can work without removing it, but it is easier to pour brake fluid if you do.
For details, please refer to the maintenance record “How to remove side cowls and panels etc.” STEP 2-4.
Work procedure
Proceed in the following order.
- Remove reservoir tank cap and other parts
- Replace the fluid in the brake fluid reservoir tank
- Replace fluid in brake hoses and brake calipers
- Clean removed parts
- Install reservoir tank cap and other parts
Move reservoir tank
Now, let’s get to work.
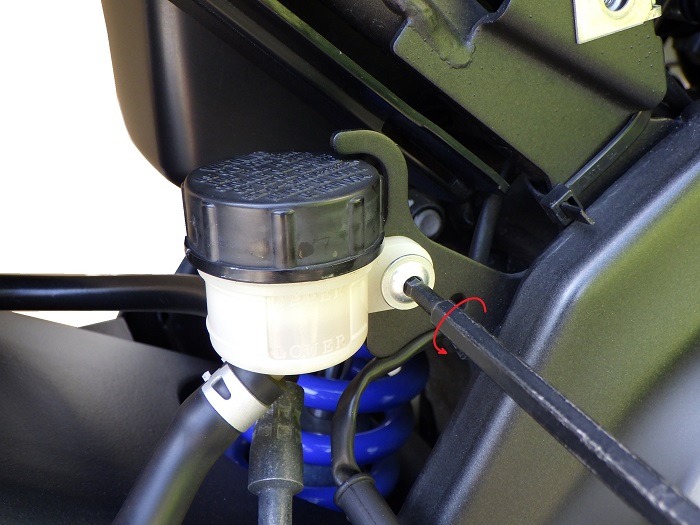
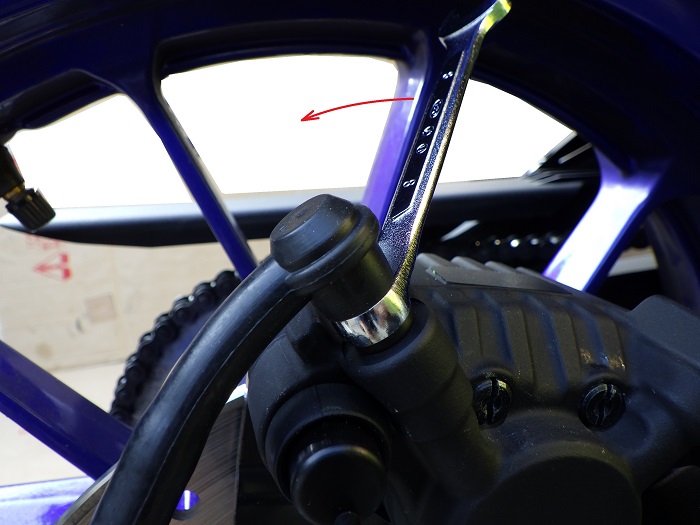
<Move reservoir tank>
Using a handle with a hexagon socket (4 mm), remove the bolt that holds the reservoir tank in place.
The bracket on the reservoir tank also prevents the cap from coming off.
So, in order to remove the cap, it is necessary to remove the reservoir tank.
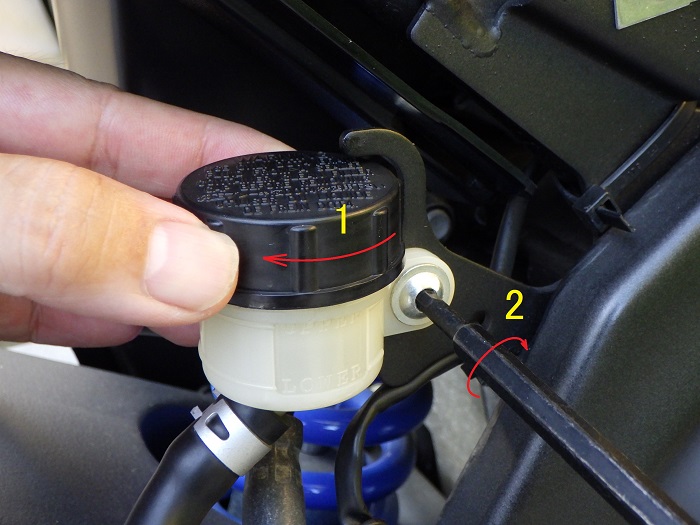
Remove reservoir tank cap 1
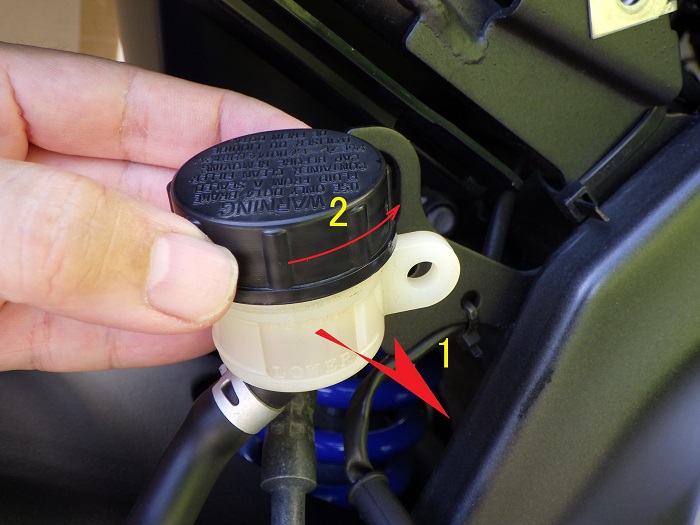
<Remove reservoir tank cap 1>
- Pull the reservoir tank out to in front
- Turn the reservoir tank cap counterclockwise
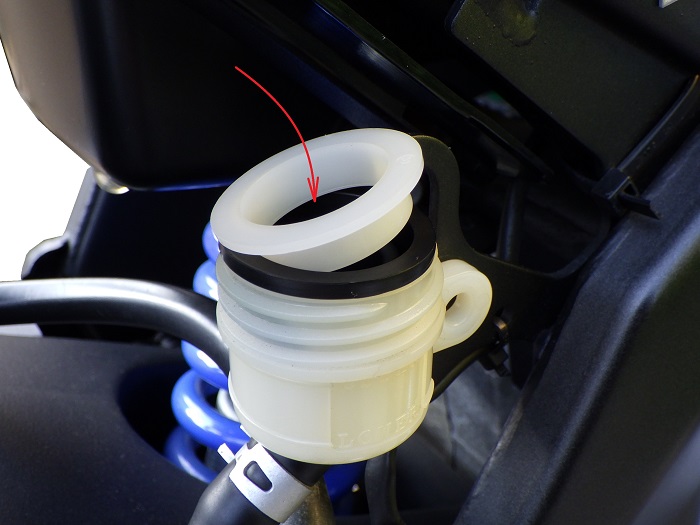
Remove reservoir tank cap 2
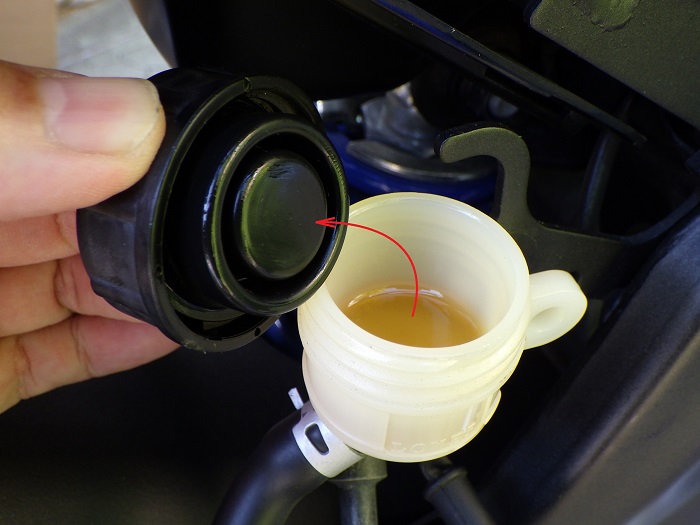
<Remove reservoir tank cap 2>
After removing the cap, the reservoir plate and reservoir diaphragm inside came off together.
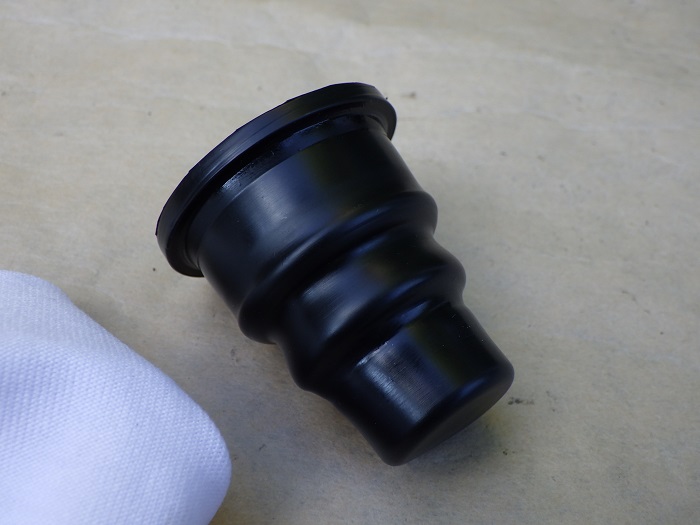
Removed parts
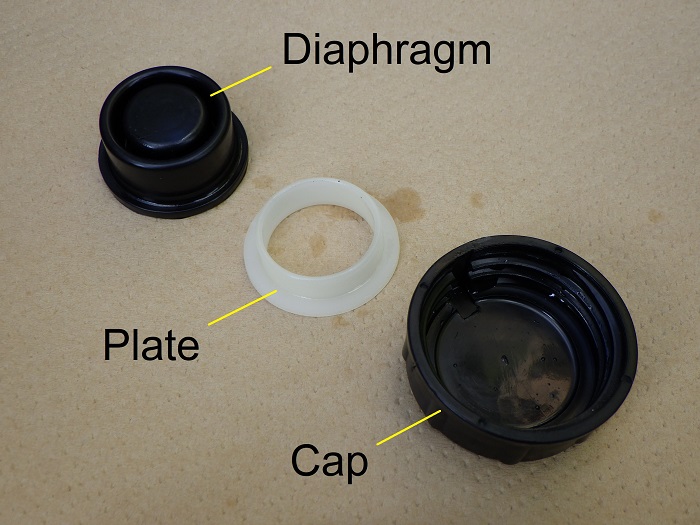
<Removed parts>
From left,
- Reservoir diaphragm
- Reservoir plate
- Reservoir tank cap
Since there were no scratches or cracks on any of them, they will be reused.
Suction brake fluid
Now, I will begin the brake fluid replacement process.

<Suction brake fluid>
First, use a syringe to suck out the brake fluid in the reservoir tank.
Reservoir tank inside
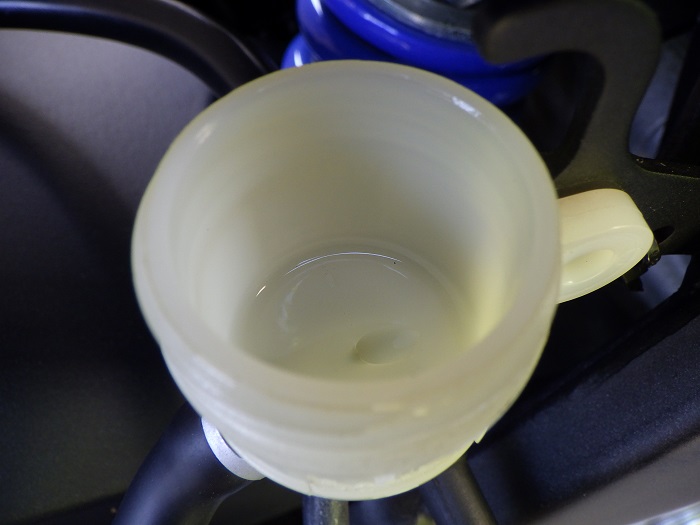
<Reservoir tank inside>
It empties completely like this.
About 9ml, I got out.
Comparison of old and new brake fluid
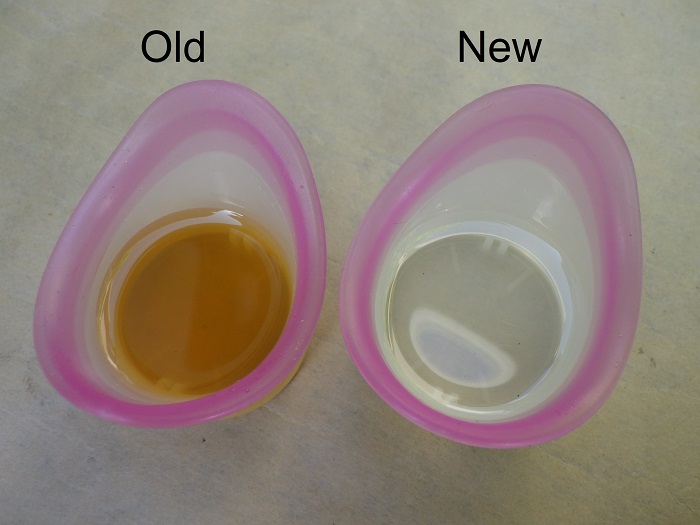
<Comparison of old and new brake fluid>
Left: Drained
Right: In (KYK brake fluid, BF-4)
This much discoloration at the reservoir tank means that the brake caliper side is even more discolored.
I am ashamed of myself for writing “Smooth movement of brake piston and brake caliper makes a difference in brake feeling” under such condition…
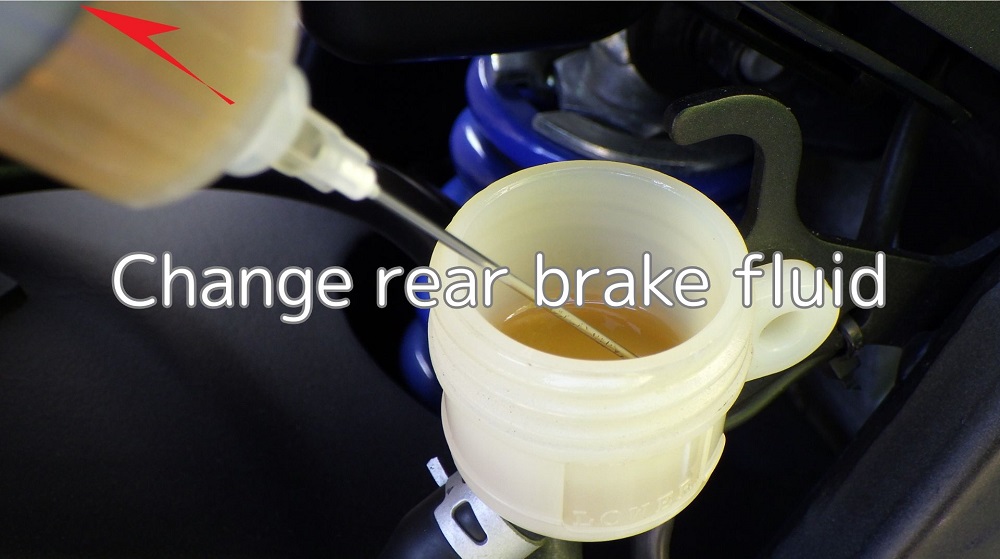
Pour brake fluid
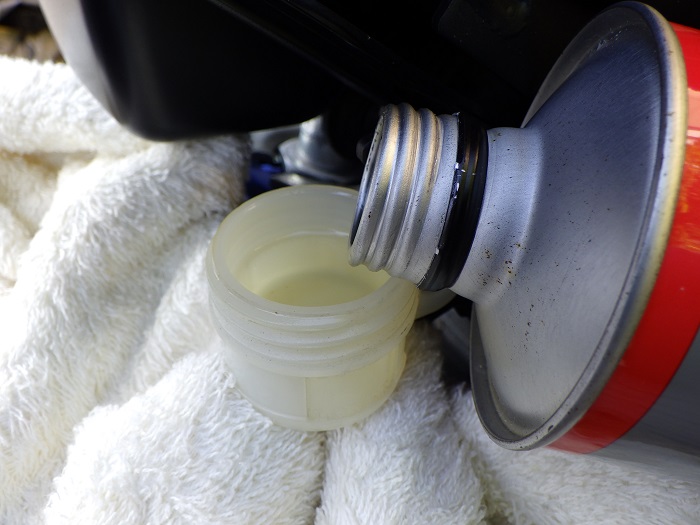
<Pour brake fluid>
Carefully pour brake fluid into the reservoir tank to avoid biting air bubbles.
The fluid in the master cylinder, hoses, and brake calipers will now be drained, so do not worry about the upper limit.
The reservoir is covered with a rag so that any spills will not get on other parts of the reservoir.
Hand-held vacuum pump
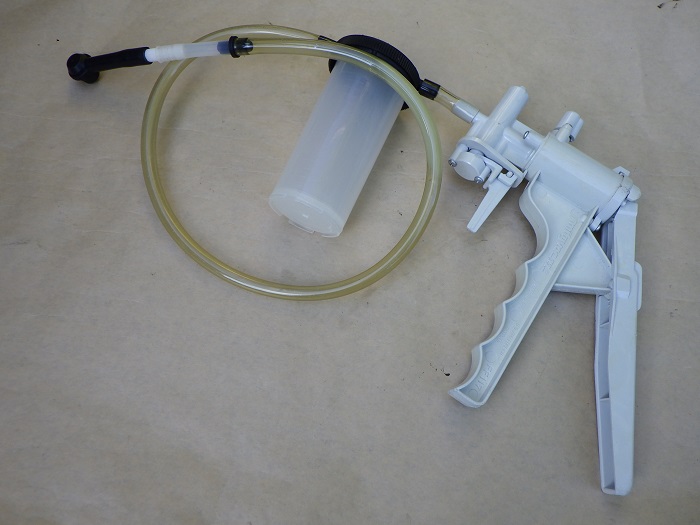
<Hand-held vacuum pump>
I will be using the vacuum pump pictured.
I have been using it for over 25 years, and it is still working.
It is not used very often, so if used well, it may last a lifetime.
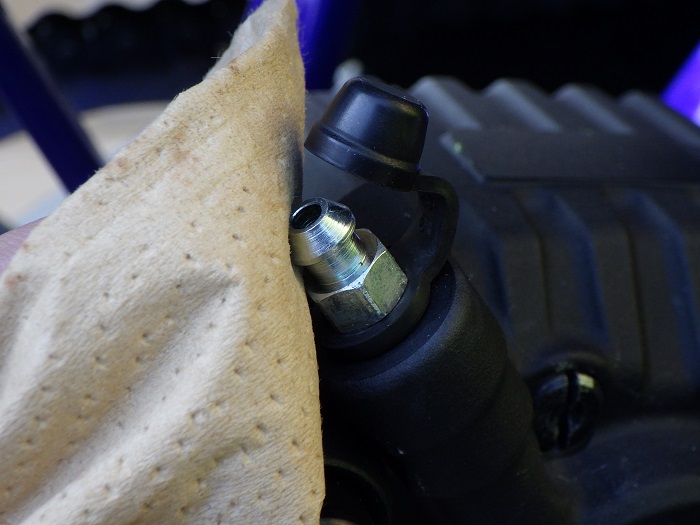
Preparation for brake fluid change 1
Now, we are ready to change the brake fluid.
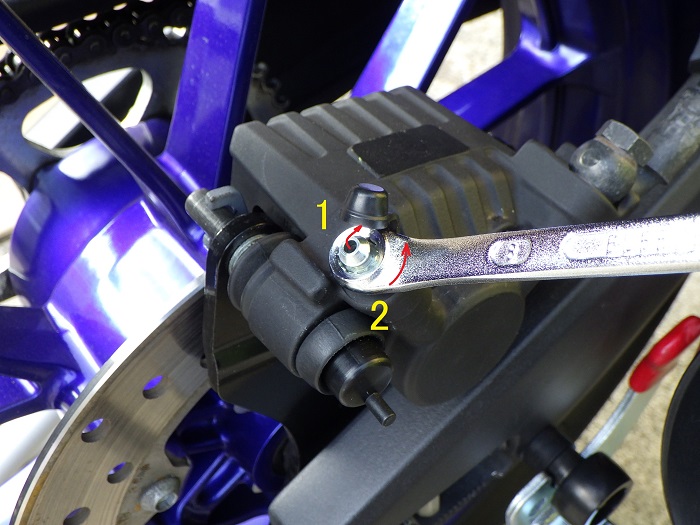
<Preparation for brake fluid change 1>
- Remove the bleeder cap.
- Using an 8mm box wrench, gently loosen the bleeder plug.
Preparation for brake fluid change 2
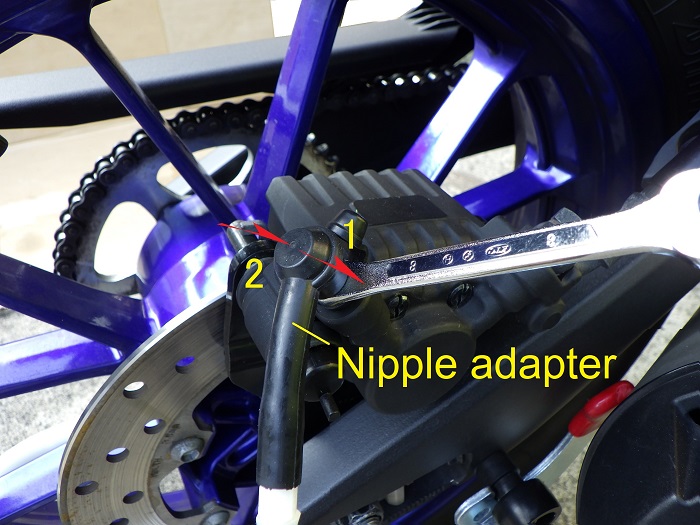
<Preparation for brake fluid change 2>
On the bleeder plug,
- Put a thin combination spanner.
- Install the nipple adapter.
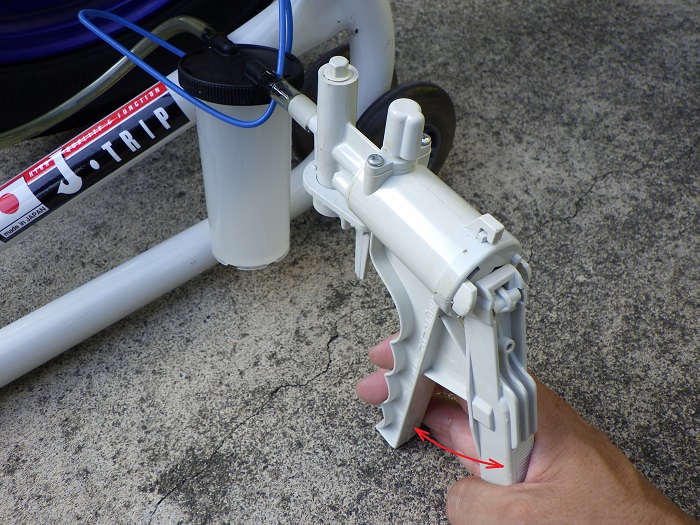
Condition of vacuum pump connected

<Condition of vacuum pump connected>
Connect the vacuum pump like this.
Since the tank is not sitting well, hook it to a holder made by bending a hanger.
Change brake fluid 1
<Change brake fluid 1>
Pump the vacuum pump to generate negative pressure.
Change brake fluid 2
<Change brake fluid 2>
With the combination spanner, loosen the bleeder plug to drain the brake fluid.
Then tighten the plug before the fluid in the reservoir tank runs out.
At this time,
- Air sucked from the threaded part of the bleeder plug and the gap in the nipple adapter will also be drained together (air bubbles in the hose).
- As long as negative pressure is applied, air bubbles will not flow back to the brake caliper side.
Actually, right after I started, the fluid in the reservoir tank ran out very quickly and sucked air with a “cue” sound.
So, I repeated below.
- Close the bleeder plug in seconds after opening it.
- Refill the fluid.
Drained brake fluid
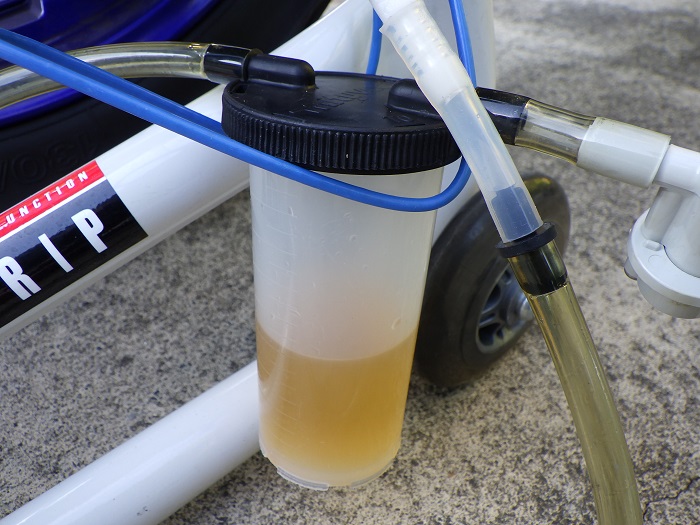
<Drained brake fluid>
After a while, brake fluid accumulates in the tank.
In the end, we drained about 60 ml.
Then, the brake fluid is topped up to the middle of the reservoir tank (*).
*
If the brake pads are worn out and you fill the reservoir to the upper limit, the fluid may overflow the reservoir tank when you put the brake pistons back on.
Tighten bleeder plug
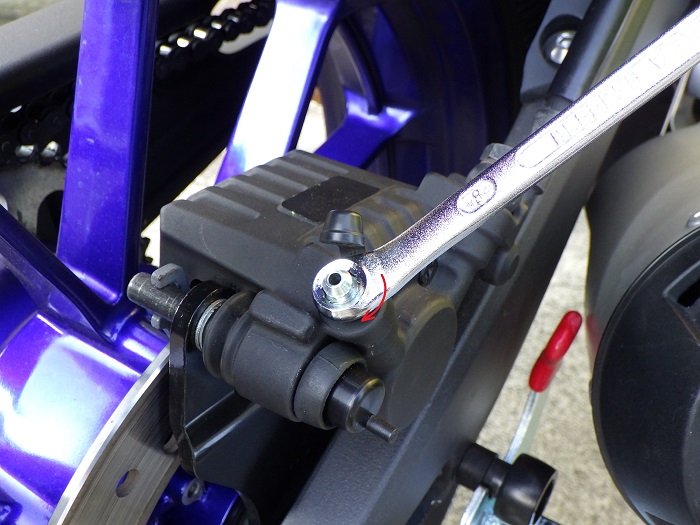
<Tighten bleeder plug>
After the brake fluid has been replaced, tighten the bleeder plugs.
Tightening torque: 6 N-m is specified, but I always tighten it by hand.
If the bleeder plug should break, it would be very difficult to deal with afterwards…
Clean bleeder plug
<Clean bleeder plug>
Wipe off the brake fluid on the bleeder plug with a rag and clean it with parts cleaner.
Then install the bleeder cap.
Clean parts
<Clean parts>
Using a rag, wipe off brake fluid from the reservoir diaphragm.
Then wash the reservoir tank cap and reservoir plate with dishwashing detergent and wipe off the moisture with a microfiber cloth.
Install diaphragm and other
<Install diaphragm and other>
Install the reservoir diaphragm and reservoir plate into the reservoir tank, in that order.
Install reservoir tank cap and other
<Install reservoir tank cap and other>
- Tighten the cap on the reservoir tank
- Tighten the bolt securing the reservoir tank
Install right side panel
Then, install the right-side panel and you are done.
For details, please refer to the maintenance record “How to install side cowls and panels etc.” STEP 17, 18.

Comparison before and after brake fluid change
Now, I will compare the reservoir tanks before and after brake fluid changes.
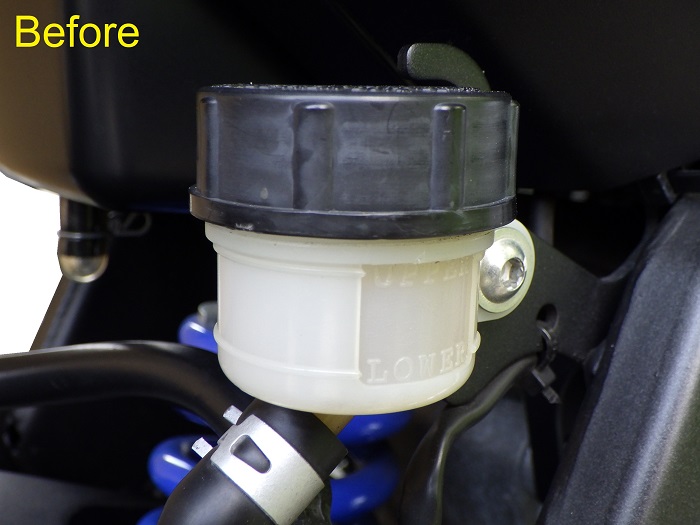
<Before>
Can you tell by the brown color?
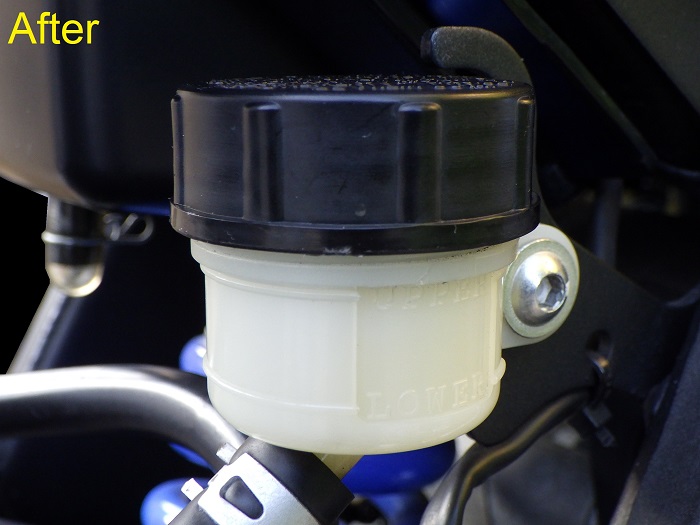
<After>
You may not be able to tell much of a difference, but it is now clear and colorless.
Next time, I would like to change it a little earlier.
3. Summary
Here is a summary of how to change the brake fluid in the rear brakes.
This time, I used a vacuum pump but unintentionally ran out of fluid in the reservoir tank and sucked air.
The fluid capacity of the R125 was less than I expected, so it may not take that long to move the pedal and pump the fluid.
I will try this next time I change the fluid.
As for the important issue of the strange noise, it was resolved after changing the fluid.
I wonder if the fluid deteriorated (absorbed moisture) and picked up (could not suppress) the vibration on the brake pad/rotor side.
- If fluid is spilled, cover it with a rag to prevent it from getting on other parts of the moto.
- When refilling the reservoir tank with fluid, be careful not to bite air bubbles.
- Be careful not to run out of fluid in the reservoir tank.
(Using a vacuum pump can quickly deplete the fluid in the tank.) - With worn brake pads, fluid refilling should be done in the middle.
- After changing the fluid, the “squeaking” sound just before stopping could be eliminated.


