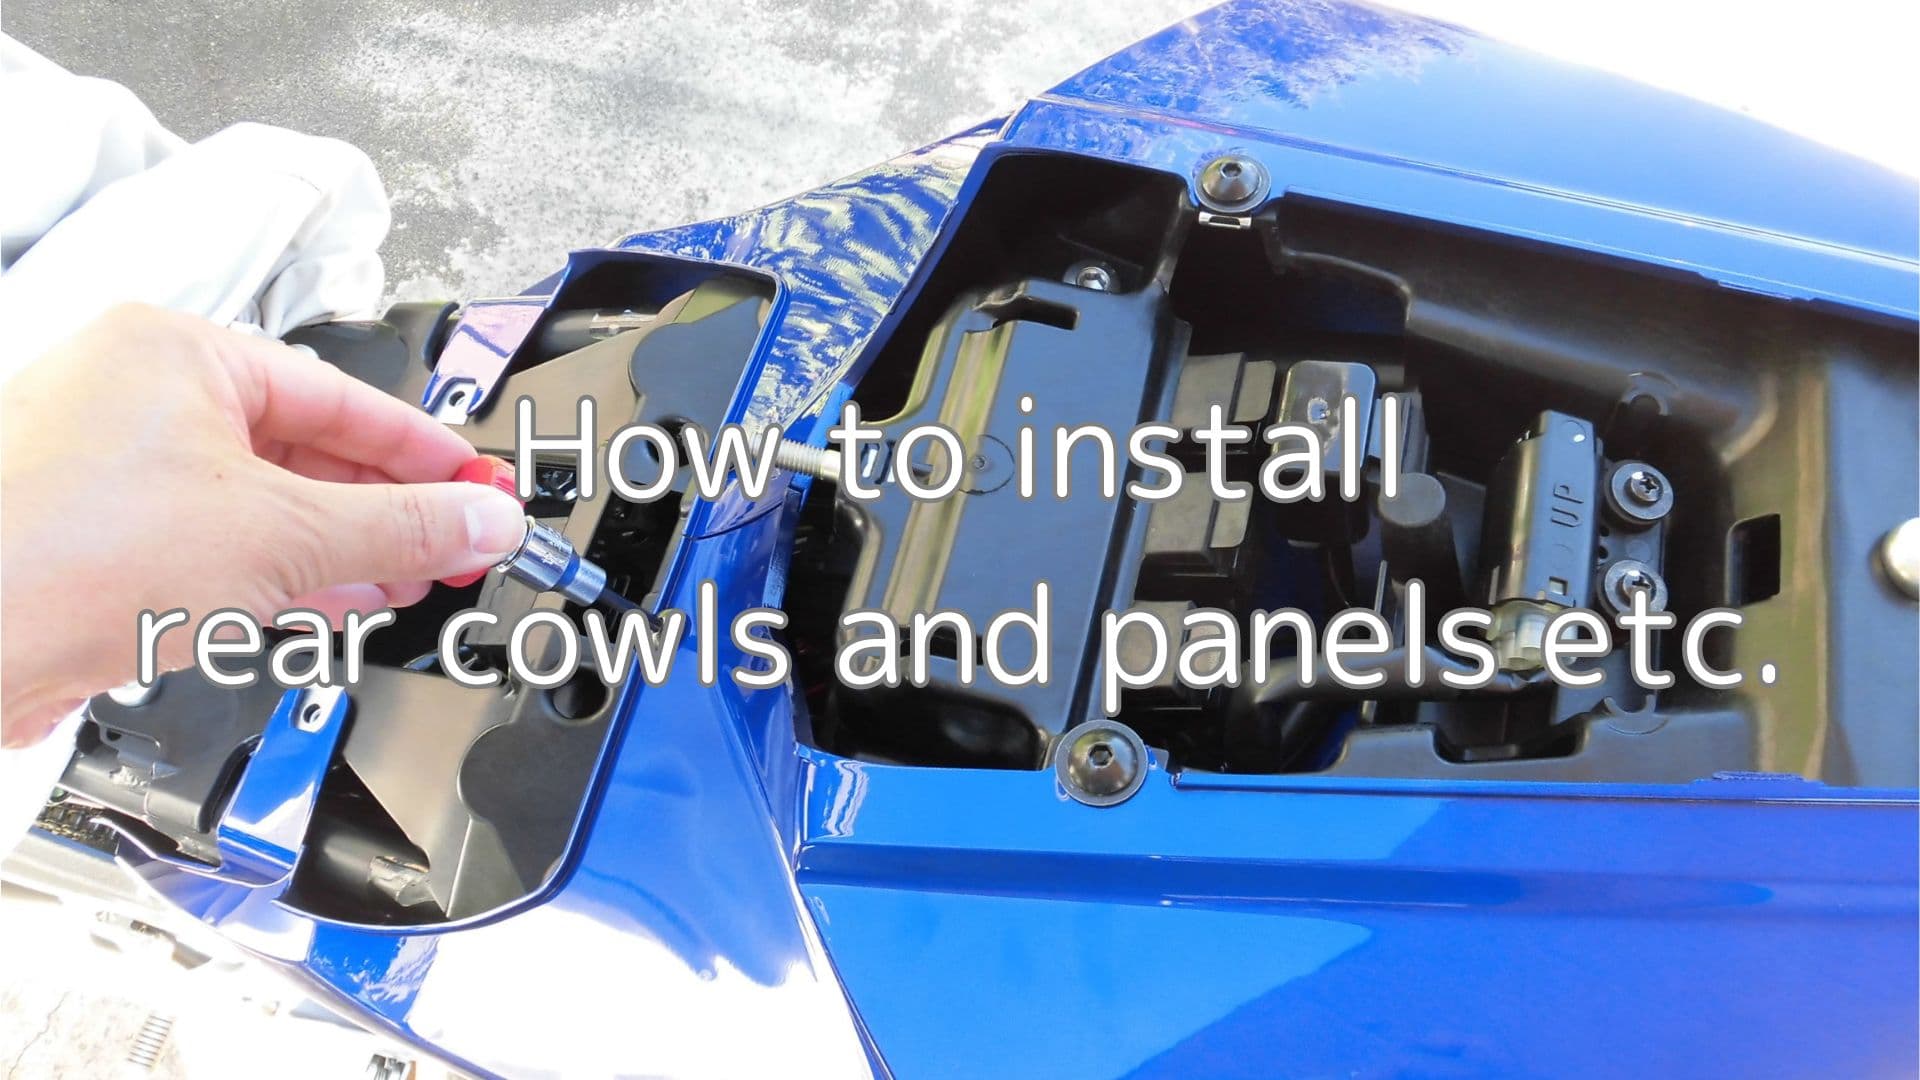
1. There are a few tips for installation as well.
Here are some notes on installation that I have not noticed when removing it.
If you have any of the following concerns about fitting rear cowls and panel etc., here are a few tips for you.
- I’m not sure I’m confident enough to do the job.
- I’m not sure I’ll have enough bolts and tapping screws.
From this article you will learn the following.
- How to install rear cowls and panel etc.
- Notes on tightening tapping screws
- How to install the rear cowl without gaps
(For information on how to remove the rear cowl, panel, etc., see maintenance record ‘How to remove rear cowls and panel etc.’).
| Date | 17th July 2021 |
| Subjects | Maintenance, Failure, Repair |
| Shop or DIY | DIY |
| Difficulty | |
| Working hours | 1 |
| Costs [Yen] | 876 |
Goods to use:
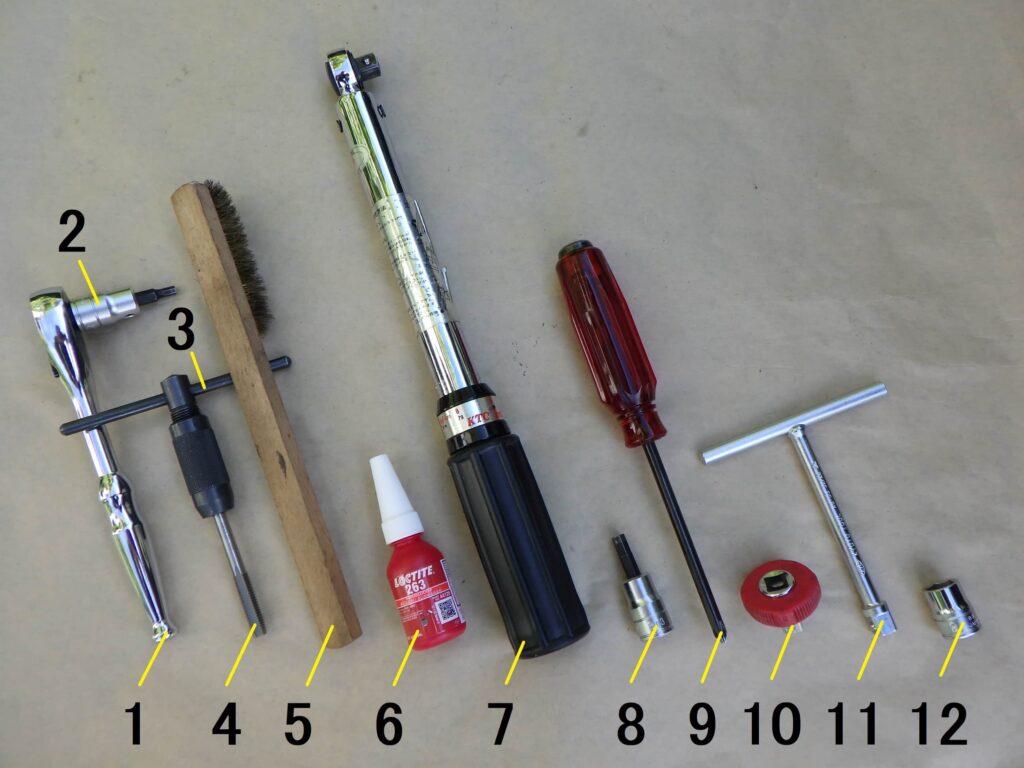
| No. | Name | Manufacture | Parts number | Quantity | Amounts[Yen] | Purchased this time |
| 1 | Ratchet wrench | KTC | BR3E | 1 | 6,182 | |
| 2 | Hexagon bit socket (4mm) | KTC | BT3-04S | 1 | 1,012 | |
| 3 | Tap handle | – | – | 1 | (1,500) | |
| 4 | Tap (M8×1.25) | – | – | 1 | (500) | |
| 5 | Wire brush | – | – | 1 | (300) | |
| 6 | Thread-locking agent | Loctite | 263 | 1 | 783 | ○ |
| 7 | Torque wrench (Small) | KTC | CMP0252 | 1 | (44,990) | |
| 8 | Hexagon bit socket (6mm) | KTC | BT3-06S | 1 | 1,012 | |
| 9 | Screwdriver (No.2 Phillips) | KTC | PDD1-2 | 1 | 1,562 | |
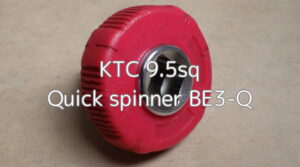
| 10 | Quick spinner | KTC | BE3-Q | 1 | 2,046 | |
| ST17 | RIVET | Genuine parts | 90269-06001 | 1 | 93 | ○ |
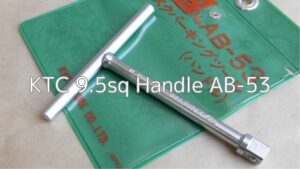
| 11 | Handle | KTC | AB-53 | 1 | 1,430 | |
| 12 | Bit socket (12mm) | KTC | BT3-12 | 1 | 880 | |
| 62,290 | 876 |
2. How to install rear cowls and panel etc. (STEP 1 – 22)
Sequence for installing rear cowls and panel etc.
Install the rear cowls, panel, etc. in the reverse order in which they were removed.
However, tighten the parts of the rear cowls where the left and right sides are in contact with each other in the following order.
- Tighten the bolts temporarily
- Push-rivet installation
- Tightening the tapping screw on the joint surface
- Tightening the bolts in place
The specific procedure will be mentioned later.
Tightening bolts and a tapping screw
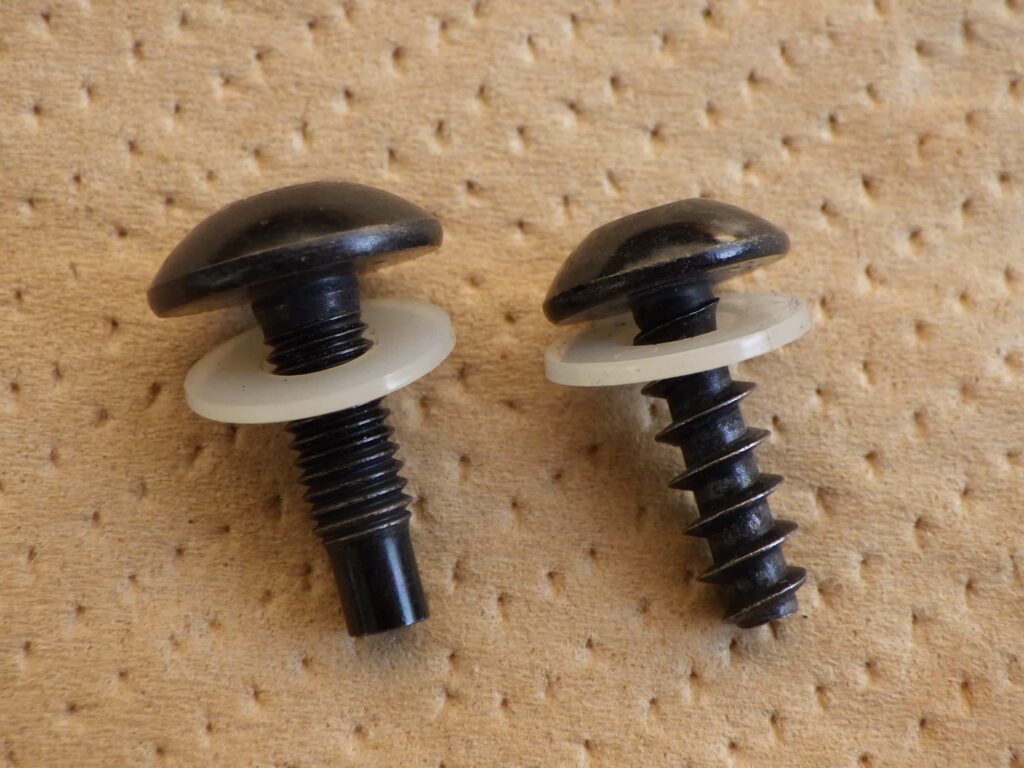
<Bolt and tapping screw>
From the 5D7 service manual, the tightening torques are as follows.
- Left: Bolt … some specified at 7 Nm
- Right: tapping screw … not specified
Different from the side cowls and panels, the rear cowls and panel have only one tapping screw.
I tighten it by hand feeling out of habit.
Notes on tapping screws
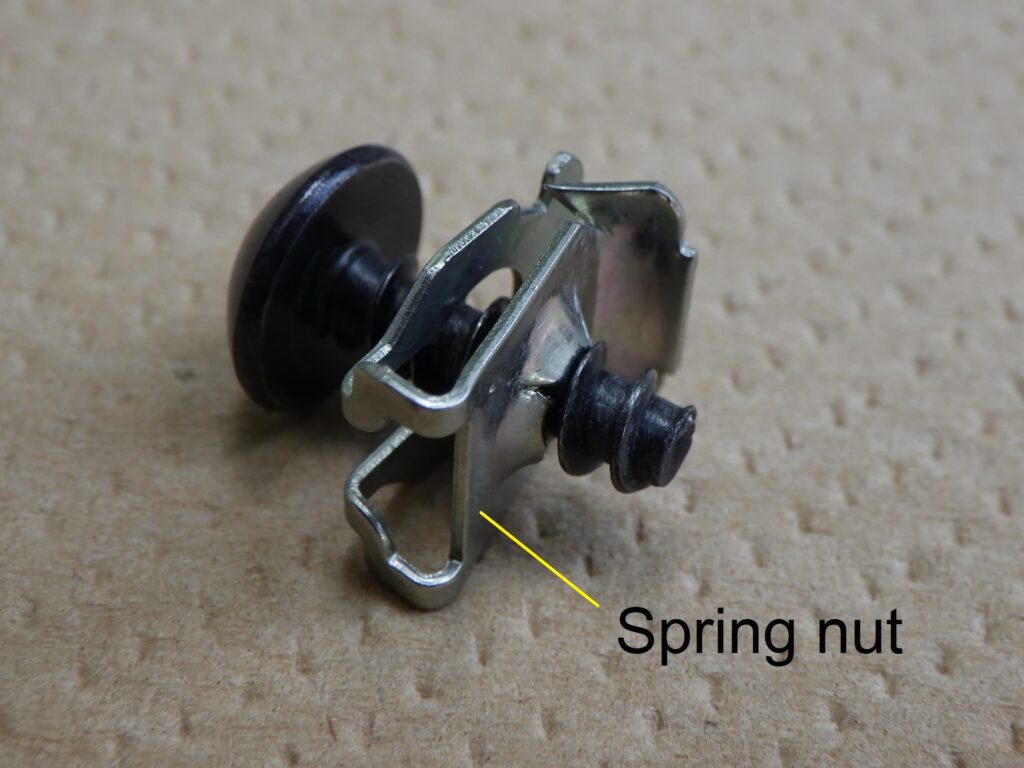
<Tapping screw and spring nut>
The tapping screw is held in place by a plate spring nut.
The click on this spring nut can easily break off if it is over-tightened.
So, care must be taken not to overtighten it.
Bolts and screws for installation, etc.
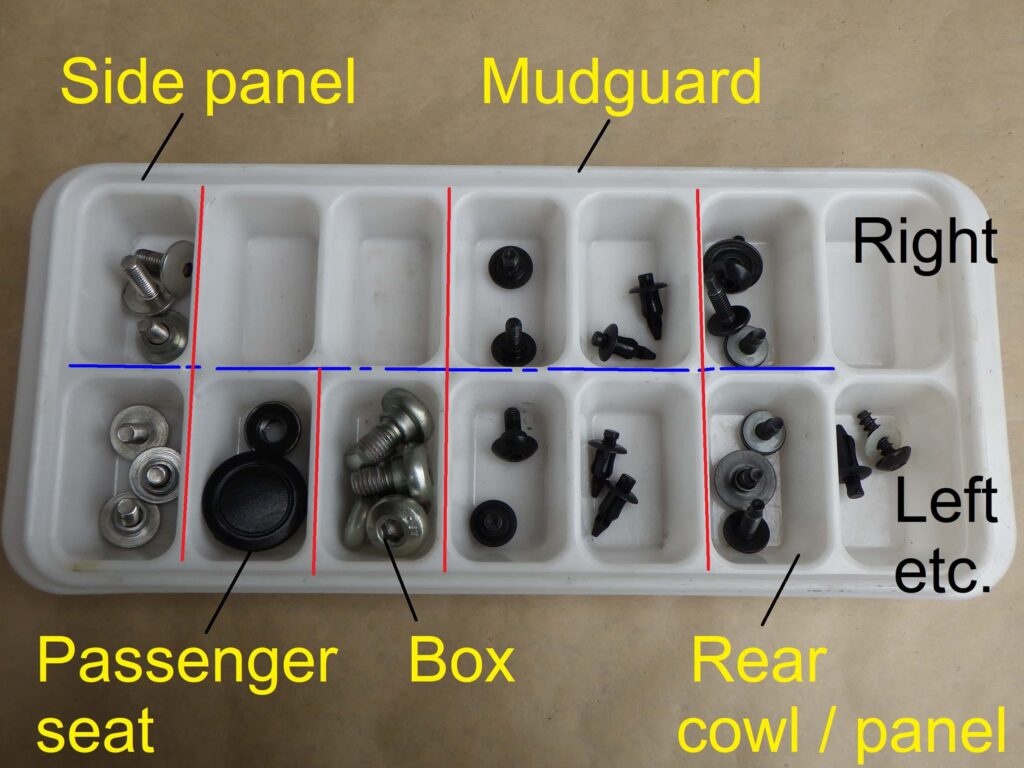
<Bolts and screws for installation, etc.>
When removed, the bolts and screws etc. are placed in the parts tray by section.
During installation, each part is emptied, so if there are any left over, you will immediately notice that you have forgotten to tighten them.
Install battery band
Now let’s get on with the installation.
First, start with the mudguard.
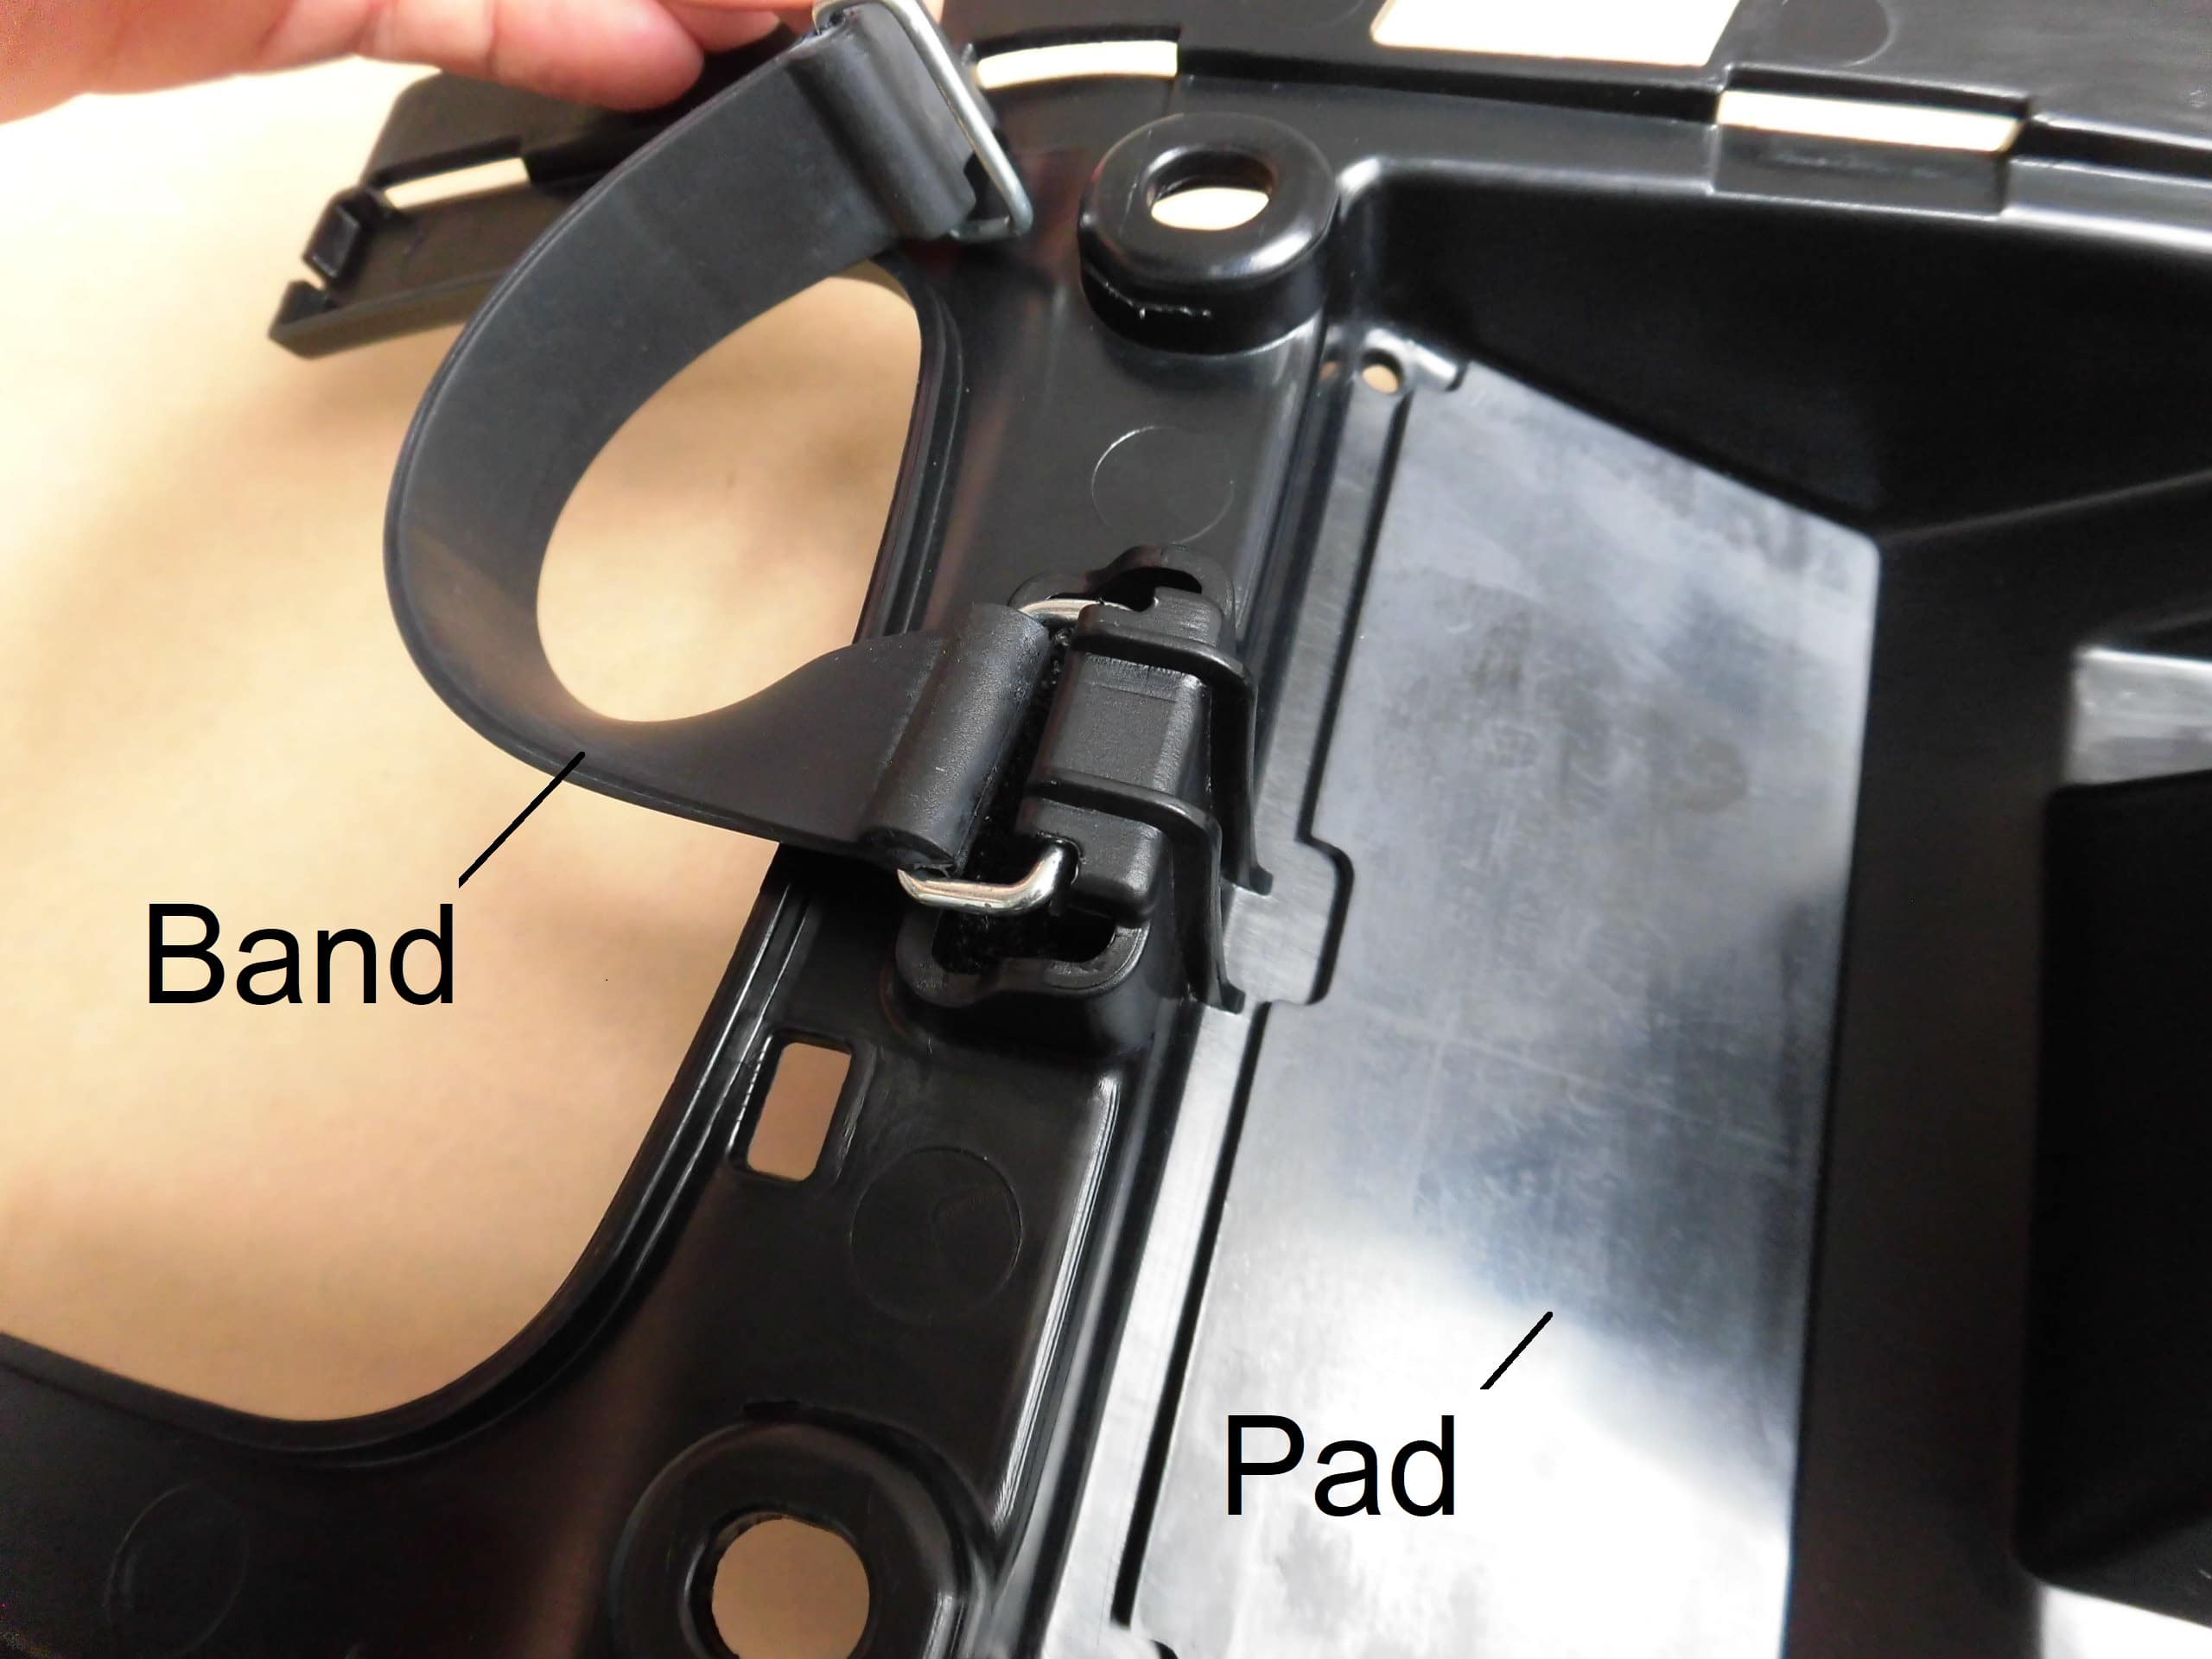
<Install battery band>
- Lay down the pad on which the battery is to be placed.
- Hook the band that holds the battery in place onto the forward projection
As they are in a secluded position, it may be difficult to install the band later.
We also sprayed the rubber protectant on before installing both.
Install mudguard
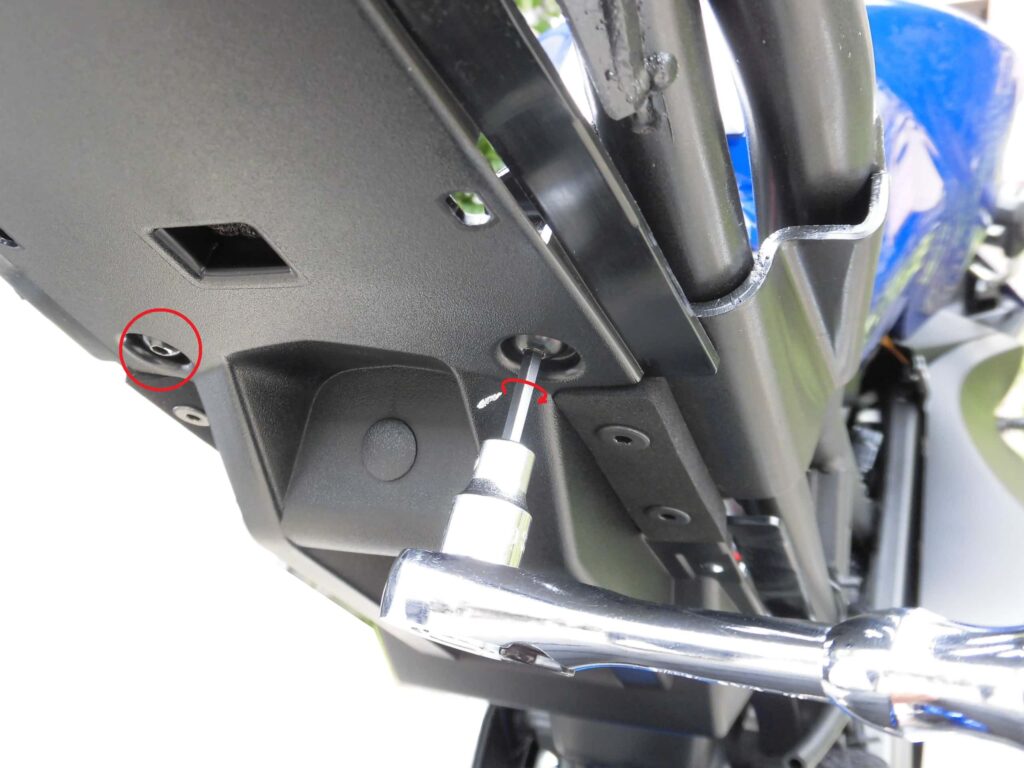
<Install mudguard>
Tighten the four bolts securing the mudguard with a ratchet wrench fitted with a hexagon socket (4 mm).
There was no torque specification, so I tightened them by feel, but I think around 7 Nm is good.
Install fuse box and battery
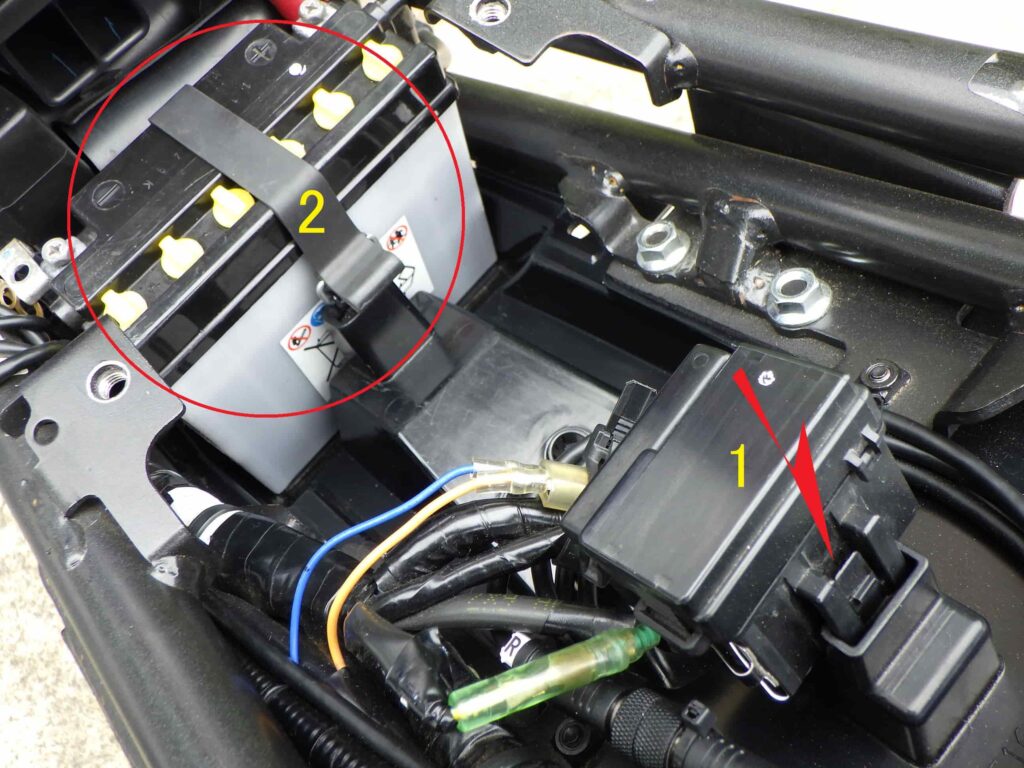
<Install fuse box and battery>
On top of the fitted mudguard,
- Install fuse box.
- Place the battery on top and secure with a band (terminals not connected).
Screw cleaning 1
Next, clean the screws in preparation for fitting the box.
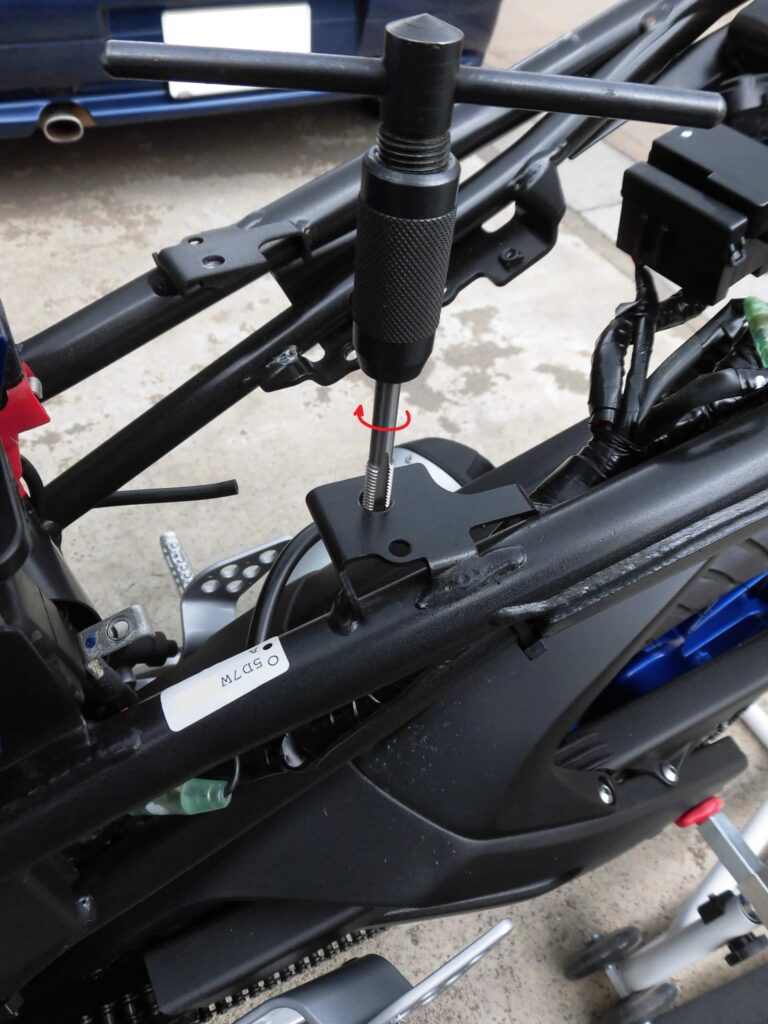
<Screw cleaning 1>
Thread-locking agent remains on the five female screws fixing the box on the frame.
So, tap (M8 x 1.25) through to remove the thread locking agent.
Dregs of the locking agent fell on the rear fender and spread in spots, so I blew them off with an air blower.
Note that as this work relates to the installation of the box, I have written about it here, but the work was done immediately after the box had been removed.
Screw cleaning 2
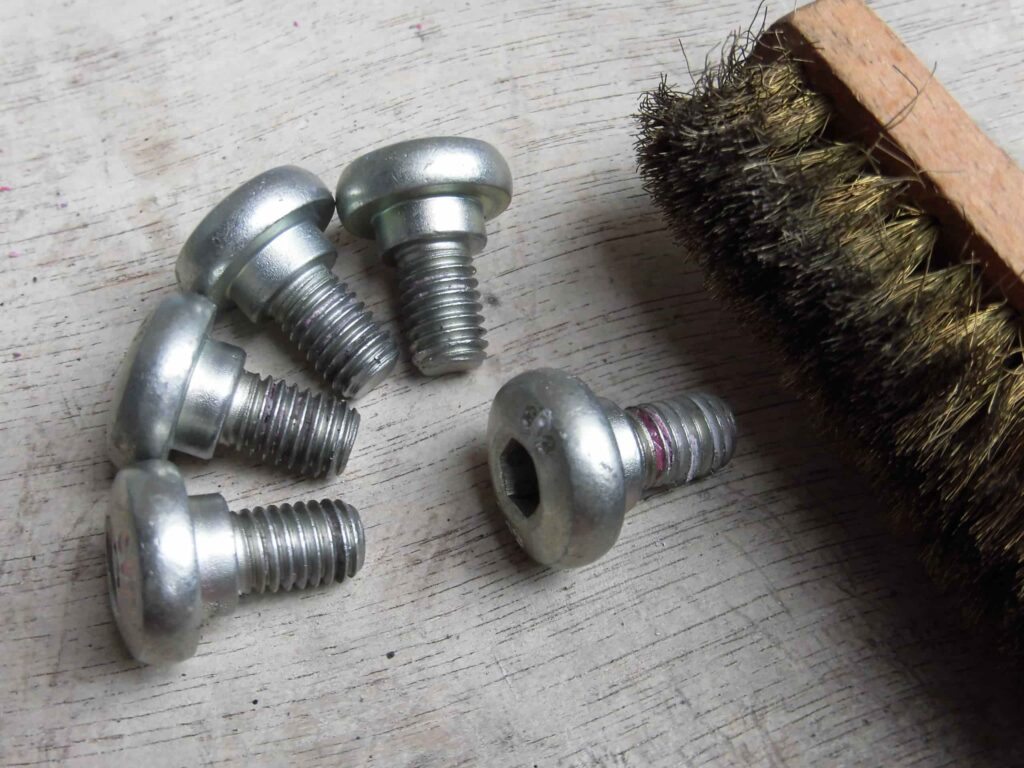
<Screw cleaning 2>
A cutter or wire brush can also be used to remove any thread-locking agent left on the bolt threads.
Applying thread-locking agent
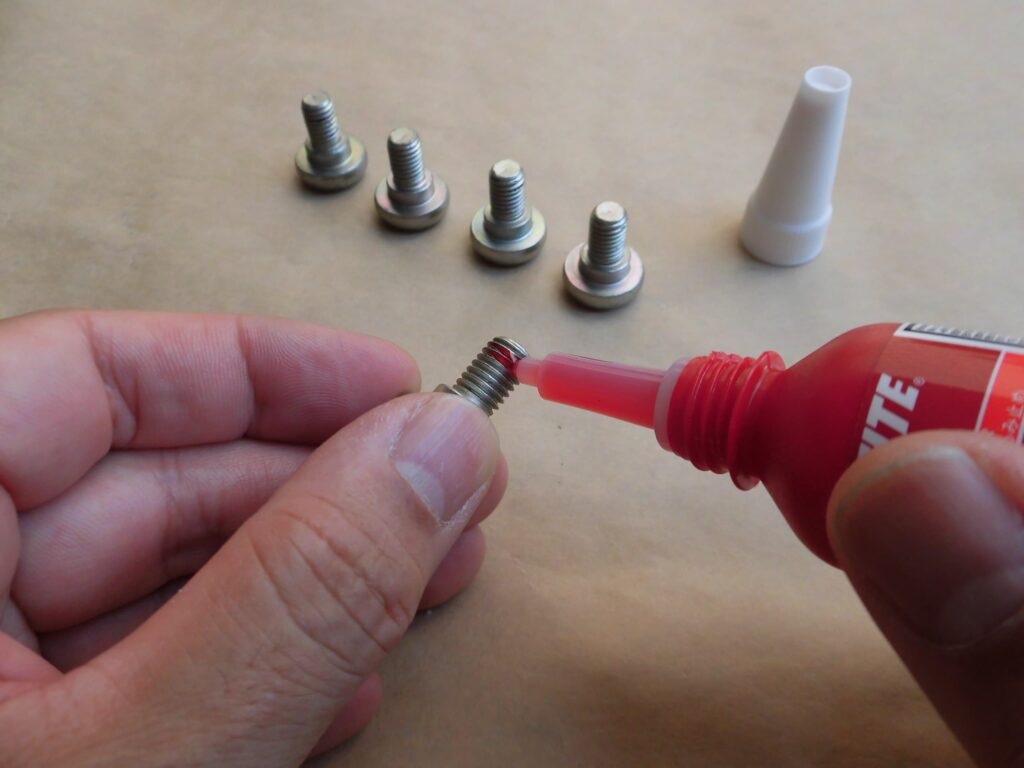
<Applying thread-locking agent>
Apply a high-strength thread-locking agent to the bolt.
Install box
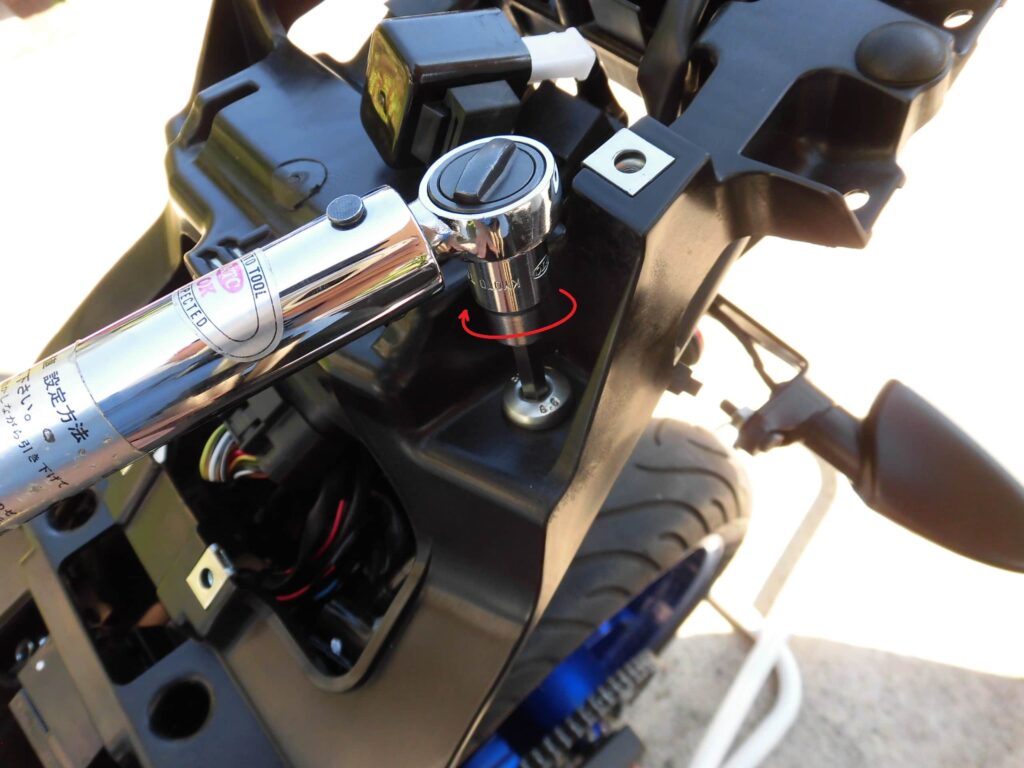
<Install box>
Using a torque spanner with a hexagon socket (6 mm), tighten the five bolts securing the box to 20 Nm.
*I didn’t know the torque for this part, but as the bolts were M8 strength category 8.8, I tightened them with a higher torque.
Install lean angle sensor and other
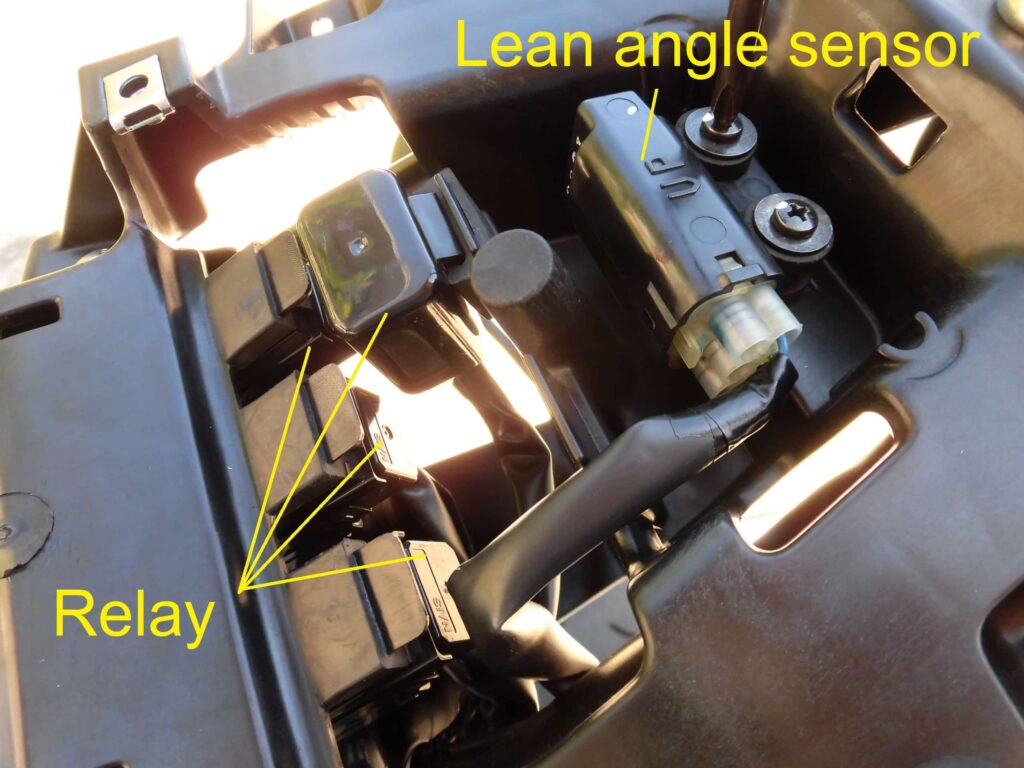
<Install lean angle sensor and other>
- Using a Phillips screwdriver (No. 2), tighten the two screws securing the lean angle sensor
- Insert the four relays into the box
Install rear cowls 1
Next, install the rear cowls.
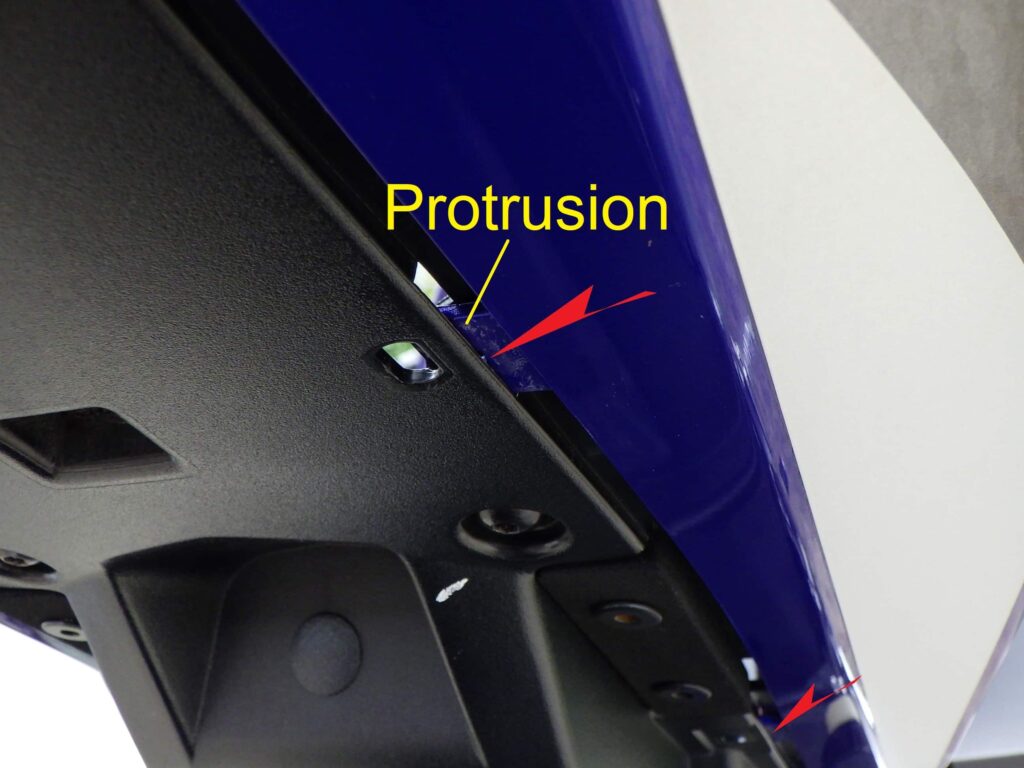
<Install rear cowls 1>
Insert the protrusion on the rear cowl into the hole in the mudguard.
Install both sides.
Install rear cowls 2
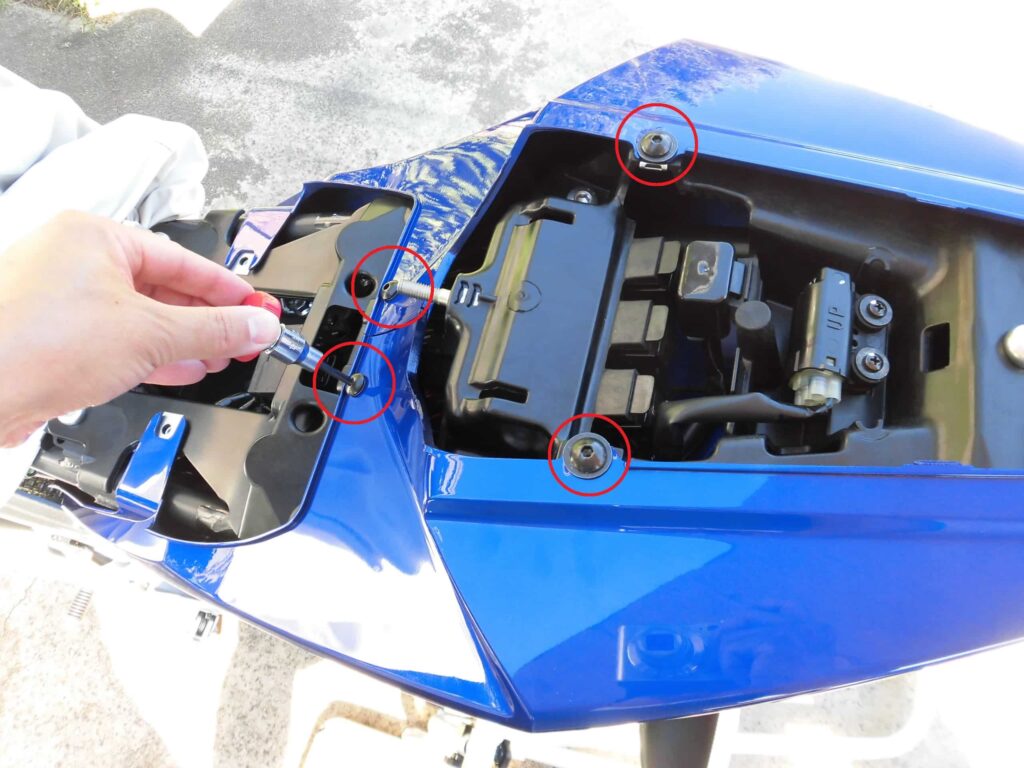
<Install rear cowls 2>
Temporarily tighten the four bolts securing the rear cowls (left and right), paying attention to the overlap on the upper side of the rear cowl.
Install rear panel
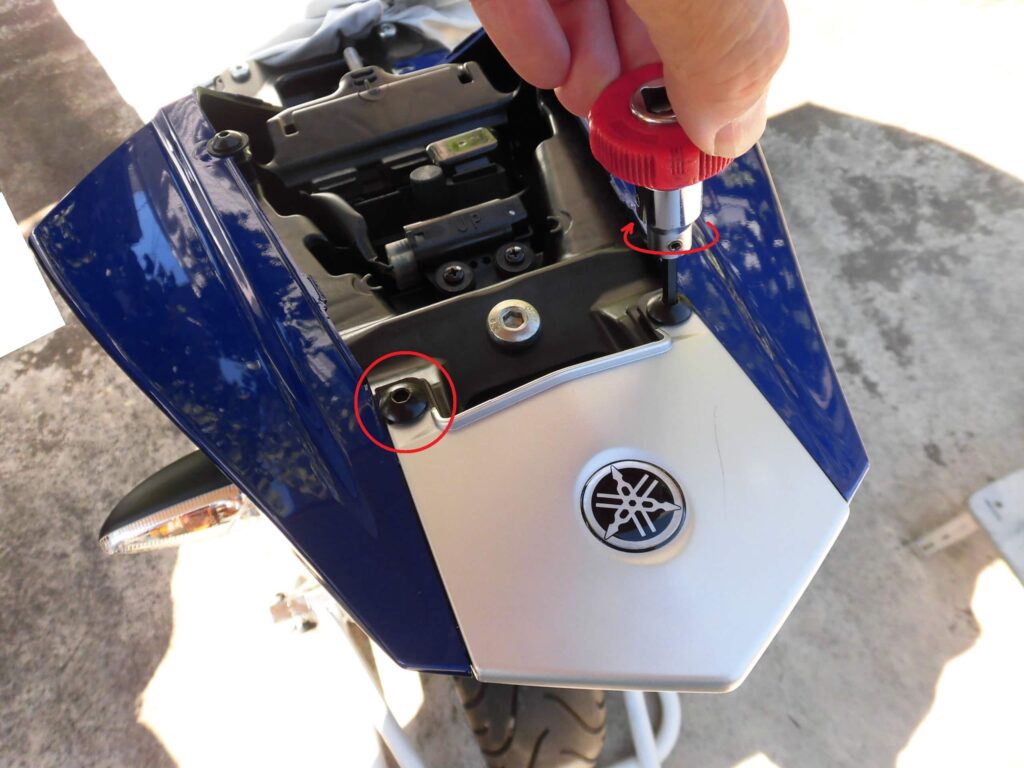
<Install rear panel>
Install the rear panel so that the rear cowls are sandwiched and tighten the two bolts temporarily.
Install rear cowls 3
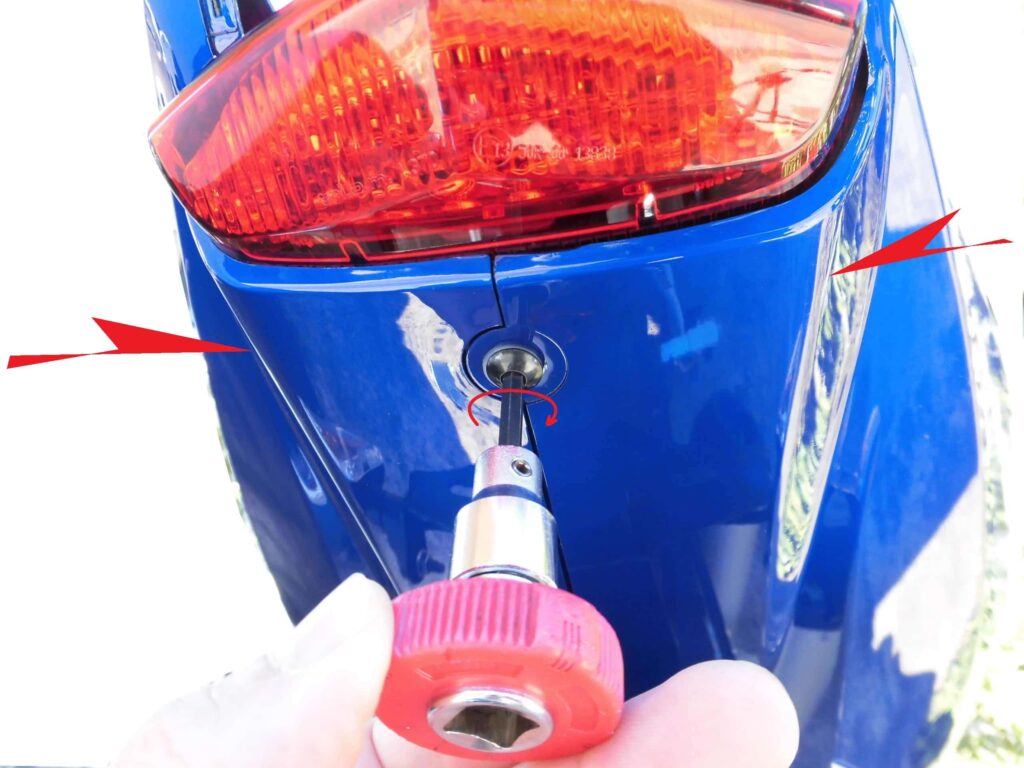
<Install rear cowls 3>
Tighten the screws, paying attention to the overlapping area on the underside of the rear cowl, clamping it from both sides.
This is the only place where the screws are tightened without temporary tightening.
This is the most important points, and you should be aware of the following
- To reduce the gap between the left and right cowl.
- Tighten the plastic washers in line with the center of the screw.
If you’re a bit careless, you can get quite a gap or a washer that’s out of alignment…
Install rear cowls 4
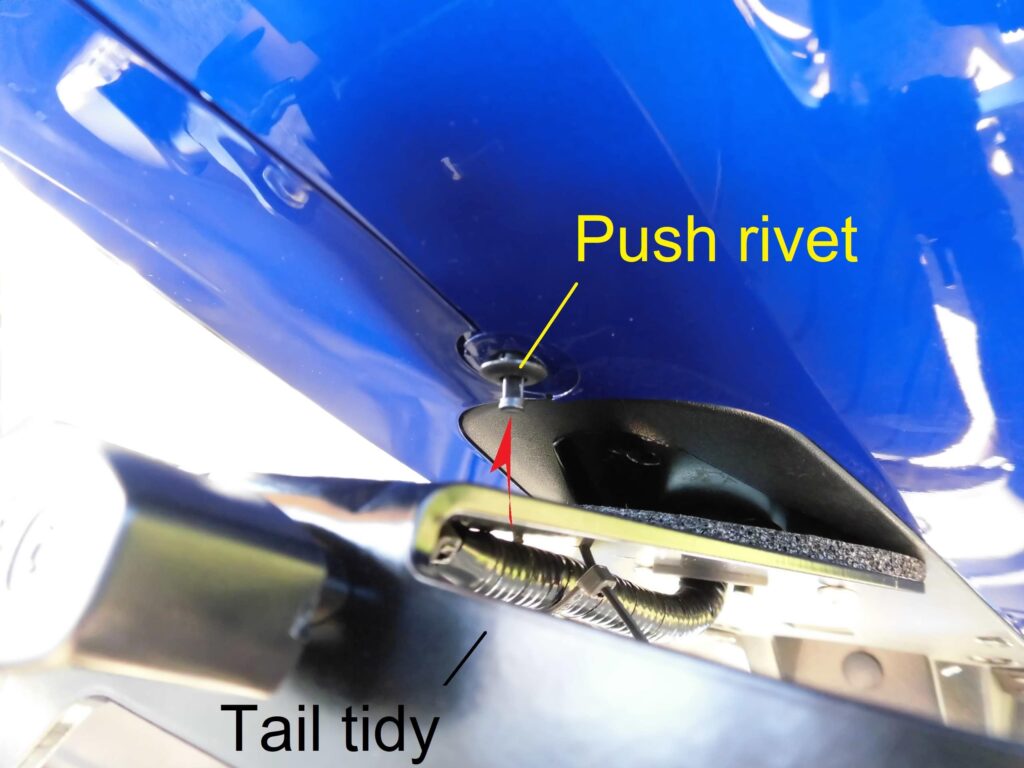
<Install rear cowls 4>
Insert the push one rivet at the rear end.
This place initially had a screw, but this time we prepared a genuine push rivet.
The hole in the rear cowl had been ground down a bit, so the push rivet was rattled, which was a bit disappointing.
Also, the newly arranged tail tidy overlaps with the position of these push rivets, so it is temporarily tightened.
Install rear cowls 5

<Install rear cowls 5>
Insert the four push rivets.
Comparison of push rivets
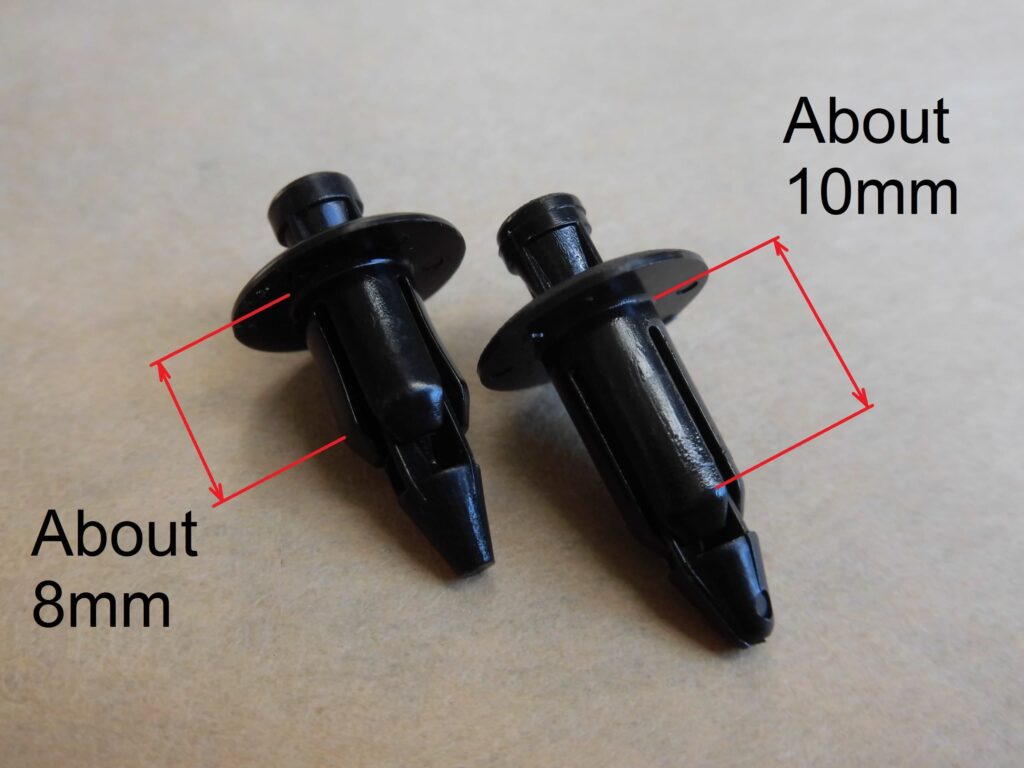
<Comparison of push rivets>
Left: For use on the side … 90269-06008
Right: For use at the rear end … 90269-06001
Both have the same diameter (ø 5.8), but I noticed that the one used at the rear end is longer.
Tightening bolt

<Tightening bolt>
Now tighten the six bolts evenly to avoid unbalanced forces on the cowls and panel.
Then install the tail tidy.
(For more information, see the maintenance record ‘Tail tidy change’, which will be described at a later date.)
Install passenger seat
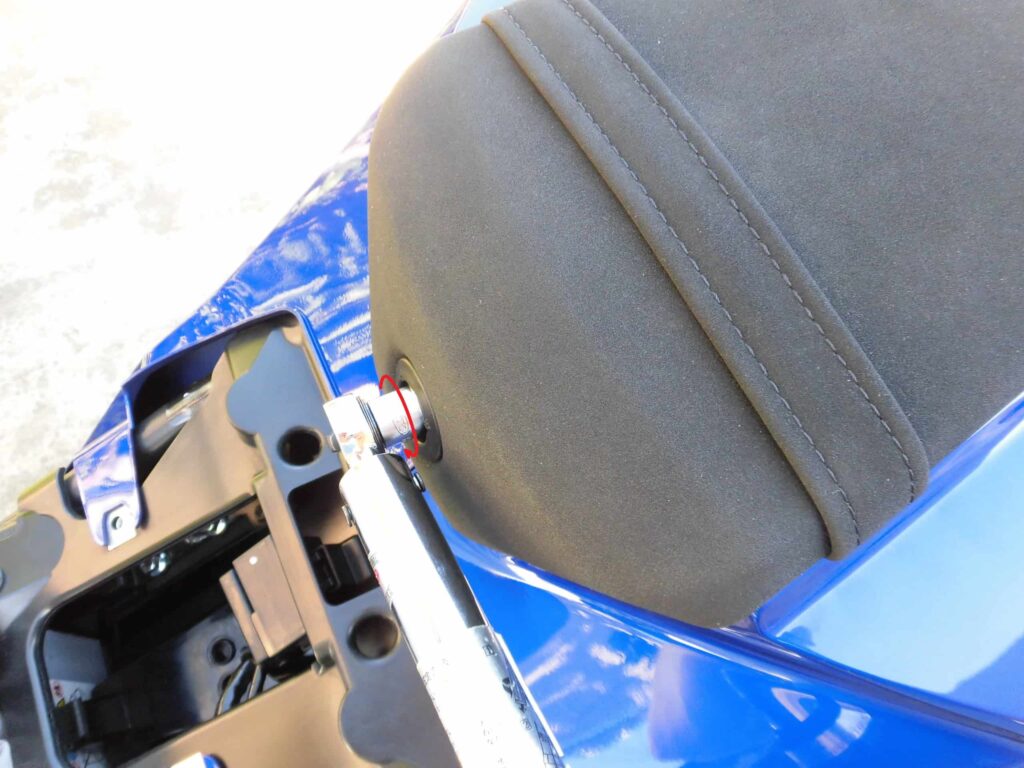
<Install passenger seat>
Install the passenger seat and tighten the nut to 11 Nm with a torque wrench fitted with a socket (12 mm).
Then fit the cover.
Install battery, side panels and seat
Finally, connect the battery, install the side panels and seat and you are done.
For attaching the side panels and seat, see maintenance record ‘How to install side cowls and panels etc.’ STEP 17, 18.
3. Summary
The rear cowls and panel are fixed to the box, so even if it falls over slightly, the screws should not shift significantly, unless the box itself is broken.
So, it should be possible to install it securely and without difficulty.
- Tighten the rear cowls so that there is less clearance between the joint surfaces.
- Center the washer on the rear cowl tapping screw.
- Be careful not to over-tighten the tapping screw.
- Use a parts tray to prevent forgetting to tighten.
