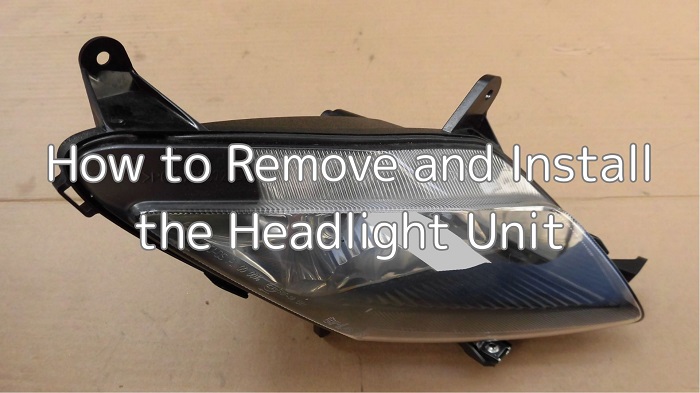
This guide explains how to remove and reinstall the headlight unit from the front cowl—specifically for the right-side headlight.
You may not often need to remove the headlight unit, but it becomes necessary in the following cases:
- Replacing a damaged headlight
- Cleaning the inside of the headlight
- Repairing or cleaning the front cowl
From this article, you’ll learn:
- How to remove and install the headlight unit
- The structure of the front cowl and key precautions
| Date | 6th January 2023 |
| Subjects | Maintenance, Failure, Repair |
| Shop or DIY | DIY |
| Difficulty | |
| Working hours | 0.5 |
| Costs [Yen] | 0 (Use what I have) |
1. Goods to use
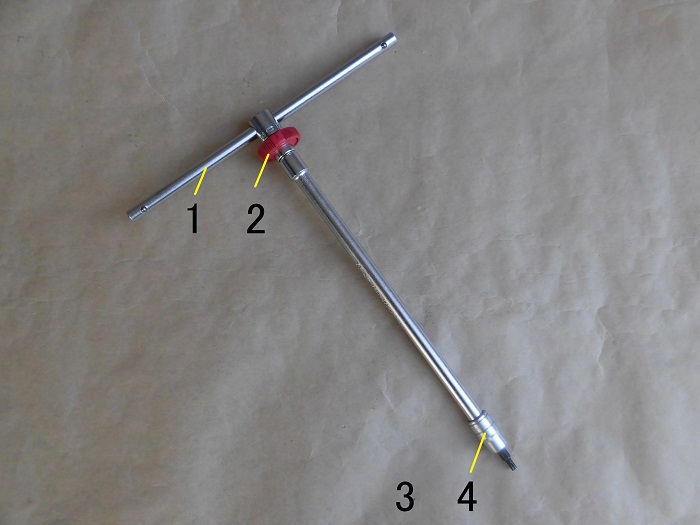
| No. | Product name | Manufacturer | Product number | Quantity | Amounts[Yen] |
| 1 | Slide head handle | KTC | BHM3 | 1 | 2,970 |
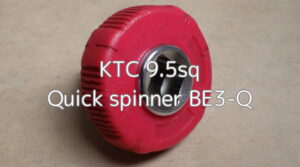
| 2 | Quick spinner | KTC | BE3-Q | 1 | 2,046 |
| 3 | Extension bar (250mm) | KTC | BE20-250 | 1 | (2,783) |
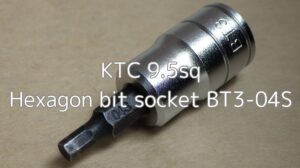
| 4 | Hexagon bit socket (4mm) | KTC | BT3-04S | 1 | 1,012 |
| 8,811 |
2. Headlight Removal and Installation (STEP 1–12)
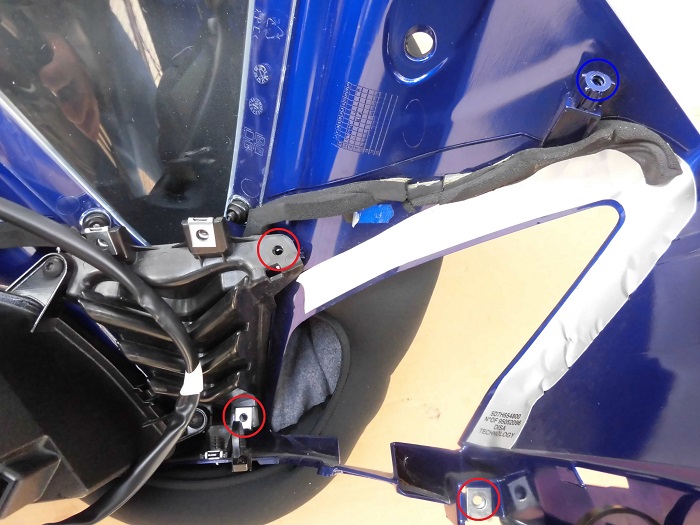
Rear Side of the Right Headlight
<Rear Side of the Right Headlight>
The procedure follows this order:
- Remove the LED bulb base
- Remove the headlight unit
To prevent damage to the tip of the front cowl, a soft cushion is placed underneath for protection.
Removing the Front Cowl
First, remove the front cowl from the bike.
For details on how to remove the front cowl, refer to the maintenance log: “How to remove front cowl and panels etc.”.
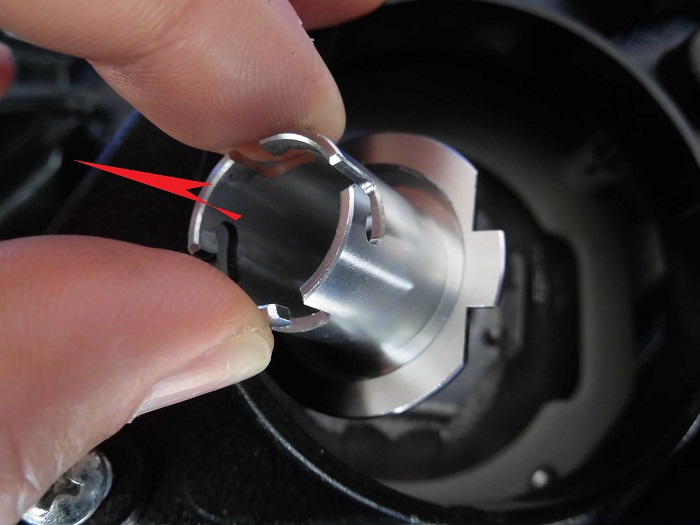
Removing the Spring Clip 1
Now, remove the LED bulb base.
If you’re using the stock setup, it will have an H7 halogen bulb—the removal process is the same.
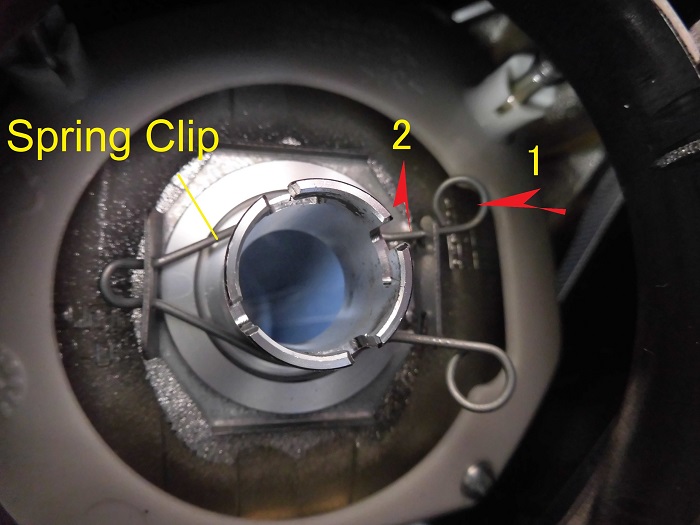
<Removing the Spring Clip 1>
Detach the spring clip securing the base from the right-side hook:
- Press the round part of the spring
- Move one side upward and the other downward
Removing the Spring Clip 2
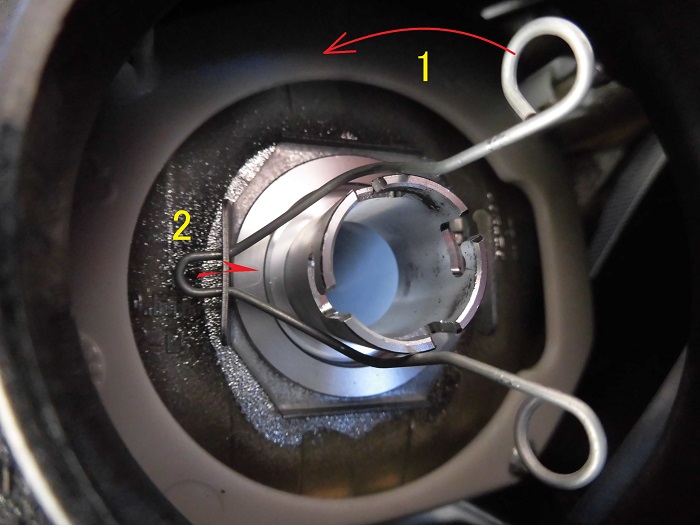
<Removing the Spring Clip 2>
Then:
- Lift the spring
- Pull it to the right
This will release the spring clip.
Removing the Bulb Base
<Removing the Bulb Base>
Now simply lift the base out.
※ The left headlight (high beam side) has a different structure and will be covered another time.
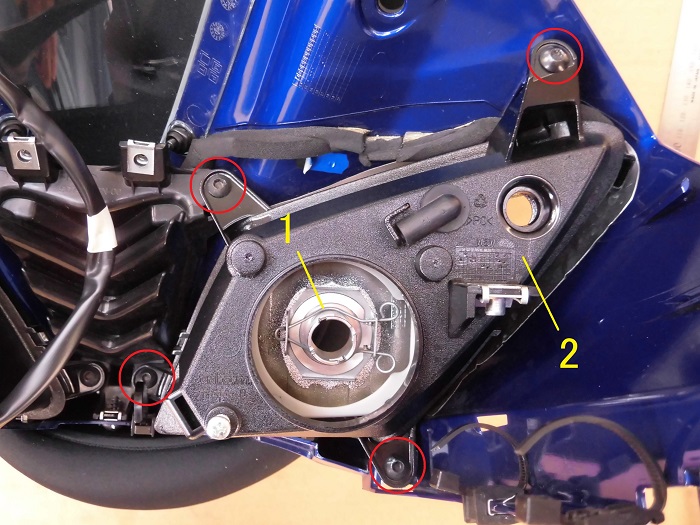
Removing the Headlight Unit 1
Next, remove the headlight unit.
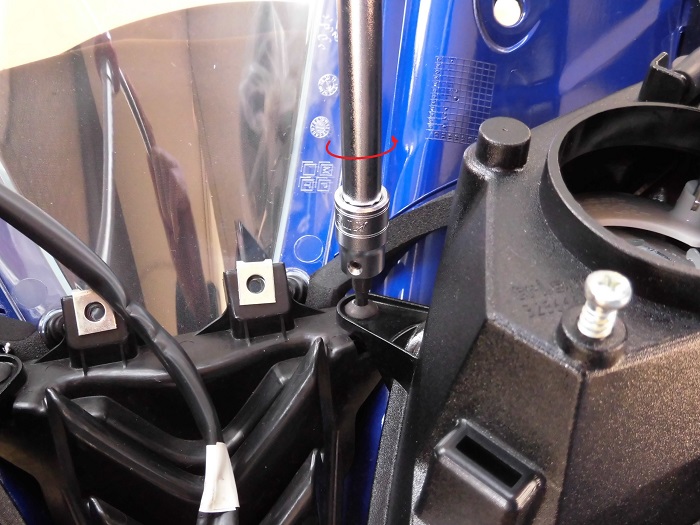
<Removing the Headlight Unit 1>
Using a handle fitted with a 4mm hex socket, remove the four screws securing the headlight unit.
The screw locations are marked with red circles in STEP 1.
Removed Screws
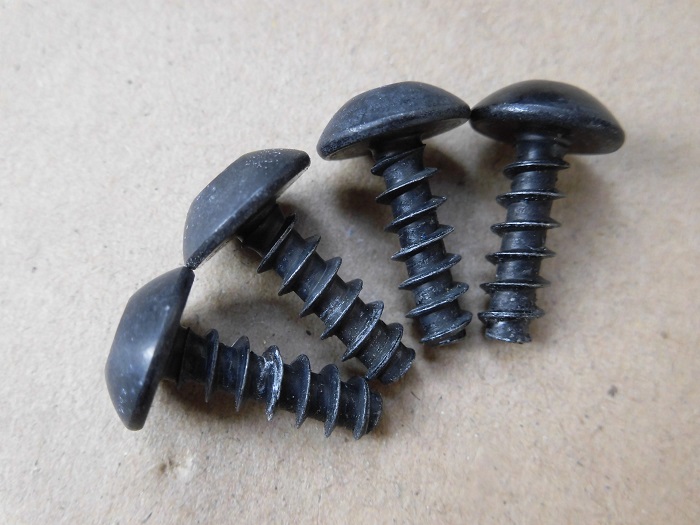
<Removed Screws>
These are the same type of tapping screws used to secure cowls and panels.
Of the four nut-side mounts, three use spring nuts that may deform if overtightened.
Note: These differ from the slotted spring nuts introduced in the maintenance log “Replace spring nuts for cowls”.
Removing the Headlight Unit 2
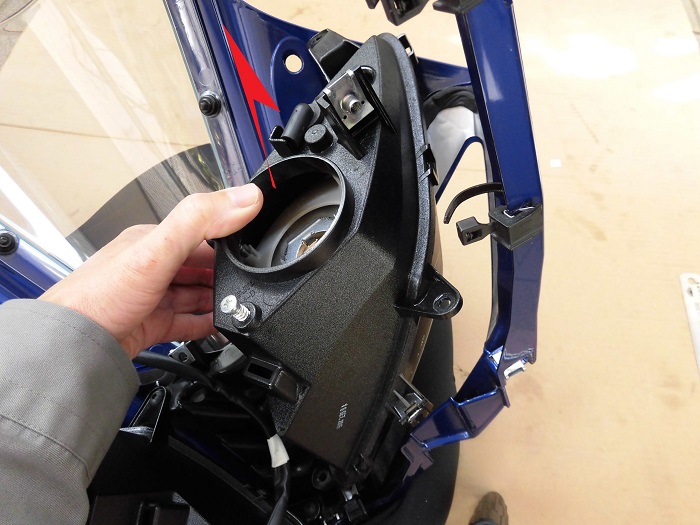
<Removing the Headlight Unit 2>
Now, simply lift the headlight unit to remove it.
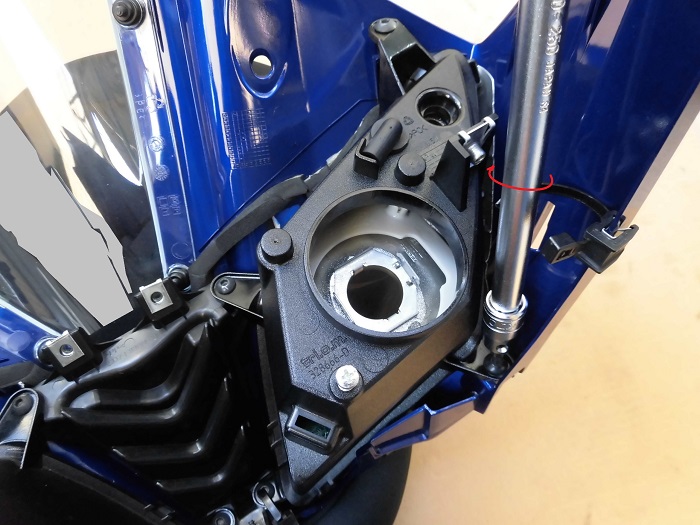
Right Headlight Removed
<Right Headlight Removed>
Aluminum tape—likely for heat resistance—was applied around the lens area.
- Red circles (3 locations): Spring nuts
- Blue circle (1 location): Insert nut
Although the front cowl seemed sturdy, its thinness was surprising once the headlight was removed.
Is the headlight acting as a structural component of the cowl?
Or is it simply a result of fitting the unit into a tight space?
Removed Headlight Unit

<Front Side>
The inside of the headlight was foggy, which was the reason for this maintenance.
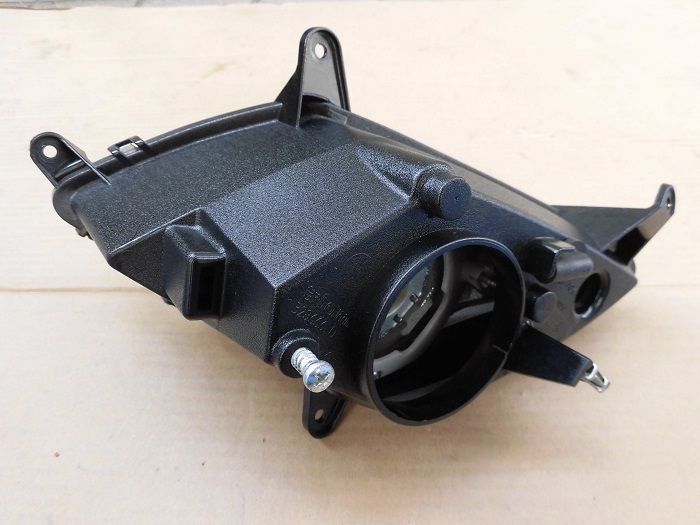
<Rear Side>
Installing the Headlight Unit
Installation is the reverse of removal.
<Installing the Headlight Unit>
Temporarily tighten all four screws, adjust the position, then fully tighten with care.
As mentioned in STEP 7, overtightening the spring nuts may cause damage—handle with caution.
Since this may affect the beam alignment, ideally this task should only be done once.
Reinstalling the Front Cowl
Finally, reinstall the front cowl to the bike.
For details, refer to the maintenance log: “How to install front cowl and panels etc.”.
3. Summary
This guide covered the removal and installation of the headlight unit.
While the task isn’t particularly difficult, be careful not to overtighten the spring nuts.
- The front cowl is extremely thin—handle with care to avoid damage
- Adjust the position with temporary tightening before final tightening
- Avoid overtightening tapping screws