This guide summarizes how to remove and install position bulbs.
At the same time, I’ll replace them with LED position bulbs that I prepared in the maintenance record “LED Position Light Bulb Kit Assembly.”
The position light bulbs are located inside the left and right headlight units, and the bulb type is T10.
Once you know how to remove the bulbs, you’ll be able to:
- Replace burnt‑out bulbs
- Swap in high‑performance bulbs
- Upgrade to LED bulbs
From this article, you’ll learn:
- How to remove and install position bulbs
- Key points to keep in mind when swapping to LED bulbs
| Date | 5th November 2022 |
| Subjects | Maintenance, Failure, Repair |
| Shop or DIY | DIY |
| Difficulty | |
| Working hours | 0.25 |
| Costs [Yen] | 0 |
1. Goods to use
(No tools required for this procedure)
2. How to Remove and Install Position Light Bulbs (STEP 1–13)
Removing the Position Bulb Socket 1
Unless otherwise noted, the following steps refer to the left‑side position bulb.
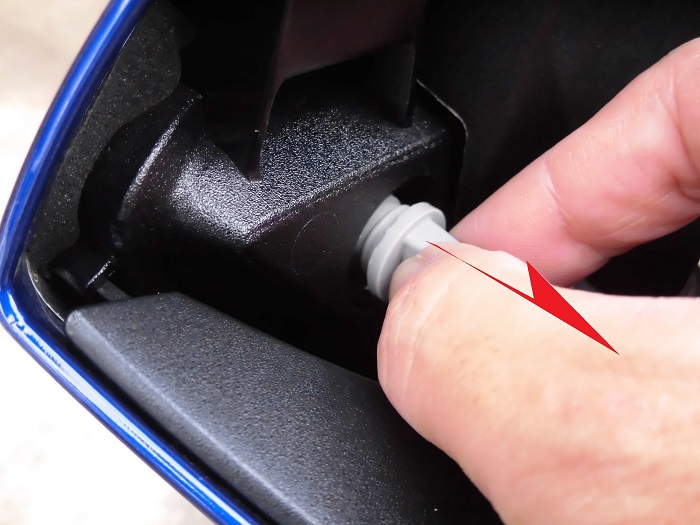
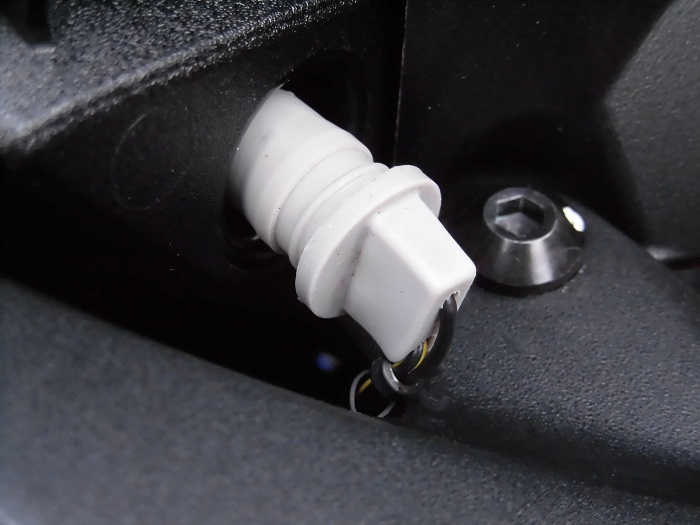
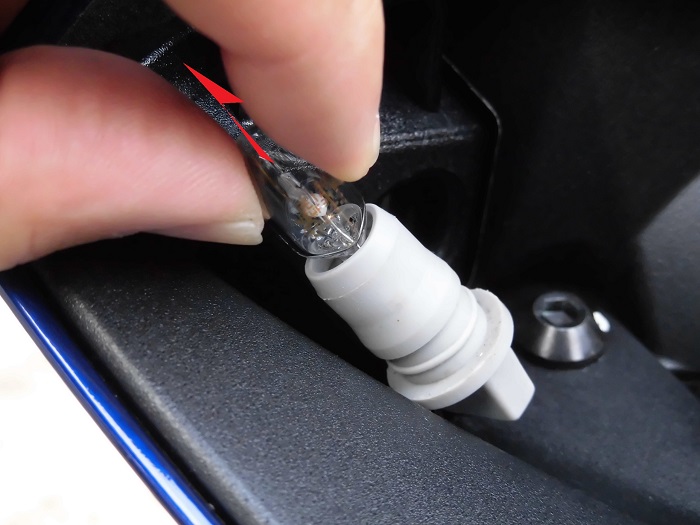
<Removing the Position Bulb Socket 1>
Pull the position bulb socket out with your fingers.
Broken Socket End
It was stuck and wouldn’t come out easily, so I tried pulling with pliers…
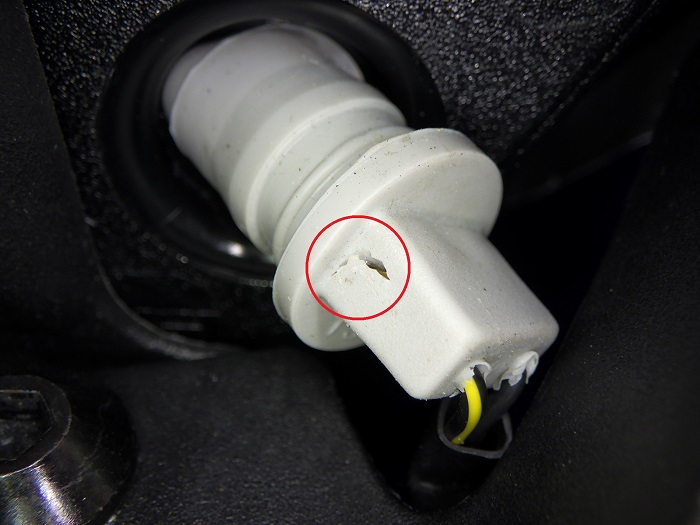
<Broken Socket End>
To my surprise, the surface tore off easily.
So, don’t grab the thin rubber part with pliers or similar tools.
Removing the Position Bulb Socket 2
<Removing the Position Bulb Socket 2>
I managed to pull out the tip of the socket, but the wiring is short and doesn’t give much slack—this is as far as it goes.
I forced it a bit and pulled out another 10mm.
However, repeating this too many times might damage the terminals or wiring inside the socket.
Removing the Front Panel
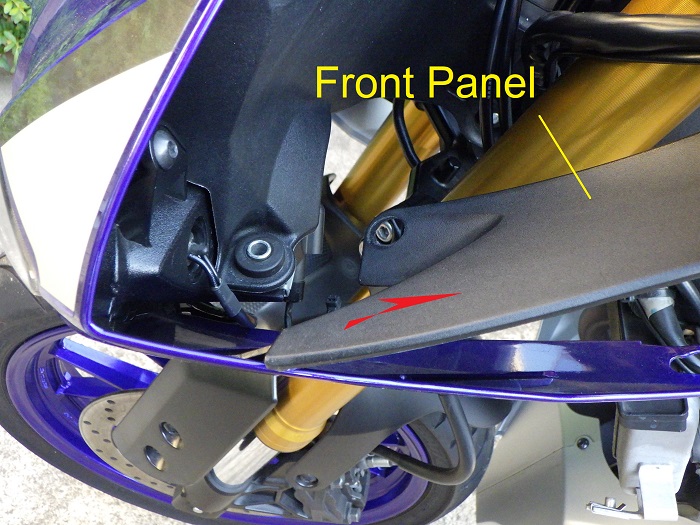
<Removing the Front Panel>
So, if the wiring doesn’t have enough slack, the best way to avoid stressing it is to remove the front panel.
But removing the front panel is a bit of a hassle…
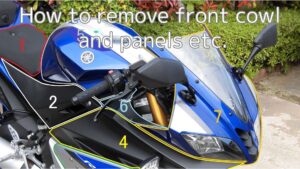
For details, see the maintenance record “How to Remove the Front Cowl and Panel etc.”
Removed Position Bulb Socket
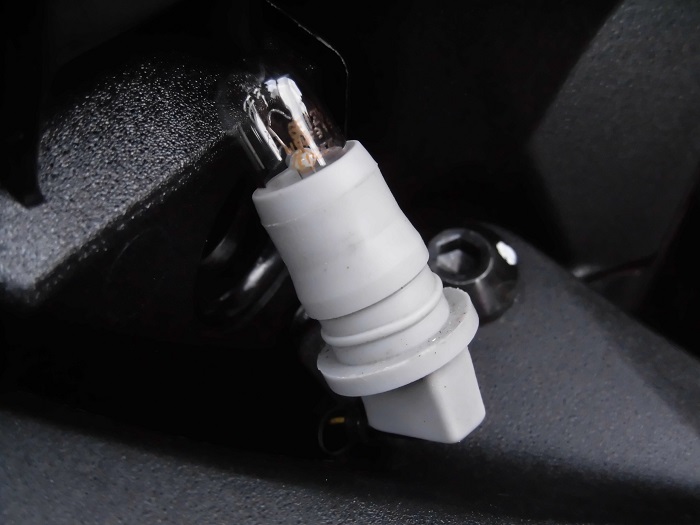
<Removed Position Bulb Socket>
And here it is, pulled out.
Removing the Position Bulb
<Removing the Position Bulb>
Next, just pull the position bulb out with your fingers.
Warning: Right after turning on the headlights (with the engine running), the bulb gets extremely hot. Do not touch it.
Replacement Position Bulb
<Replacement Position Bulb>
This time, instead of reusing the old bulb, I’ll install a T10 LED bulb prepared in the maintenance record “Assembling the LED Position Bulb Kit.”
For assembly details, see the maintenance record “Assembling the LED Position Bulb Kit.”

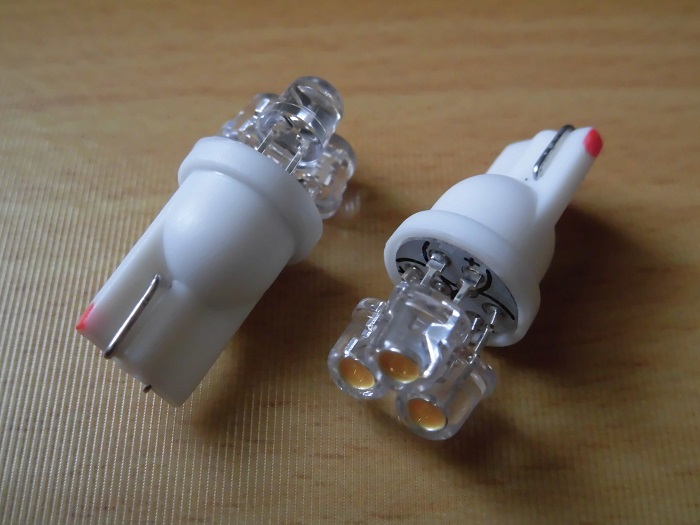
Comparison of Old and New Position Bulbs
Now let’s compare the old and new bulbs.

<Bulb Side>
Left: Halogen bulb … 1.3g
Right: LED bulb … 1.3g
Both weigh 1.3g, but the LED bulb is about 1mm longer.

<Socket Side>
Left: Halogen bulb
Right: LED bulb
The shapes differ, but the mounting section is the same, so they fit fine.
However, if the LED section’s outer diameter exceeds 13mm, it may not pass through the hole in the headlight unit.
Lighting Check
Insert the LED bulb into the socket and check if it lights up.
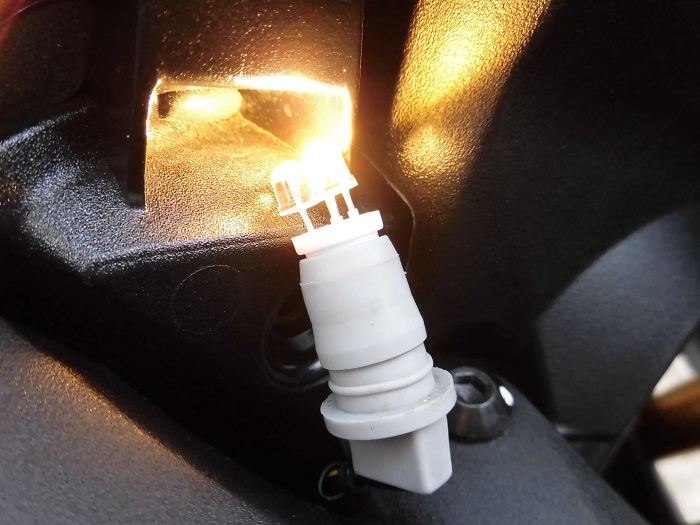
<Lighting Check>
LEDs have polarity—if installed backwards, they won’t light.
So, if it doesn’t light, flip the terminals and reinsert.
Polarity of the position bulb socket:
+: Yellow wire with black stripe
-: Black wire
I aligned the red mark on the LED bulb with the yellow/black stripe side.
Then insert the socket back into the headlight unit hole.
Repeat the same process for the right‑side position bulb.
Installed State
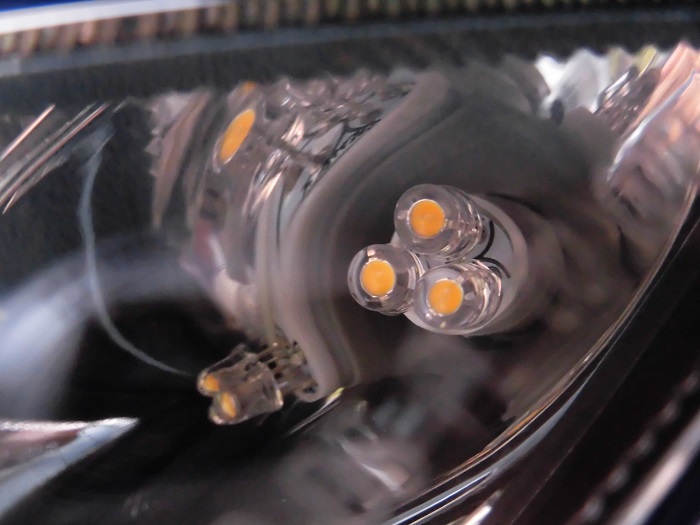
<Installed State>
The LED has three light‑emitting points, so it looks lively.
Comparison Before and After Replacement
Now let’s compare the lighting before and after replacement.
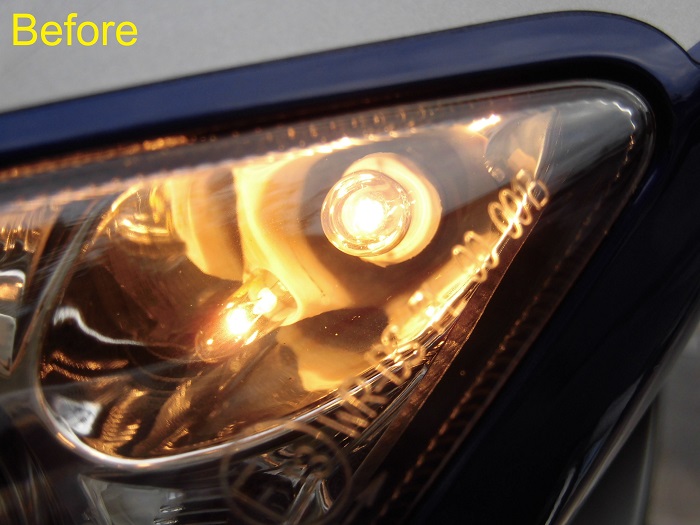
<Before: Halogen Bulb>
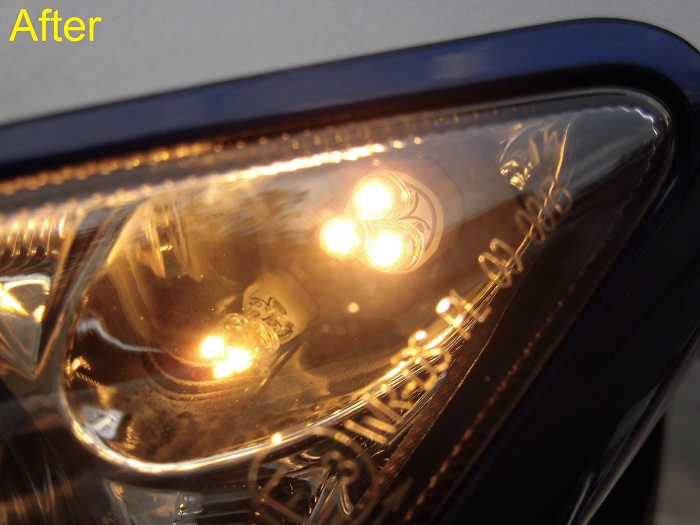
<After: LED Bulb>
The LED reproduces the halogen bulb’s color well.
The reflections inside the light change the shading, giving a different impression.
Comparison Before and After (Right Side) 1
This time, to match the color of the low‑beam LED headlights (6000K), I prepared a warm‑white LED.
Let’s see if the colors match.
Note: The installation of the low‑beam LED headlights will be covered in a later article.
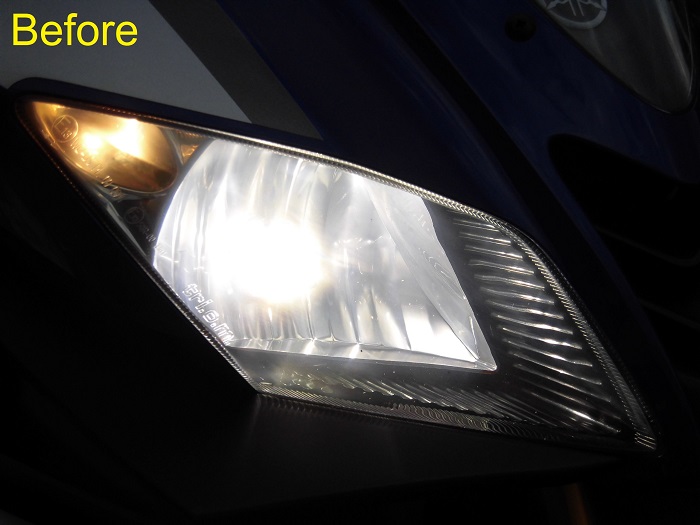
<Before: Halogen Bulb>
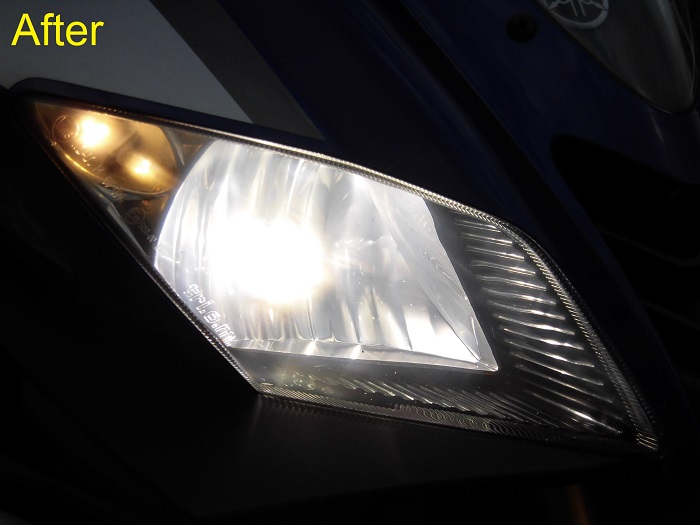
<After: LED Bulb (Warm White)>
“Hmm, the color doesn’t quite match.”
Comparison Before and After (Right Side) 2
Comparison Before and After (Right Side) 2
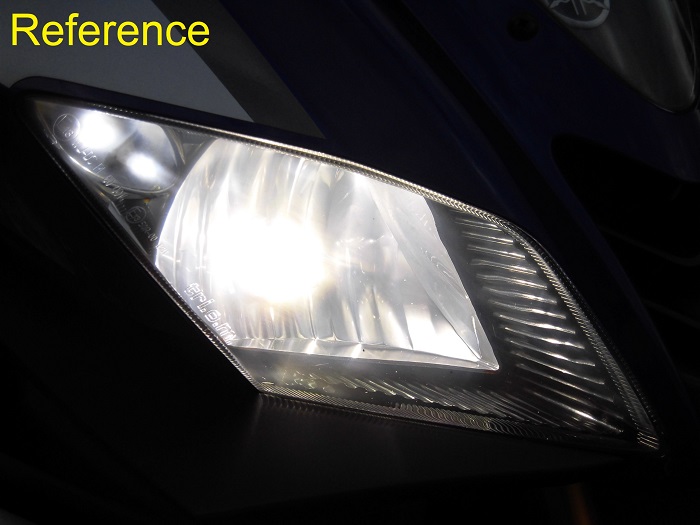
<Reference: LED Bulb (White)>
“This one seems to match better…”
Still, I think the warm‑white bulb offers better visibility, so I’ll call it a compromise.
3. Summary
That’s the rundown on how to remove and install position bulbs.
The job itself is simple, but be careful not to break the socket or put stress on the wiring.
- When pulling the socket, don’t grab the thin rubber part with pliers
- If the wiring is too short, remove the front panel to avoid stressing it
- Never touch the bulb right after turning on the headlights
- If the LED section’s outer diameter exceeds 13mm, it may not fit through the headlight unit hole
- If the LED bulb doesn’t light, flip the terminals and reinsert