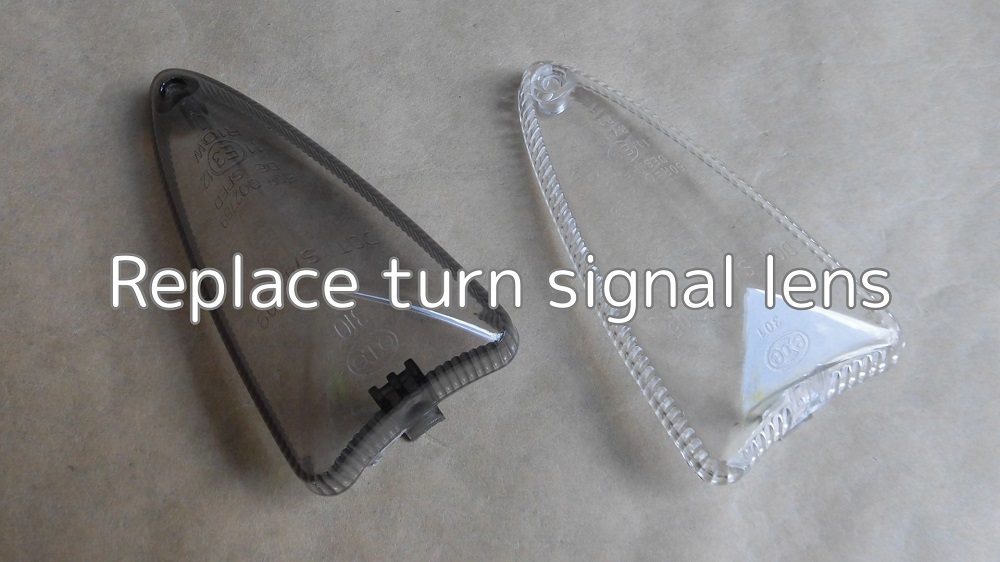
The SAVAGE LED turn signals I replaced were in stock form and had smoked lenses.
I wanted to make them “look like stock but somehow LED”. So, I will try to see if I can put the stock clear lenses on them.
The reasons for replacing the lenses may include the following cases.
- Dressing up
- Replacing a broken lens
In reality, it may be rare to replace just the lens, but removing the lens is a necessary step in replacing the bulbs in the genuine turn signals.
From this article, you can learn the following.
- How to replace the lens on a turn signal
- Comparison of installation of genuine parts and SAVAGE turn signals
| Date | 22nd January 2022 |
| Subjects | Tuning, Customizing |
| Shop or DIY | DIY |
| Difficulty | |
| Working hours | 0.5 |
| Costs [Yen] | 0 (Use what I have) |
1. Goods to use
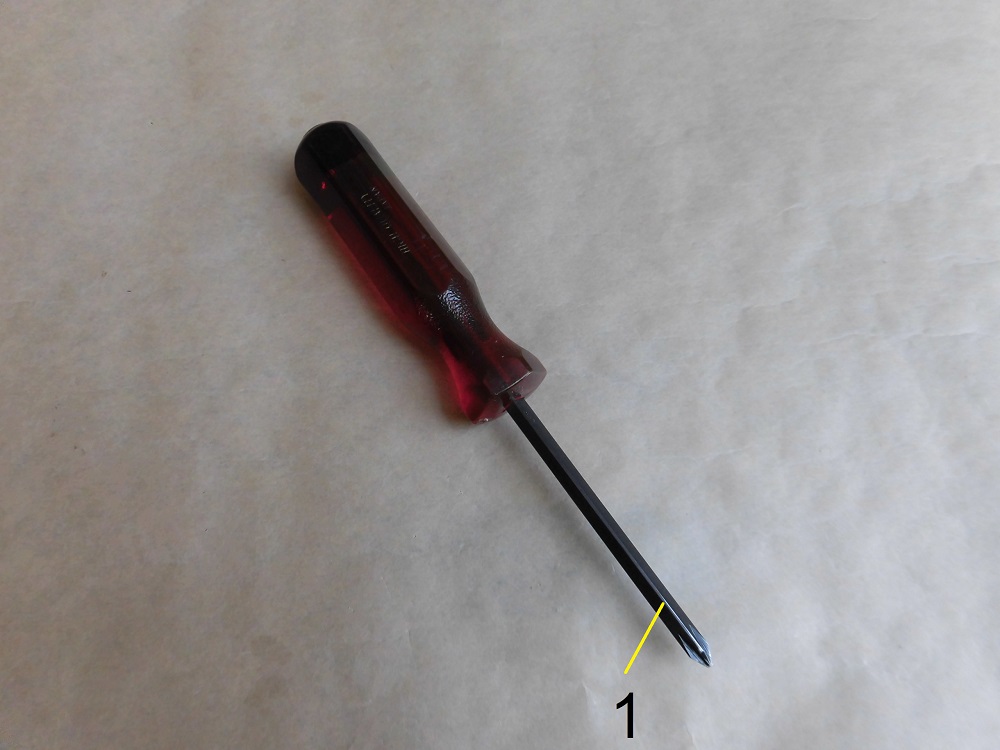
| No. | Products name | Manufacturer | Products number | Quantity | Amounts[Yen] |
| 1 | Resin Pillips screwdriver (No.1) | KTC | DPD-1 | 1 | (1,353) |
| 1,353 |
2. Replace turn signal lens (STEP1-10)
Remove lens 1
Let’s begin the work.
Below are photos of the left rear.
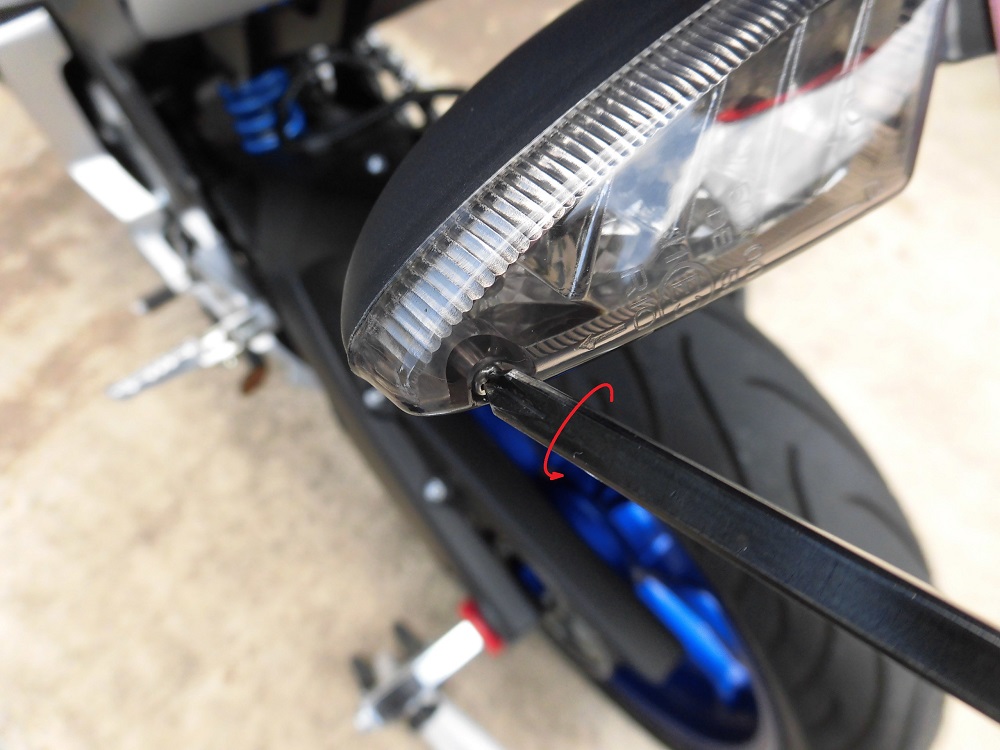
<Remove lens 1>
Using a Phillips screwdriver (No. 1), remove the screw that hold the lens in place.
Remove lens 2
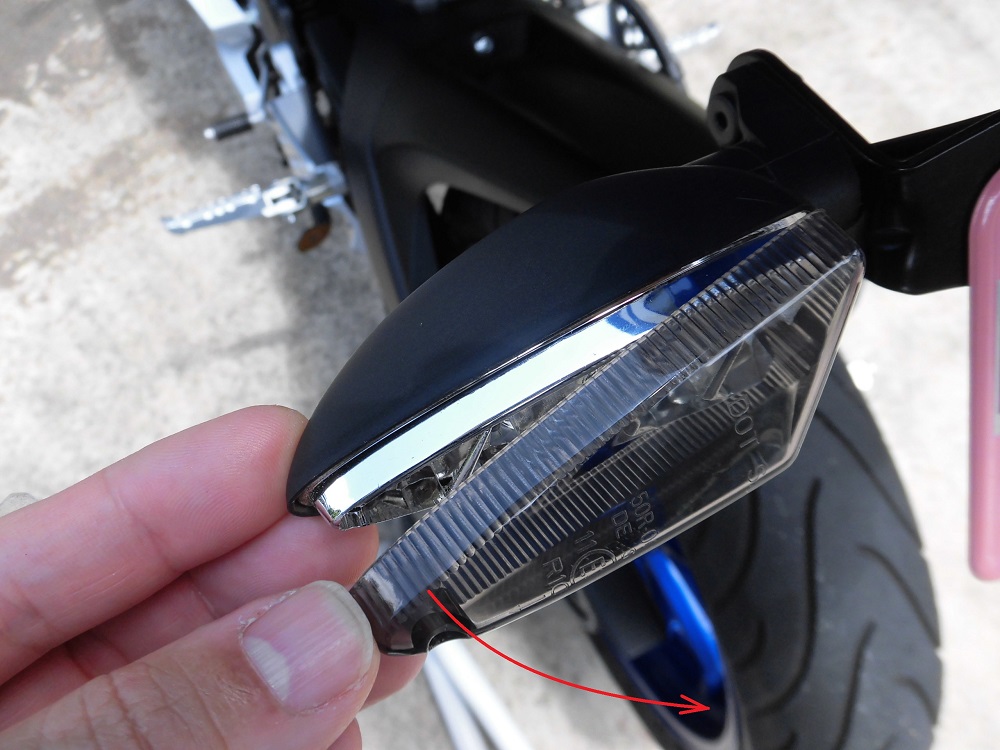
<Remove lens 2>
Using the base as a fulcrum, remove the lens.
Since the lens of the LED turn signal seems to have the same structure as genuine turn signal, I have a feeling that it can be used.
Removed lens claw
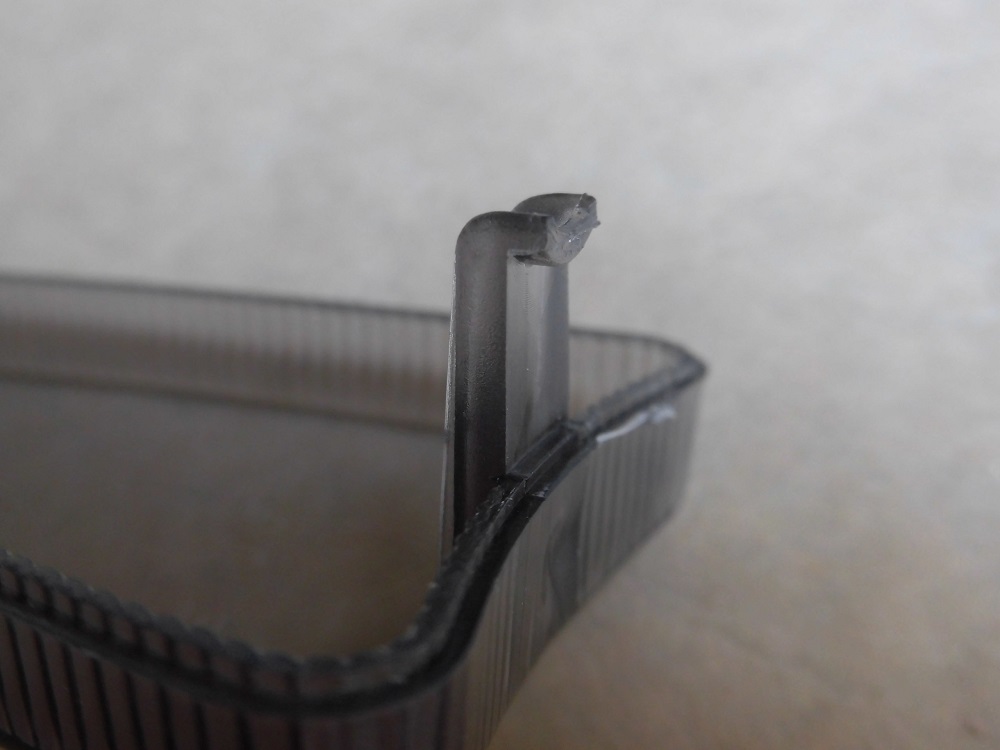
<Removed lens claw>
There is a protrusion at the tip of the lens claw.
Remove the lens with this part in mind.
Lens comparison
Compare smoked and clear lenses.
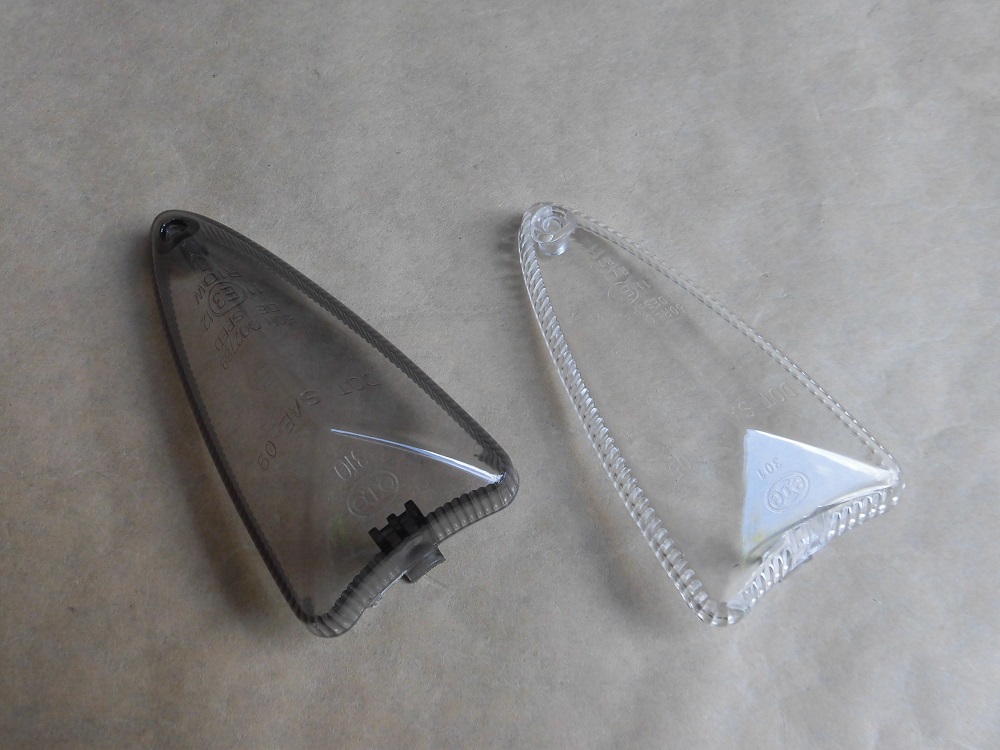
<Outside>
Left: Smoked…For SAVAGE LED turn signals
Right: Clear…For the genuine turn signals
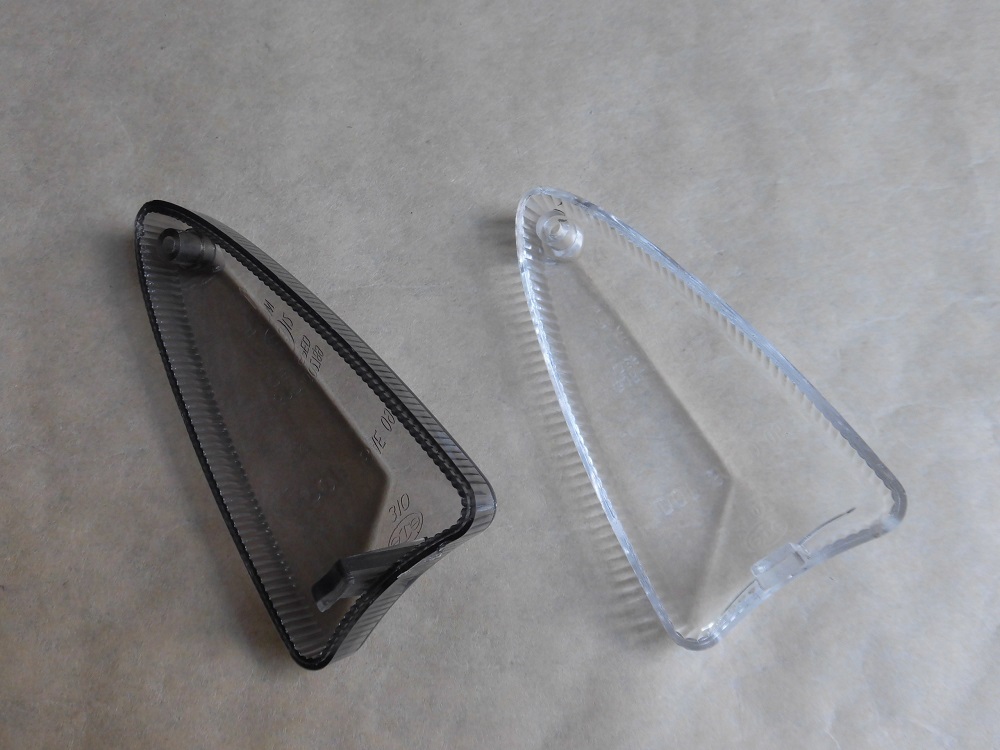
<Inside>
It looks almost exactly the same.
LED turn signals are faithfully reproduced from genuine parts.
LED turn signal body
Now let’s start the installation.
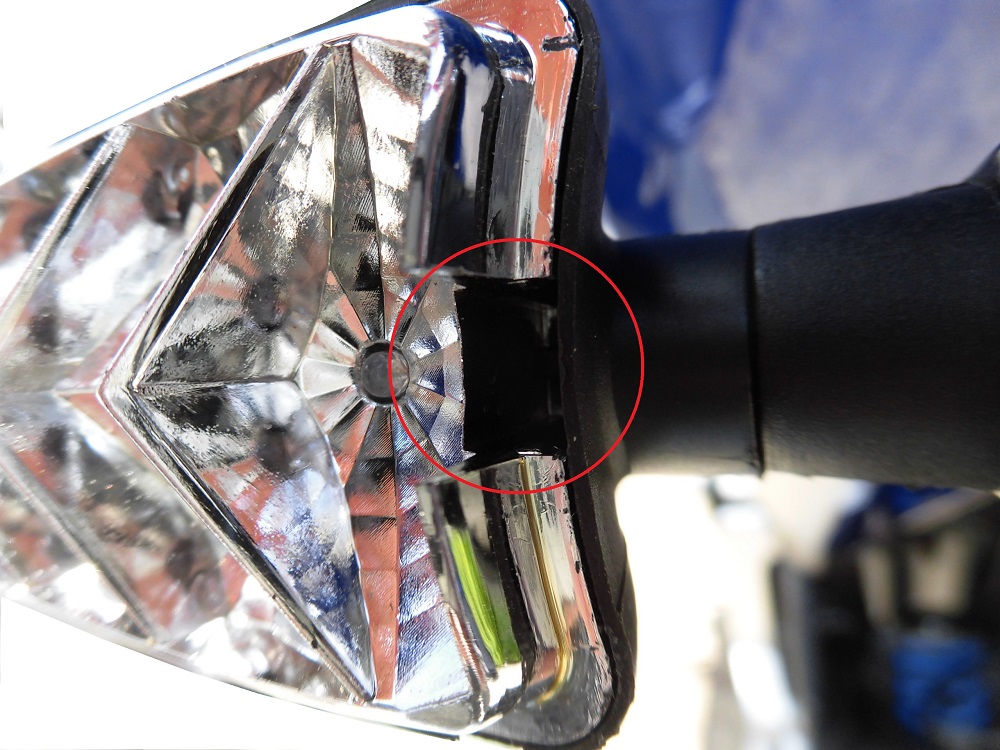
<LED turn signal body>
Insert the lens claw into the hole in the body of the LED turn signal.
Install lens 1
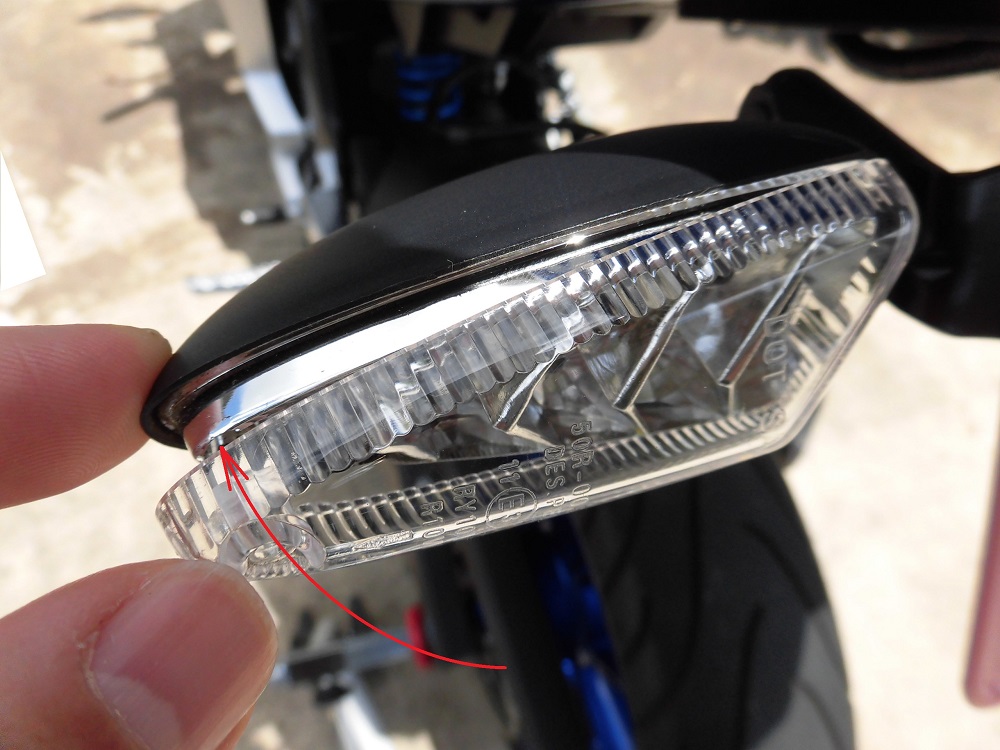
<Install lens 1>
The lens is installed using the claw as a fulcrum, just as it was when it was removed…
Install lens 2
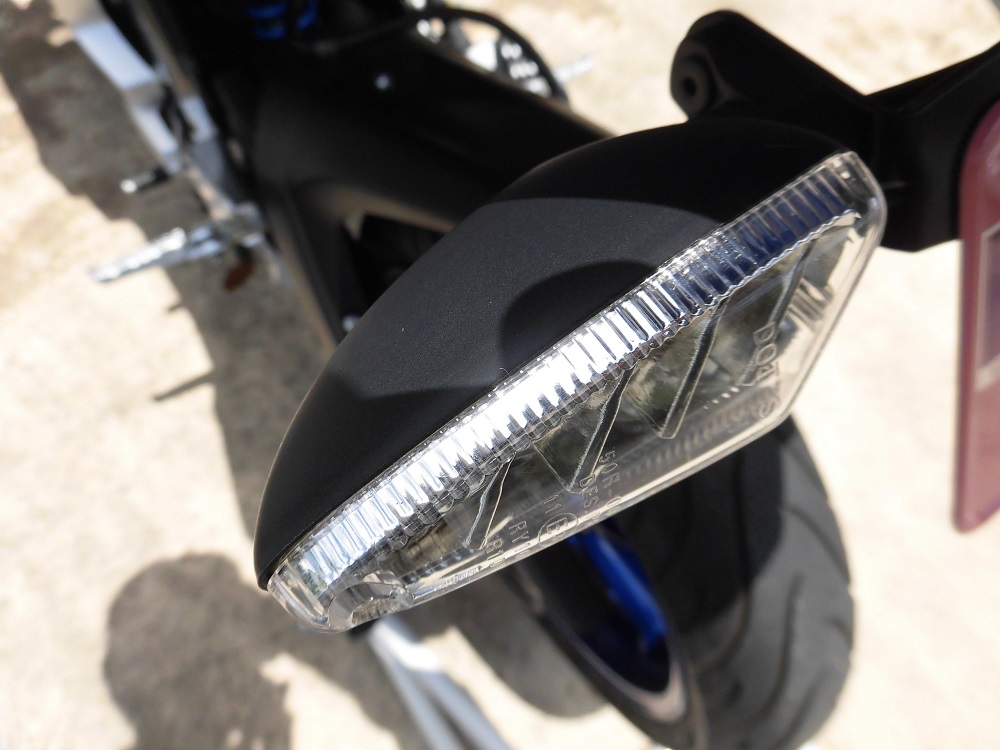
<Install lens 2>
“Oh, it’s attached!”
The size is a little tight, but I was able to put it on.
Install lens 3
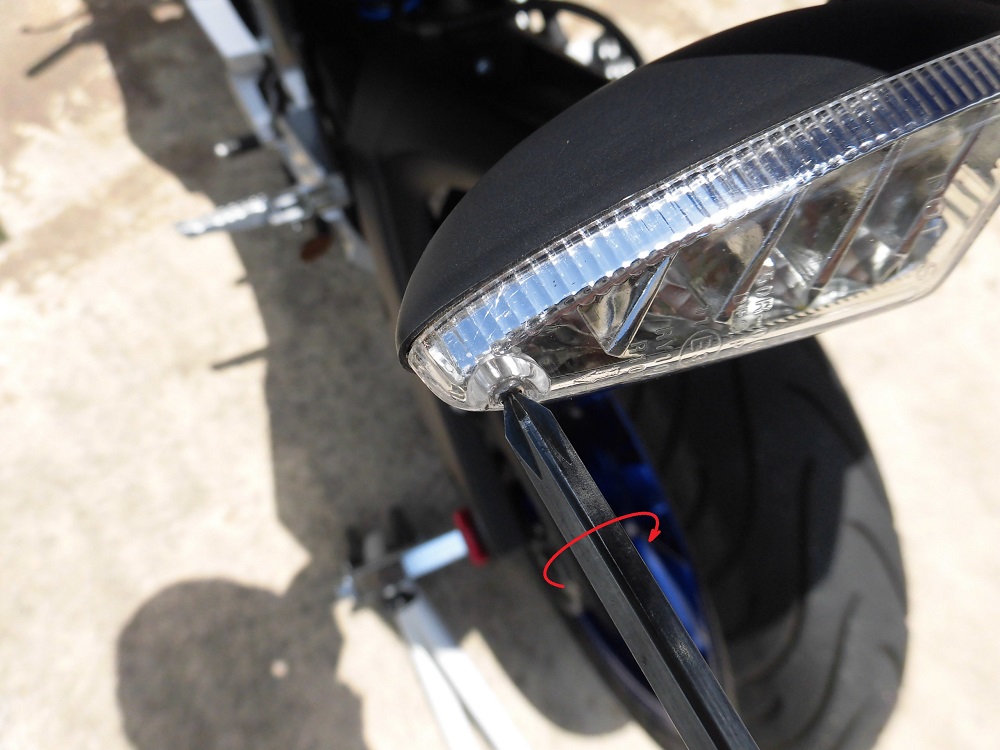
<Install lens 3>
All that is left is to tighten the screws.
I used the screws that were originally attached to the LED turn signals.
I was able to install both the left and right front and right rear turn signals in the same way with no problems.
Comparison before and after lens replacement 1
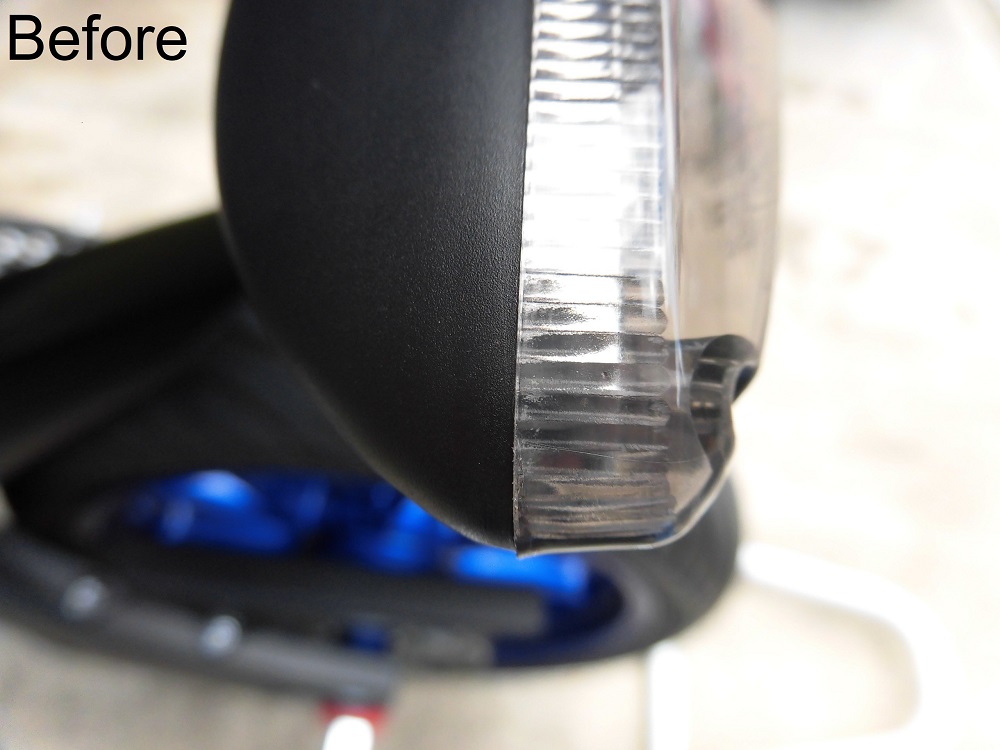
<Before>
There is no gap between the LED turn signal body and the lens, and it is almost a perfect fit.
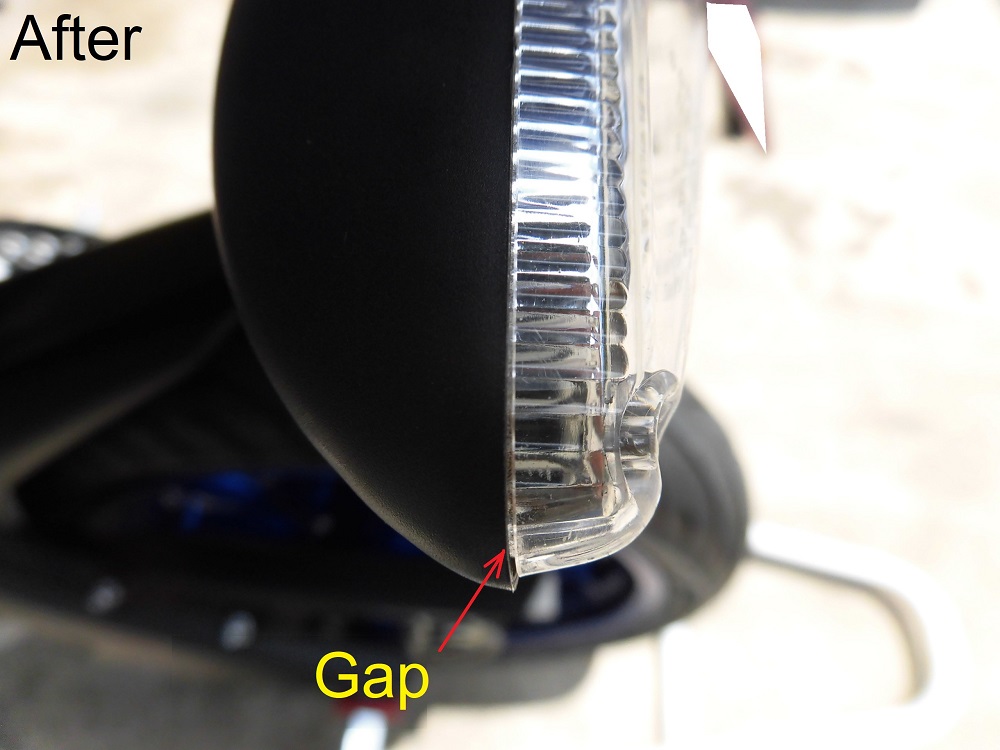
<After>
There is a slight gap between the LED turn signal body and the lens.
Although I was able to install it, the lens seems to be a little small.
Water might get in when driving in the rain or washing the moto.
I will be a little careful and take a look.
Comparison before and after lens replacement 2
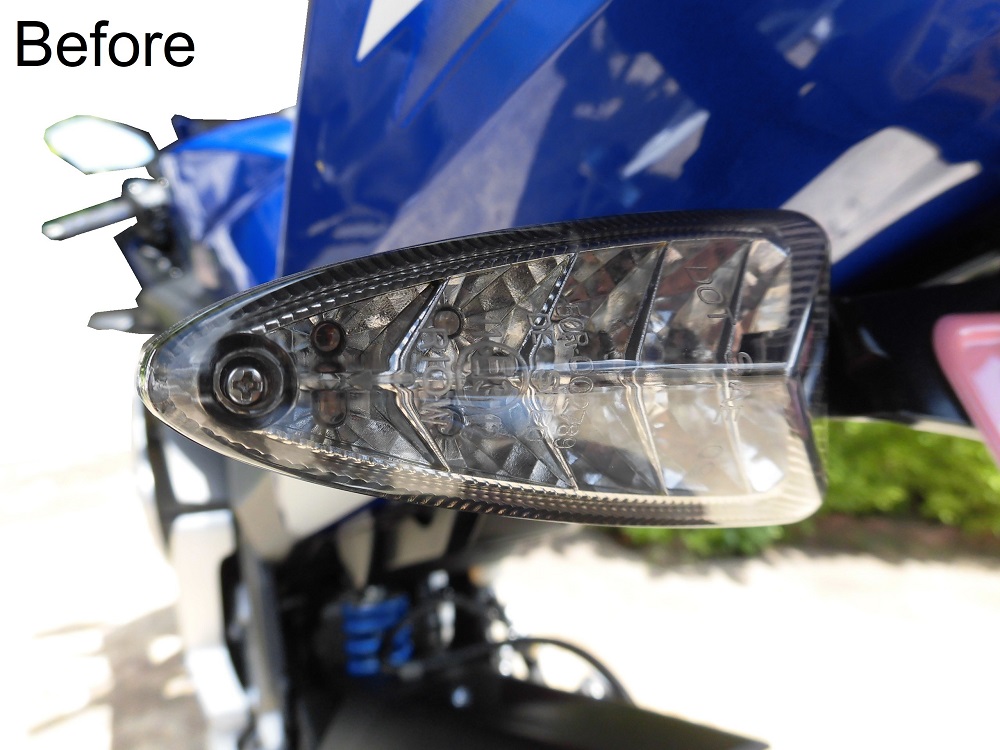
<Before>
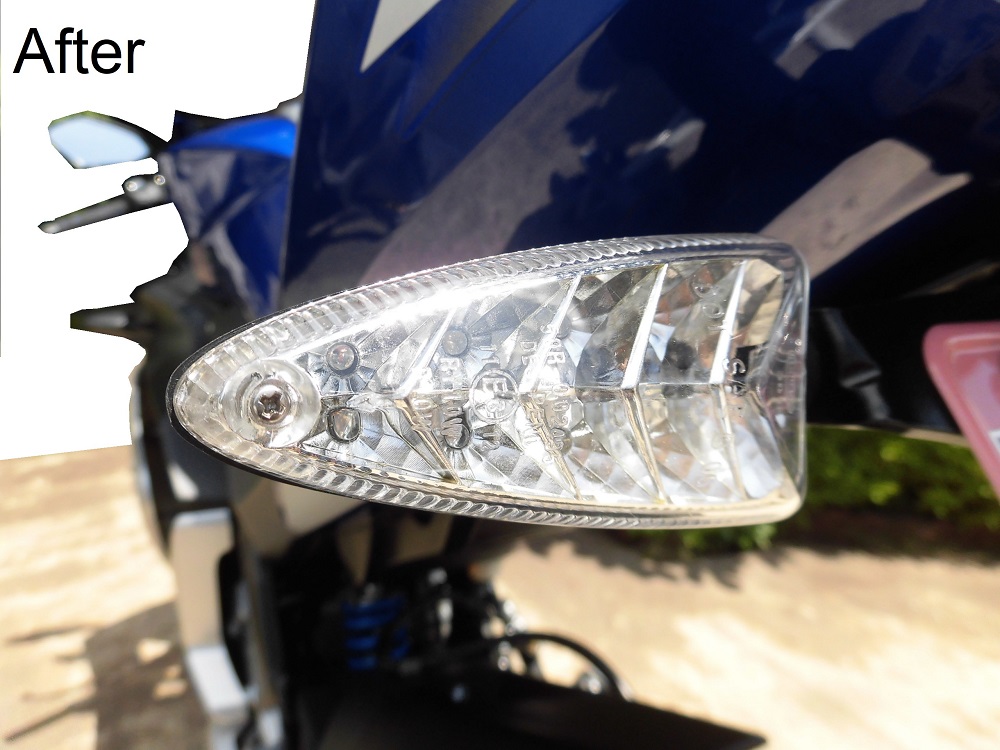
<After>
As I thought, the clear one looks more genuine.
I am satisfied and happy.
3. Summary
I was able to install the clear lens from the genuine part on the LED turn signals made by SAVAGE.
There is a little gap in the joint, but it is usable enough.
- Genuine turn signals and SAVAGE LED turn signals can be swapped with different lenses.
- The ability to swap them out according to your mood is also an attractive feature.
